> ## Documentation Index
> Fetch the complete documentation index at: https://docs.probaseapp.com/llms.txt
> Use this file to discover all available pages before exploring further.
# Business Profile
> Configure your business profile, timezone, and scheduling preferences
## Overview
The **Business Profile** page lets you update your business information and control how scheduling works for your team. Go to **Settings** in the sidebar under BUSINESS to access it.
## Business Profile
The Business Profile section lets you set up the contact details and logo that appear on your invoices and customer-facing communications.
### Business logo
Upload your business logo to have it displayed on every invoice you send. Customers will see it in the header of their invoice alongside your business name and contact details.
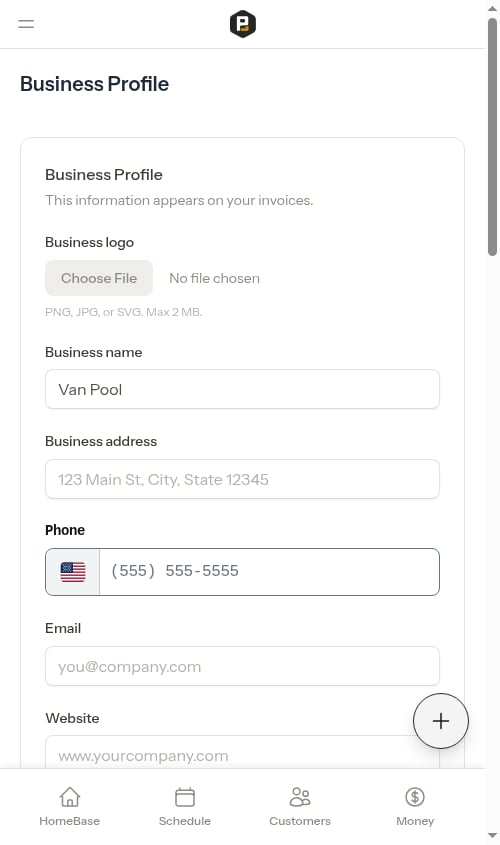 Click the file picker under **Business logo** and select an image. Accepted formats: PNG, JPG, or SVG. Maximum size: 2 MB.
A preview of your selected image will appear immediately.
Click the file picker under **Business logo** and select an image. Accepted formats: PNG, JPG, or SVG. Maximum size: 2 MB.
A preview of your selected image will appear immediately.
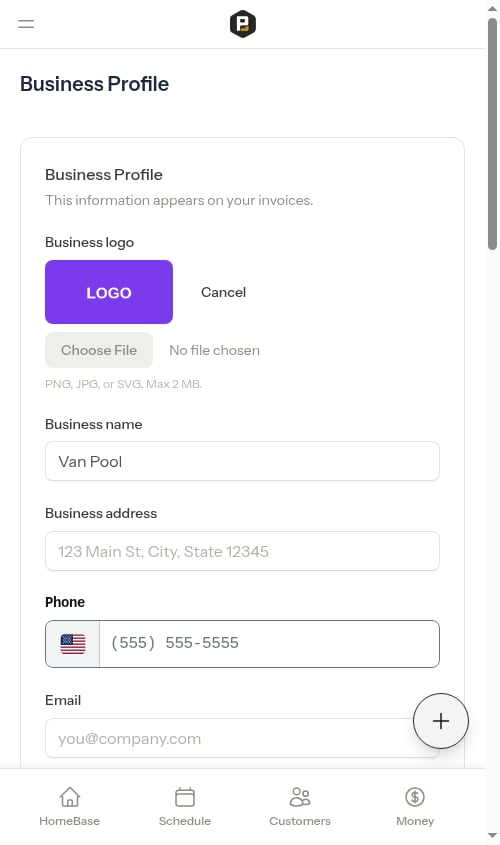 Click **Save** to upload and apply your logo.
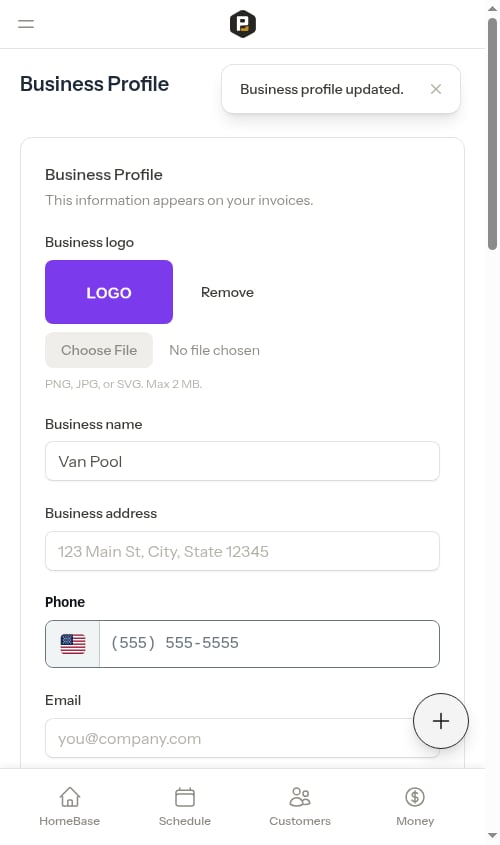 Your logo will now appear on all invoices in the business header.
**If the upload fails:** If the file you picked can't be read as an image — for example, a corrupted file or a non-image file with a renamed extension — you'll see an inline error under the file picker asking you to upload a PNG, JPEG, or SVG. Pick a different file and click **Save** again.
#### Removing your logo
If you want to remove your logo:
1. Click the **Remove** button next to the current logo preview
Your logo will now appear on all invoices in the business header.
**If the upload fails:** If the file you picked can't be read as an image — for example, a corrupted file or a non-image file with a renamed extension — you'll see an inline error under the file picker asking you to upload a PNG, JPEG, or SVG. Pick a different file and click **Save** again.
#### Removing your logo
If you want to remove your logo:
1. Click the **Remove** button next to the current logo preview
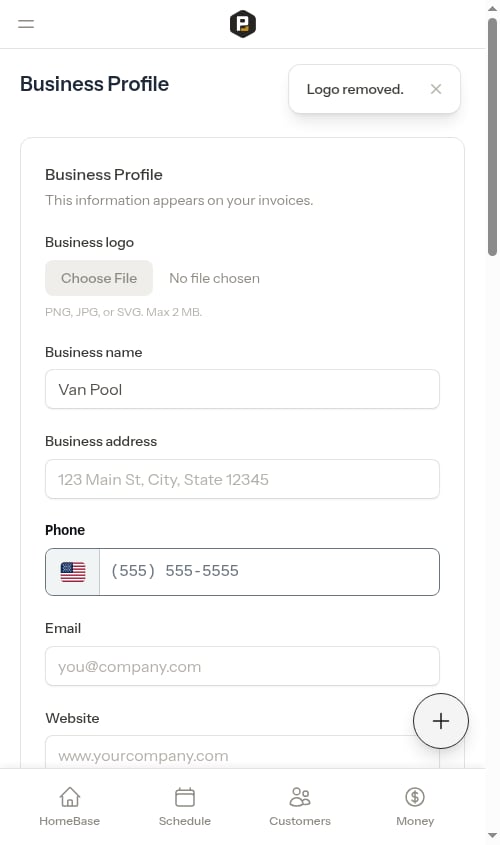
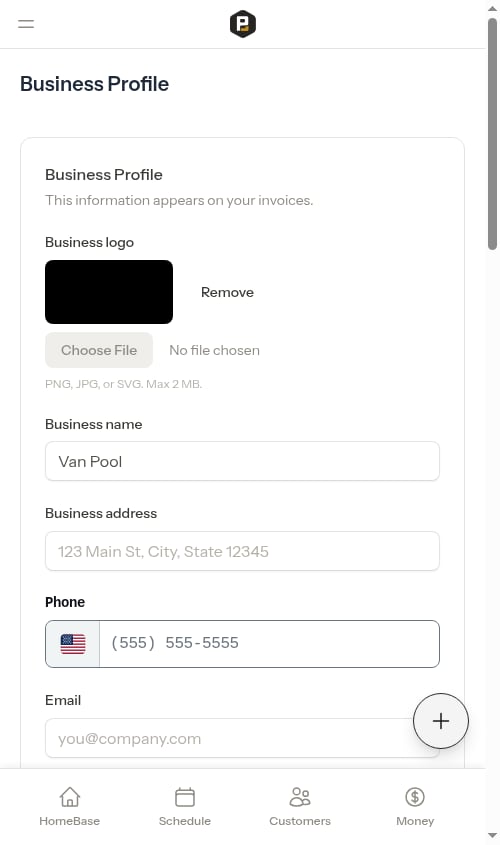 2. Confirm when prompted — the logo is removed immediately
 ### Other fields
* **Business name** — Your company name as it appears on invoices
* **Business address** — Your primary business address. Start typing and address suggestions will appear — select one to auto-fill the full address. This address is used to bias map search results toward your service area.
* **Phone** — Your business phone number, shown on invoices and customer-facing pages.
* **Email** — Your business email address, shown on invoices
* **Website** — Your website URL, shown on invoices
After making changes, click **Save** to apply them.
#### Entering your website
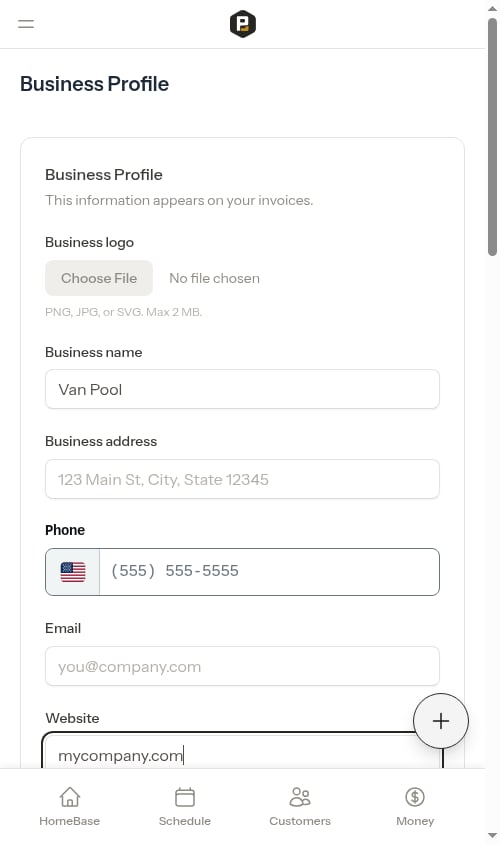
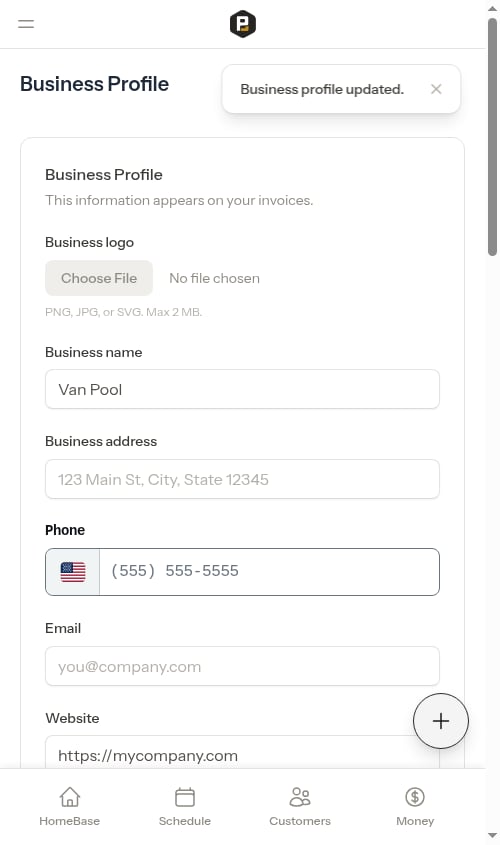
You can type your website with or without the `https://` prefix — both work. If you enter a bare domain like `mycompany.com`, Probase saves it as `https://mycompany.com` automatically.
### Other fields
* **Business name** — Your company name as it appears on invoices
* **Business address** — Your primary business address. Start typing and address suggestions will appear — select one to auto-fill the full address. This address is used to bias map search results toward your service area.
* **Phone** — Your business phone number, shown on invoices and customer-facing pages.
* **Email** — Your business email address, shown on invoices
* **Website** — Your website URL, shown on invoices
After making changes, click **Save** to apply them.
#### Entering your website
You can type your website with or without the `https://` prefix — both work. If you enter a bare domain like `mycompany.com`, Probase saves it as `https://mycompany.com` automatically.
 After saving, the value is normalized and ready to use on invoices and customer-facing pages.
 ## Manage Industries
If trades (industries) are enabled for your account, the Business Profile section also includes a **Manage Industries** card where you can add or remove the trades you do. The **Add a trade** picker offers ProBase's full catalog of trades — Pool, Lawn, Pest Control, Pressure Washing, HVAC, and many more.
## Manage Industries
If trades (industries) are enabled for your account, the Business Profile section also includes a **Manage Industries** card where you can add or remove the trades you do. The **Add a trade** picker offers ProBase's full catalog of trades — Pool, Lawn, Pest Control, Pressure Washing, HVAC, and many more.
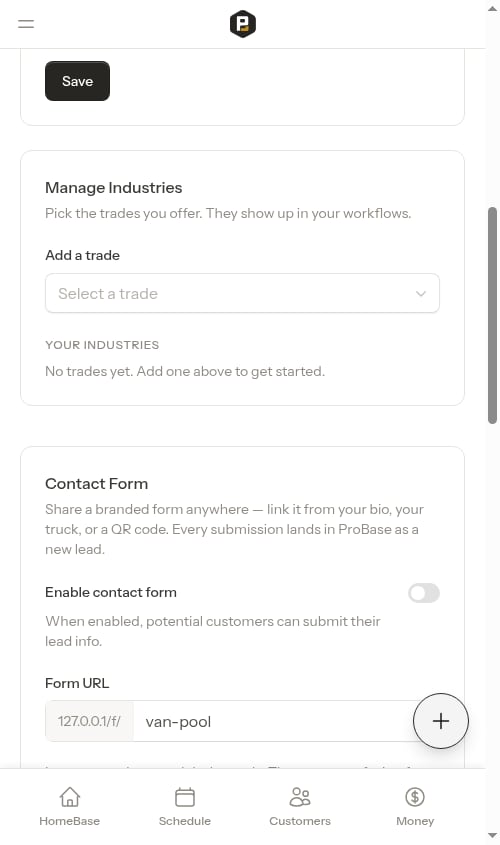 * **Add a trade** to tag services with it and get trade-specific fields at job completion. Adding a trade changes nothing on its own — no existing services or jobs are affected until you tag a service.
* **Remove a trade** (trash icon) to stop offering it. ProBase confirms first and lists exactly which services will be archived.
Removing a trade **archives every service tagged with it**. Archived services are kept — not deleted — and are restored automatically if you add the trade back later.
For the complete walkthrough, see [Industries (trades)](/getting-started/industries).
## Contact Form
The **Contact Form** section lets you turn on a branded web form that captures new leads. Share its link or QR code anywhere, and every submission lands in Probase as a new lead.
* **Add a trade** to tag services with it and get trade-specific fields at job completion. Adding a trade changes nothing on its own — no existing services or jobs are affected until you tag a service.
* **Remove a trade** (trash icon) to stop offering it. ProBase confirms first and lists exactly which services will be archived.
Removing a trade **archives every service tagged with it**. Archived services are kept — not deleted — and are restored automatically if you add the trade back later.
For the complete walkthrough, see [Industries (trades)](/getting-started/industries).
## Contact Form
The **Contact Form** section lets you turn on a branded web form that captures new leads. Share its link or QR code anywhere, and every submission lands in Probase as a new lead.
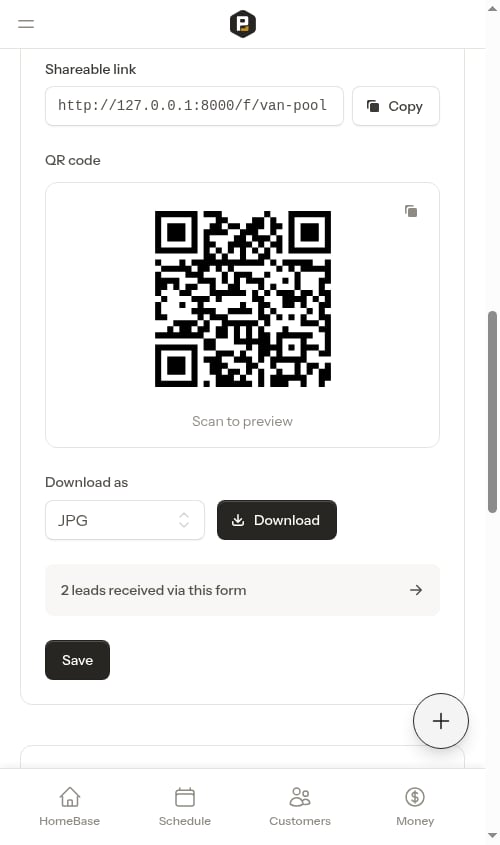 From here you can enable the form, choose its web address, and copy or download its shareable link and QR code. For the full walkthrough — including what your customers see and how submissions become leads — see [Your contact form](/customers/contact-form).
## Scheduling Settings
The Scheduling Settings section controls timezone and route optimization behavior for your team.
### Timezone
Set your team's timezone so that appointment times, calendar views, and scheduling all display correctly for your location.
1. Click the **Timezone** dropdown
2. Select your timezone from the list (grouped by common and regional options)
3. Your selection is saved automatically
From here you can enable the form, choose its web address, and copy or download its shareable link and QR code. For the full walkthrough — including what your customers see and how submissions become leads — see [Your contact form](/customers/contact-form).
## Scheduling Settings
The Scheduling Settings section controls timezone and route optimization behavior for your team.
### Timezone
Set your team's timezone so that appointment times, calendar views, and scheduling all display correctly for your location.
1. Click the **Timezone** dropdown
2. Select your timezone from the list (grouped by common and regional options)
3. Your selection is saved automatically
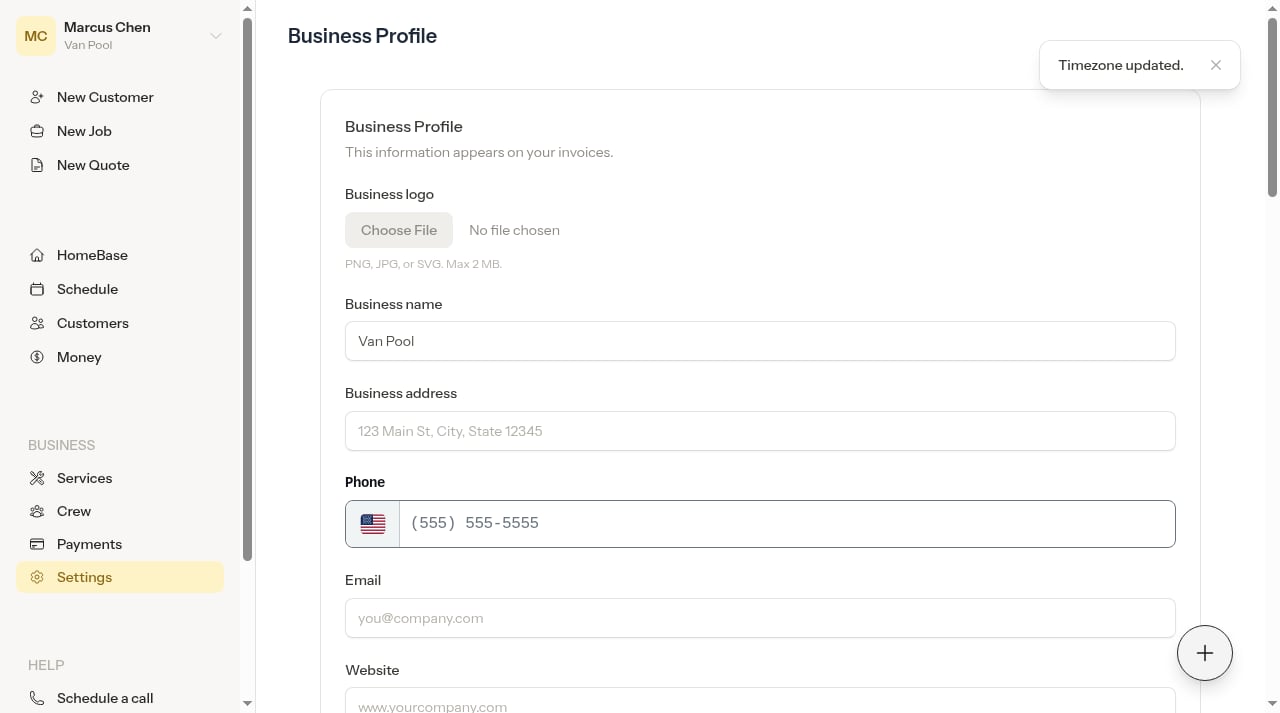 Setting the correct timezone is important — appointment times are stored in UTC and displayed based on your team's timezone. An incorrect timezone will cause appointment times to appear shifted on your calendar.
### Auto-optimize routes
When enabled, Probase automatically optimizes a crew's route in the background every time a new appointment is created or assigned. Routes update silently — no manual action needed.
Setting the correct timezone is important — appointment times are stored in UTC and displayed based on your team's timezone. An incorrect timezone will cause appointment times to appear shifted on your calendar.
### Auto-optimize routes
When enabled, Probase automatically optimizes a crew's route in the background every time a new appointment is created or assigned. Routes update silently — no manual action needed.
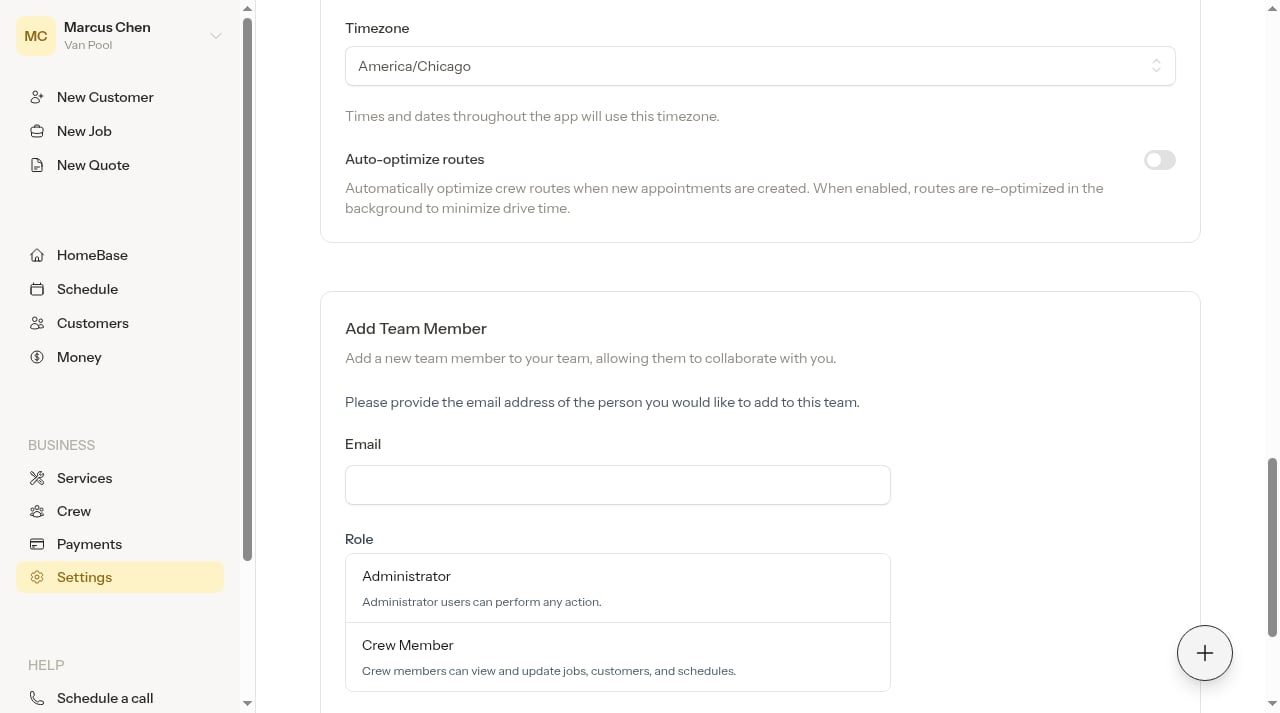
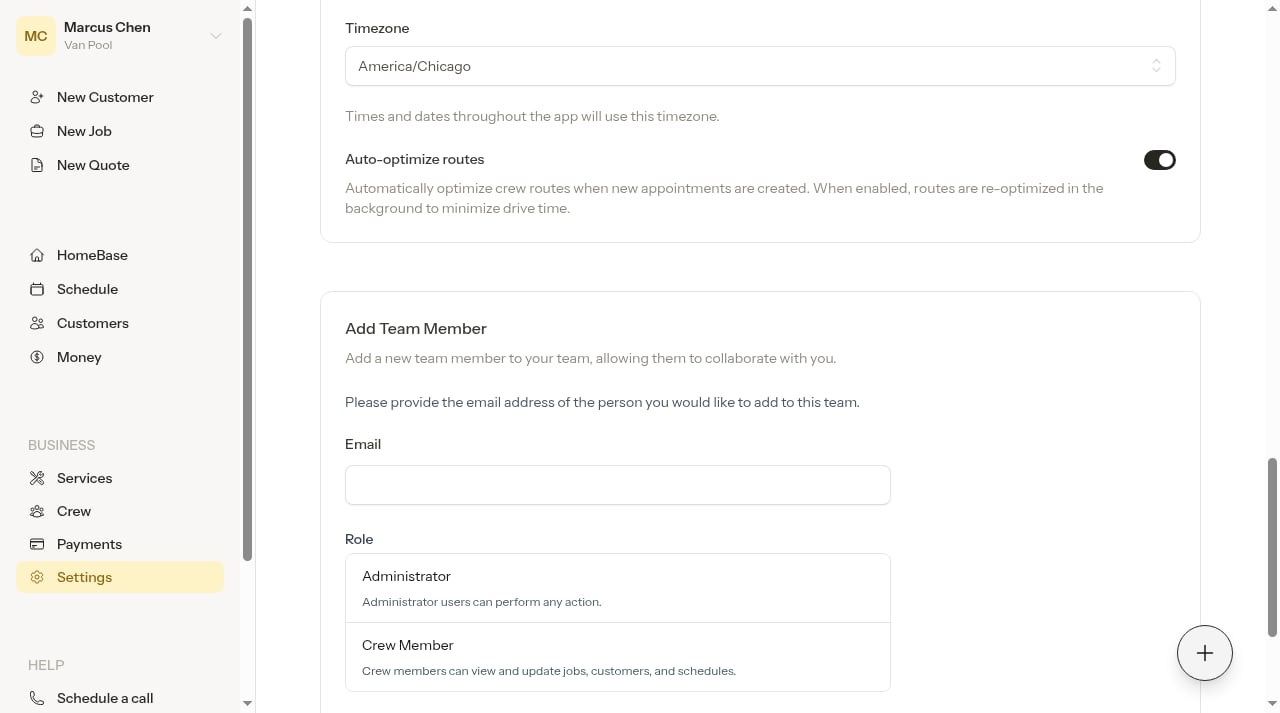 Toggle **Auto-optimize routes** to ON to enable this feature.
Auto-optimization requires the crew to have a start location configured and properties to have valid geocoded addresses. See [Adding crews](/getting-started/adding-crews) for how to set a crew's start location.
For more details on route optimization options, see [Route optimization](/routes/optimizing-routes).
## Notification Preferences
You can manage your personal notification preferences from your **Profile** page. Open the account menu at the top of the sidebar and select **My Profile**.
### SMS notifications
The **Notification Preferences** section lets you turn SMS notifications on or off. When enabled, you'll receive transactional and marketing text messages from Probase, including account updates, service notifications, and promotional offers.
Toggle **Auto-optimize routes** to ON to enable this feature.
Auto-optimization requires the crew to have a start location configured and properties to have valid geocoded addresses. See [Adding crews](/getting-started/adding-crews) for how to set a crew's start location.
For more details on route optimization options, see [Route optimization](/routes/optimizing-routes).
## Notification Preferences
You can manage your personal notification preferences from your **Profile** page. Open the account menu at the top of the sidebar and select **My Profile**.
### SMS notifications
The **Notification Preferences** section lets you turn SMS notifications on or off. When enabled, you'll receive transactional and marketing text messages from Probase, including account updates, service notifications, and promotional offers.
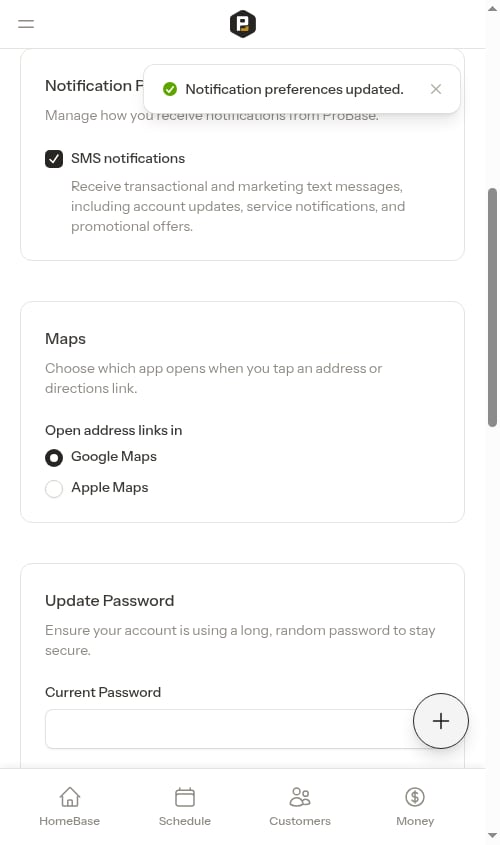
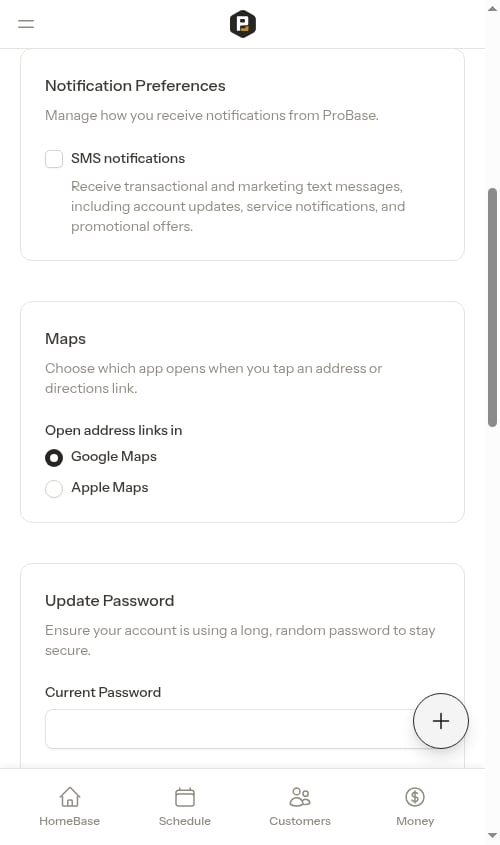 Toggle **SMS notifications** to enable or disable text messages at any time. Your preference is saved automatically.
New accounts are opted in to SMS notifications by default when you finish the business step of onboarding. If you don't want to receive text messages, turn this toggle off here at any time.
## Next steps
* [Add your crews](/getting-started/adding-crews) and set their start locations for route optimization
* [Route optimization](/routes/optimizing-routes) — learn about on-demand and automatic route optimization
Toggle **SMS notifications** to enable or disable text messages at any time. Your preference is saved automatically.
New accounts are opted in to SMS notifications by default when you finish the business step of onboarding. If you don't want to receive text messages, turn this toggle off here at any time.
## Next steps
* [Add your crews](/getting-started/adding-crews) and set their start locations for route optimization
* [Route optimization](/routes/optimizing-routes) — learn about on-demand and automatic route optimization