Overview
Probase tracks all charges and credits on each customer’s account using billing line items. These line items are automatically grouped into invoices that you can send to customers so they can view and pay online.The billing workflow
- Billing line items are created — Charges are added when work is completed or on a subscription schedule
- A draft invoice is created automatically — New charges are grouped into a draft invoice for that customer
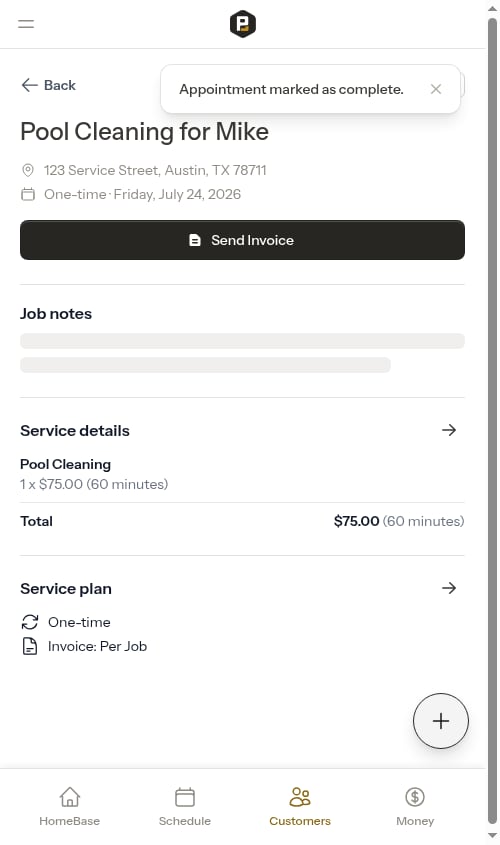
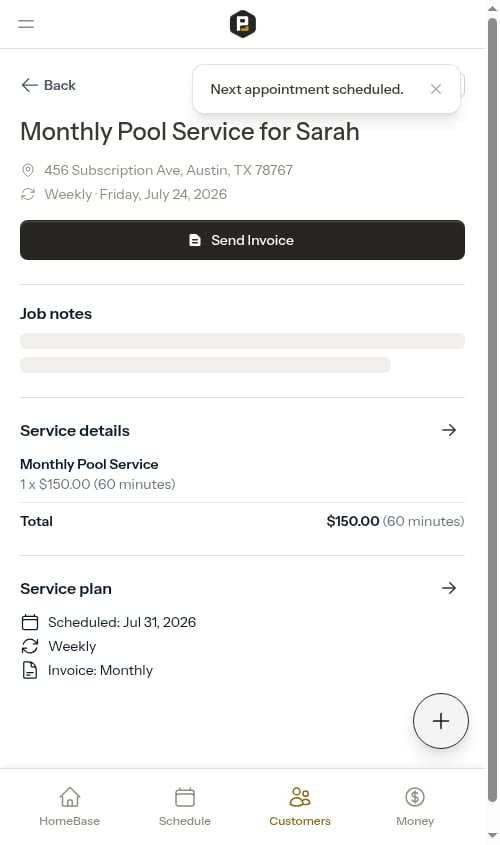
- You send the invoice — Tap Send Invoice to share a payment link with the customer
- Customer pays — Customers can pay online through Stripe or via cash/check (recorded manually)
- Invoice is marked paid — Once the full balance is covered, the invoice closes
To accept online payments, connect your Stripe account first.
Invoice lifecycle
Every invoice goes through four stages:- Not Yet Sent (Draft) — Created automatically when charges are added. Not yet visible to customers. Shows in the Not Yet Sent bar on the Money page.
- Unpaid — Sent to the customer. Visible on their payment portal. Shows as Overdue once past the payment due date.
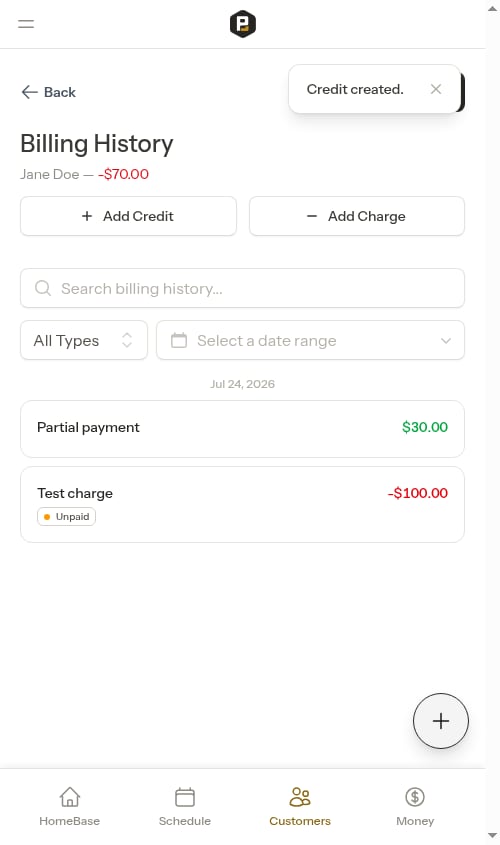
- Partially Paid — A payment has been applied but the full balance is not yet covered. The invoice remains open until fully paid.
- Paid — All charges fully covered by payments or credits.
When billing line items are created
Per-service billing
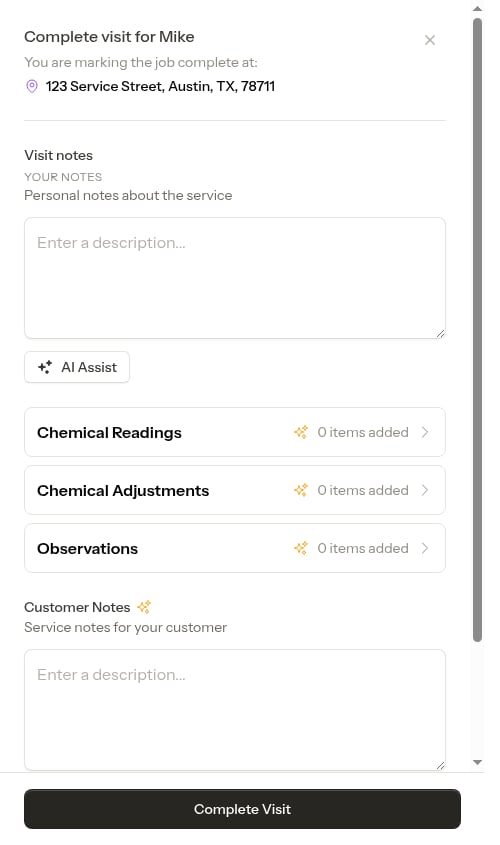
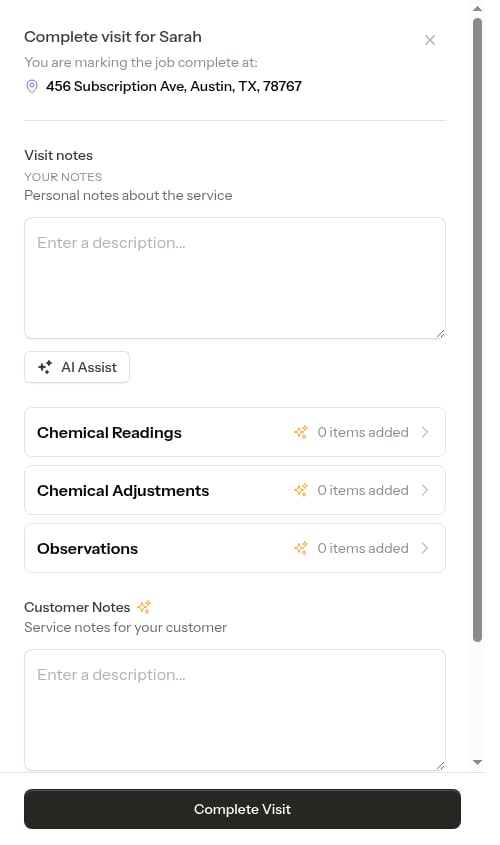
When you complete an appointment for a per-service customer:- Crew marks the appointment as complete
- A billing line item (charge) is created automatically
- Amount is based on the service price
- Tax is calculated and added based on the service’s tax rate
- A draft invoice is created (or the charge is added to an existing draft)
Subscription billing
For subscription services, billing line items are created automatically by Probase on each configured billing date (the day of week, month, or year you set when creating the service). Unlike per-service billing, subscription charges are not created when appointments are completed — they are created on the billing schedule regardless of whether appointments were performed. Completing a subscription appointment still records a $0 “Service completed” entry in the billing history so the visit is tracked, but it does not add a charge for the base service — the recurring charge appears separately on its billing date. Note that any additional service items (materials or add-ons) you add to a subscription appointment are still charged when the appointment is completed.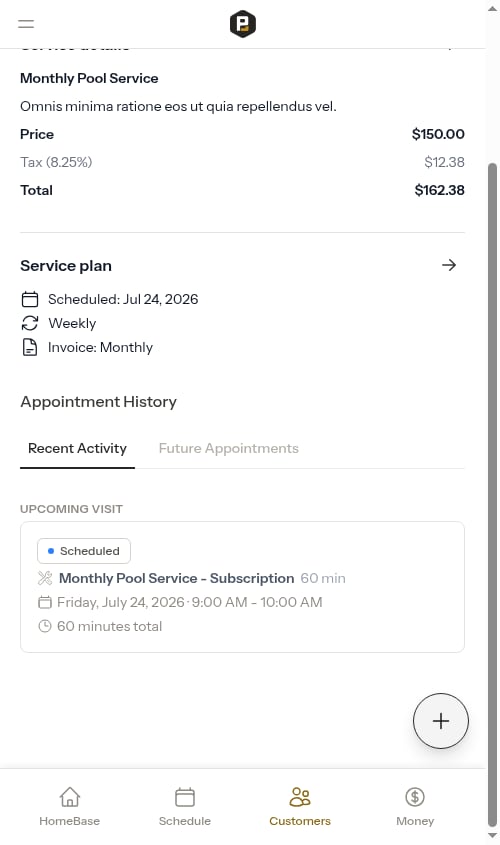
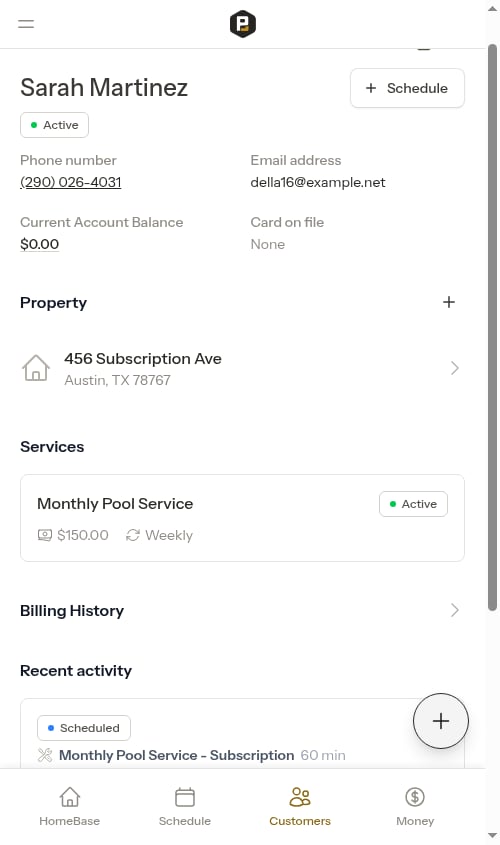
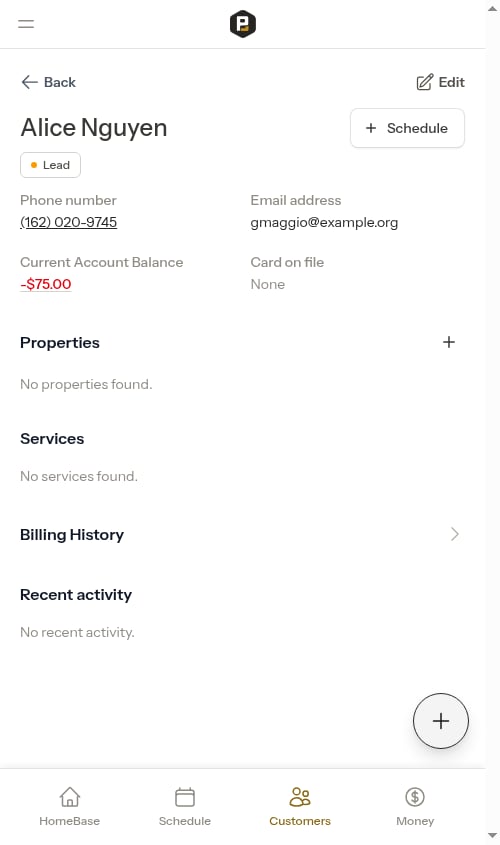
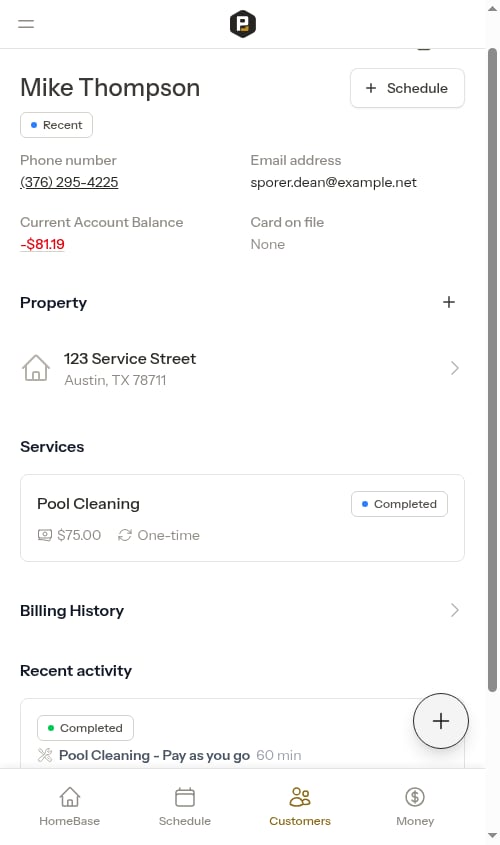
View billing history
Each customer has a dedicated Billing History page showing all their charges, credits, and payments:- Go to Customers in the sidebar
- Click on the customer’s name
- Click the balance amount in the top card, or scroll down and tap the Billing History link row
Filtering billing history
- Search — Search by title, service name, or property address
- Type filter — Filter to show only Charges, Credits, or Payments
- Date range — Filter to a specific date range with preset options
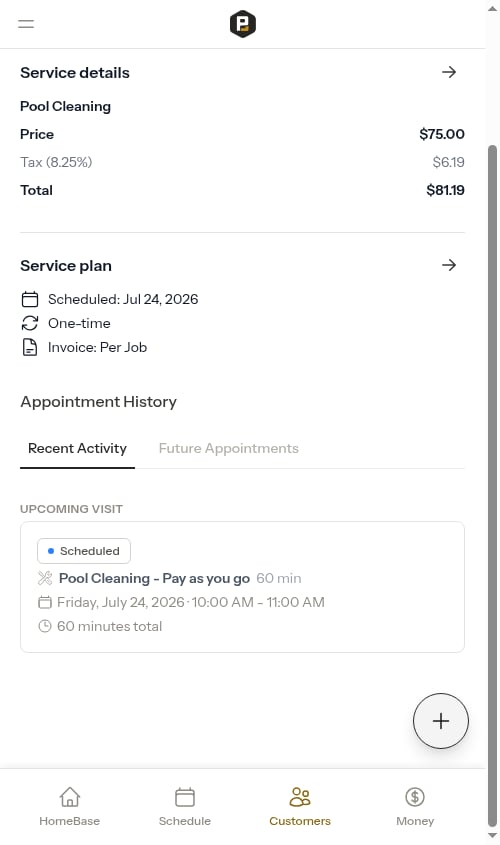
View line item details
Click on any billing line item to open its detail panel, which shows:- Subtotal, tax, and total amount
- Payment status (Paid or Unpaid for charges)
- Payment method (for recorded payments)
- Linked property, service, or appointment
- Description (if provided)
- For charges: which payments were applied and how much each covered
- For credits: which charges the credit was applied toward
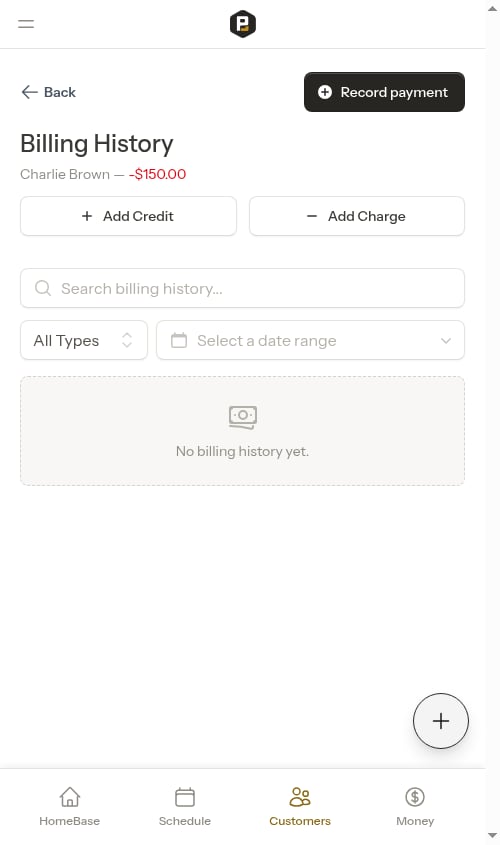
Add a charge or credit manually
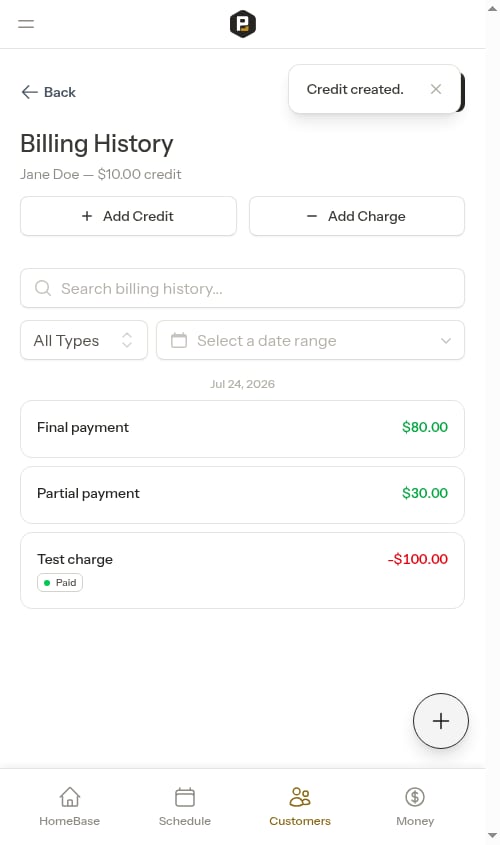
The billing history page has dedicated Add Charge and Add Credit buttons at the top of the page:1
Open billing history
Go to Customers, click on the customer’s name, then click the balance amount to open billing history.
2
Click Add Charge or Add Credit
Use the Add Charge or Add Credit buttons at the top of the billing history page:
- Add Charge — for amounts the customer owes (fees, service charges)
- Add Credit — for discounts, refunds, or adjustments
3
Fill in the details
- Enter a Title (required) — a short label like “Pool filter replacement” or “Late fee”
- Enter the Amount
- For charges, optionally enter a tax rate (%) or tax amount ($) — the two fields stay in sync automatically
- Add an optional Description for additional context — descriptions appear on customer invoices so your customer can see more detail
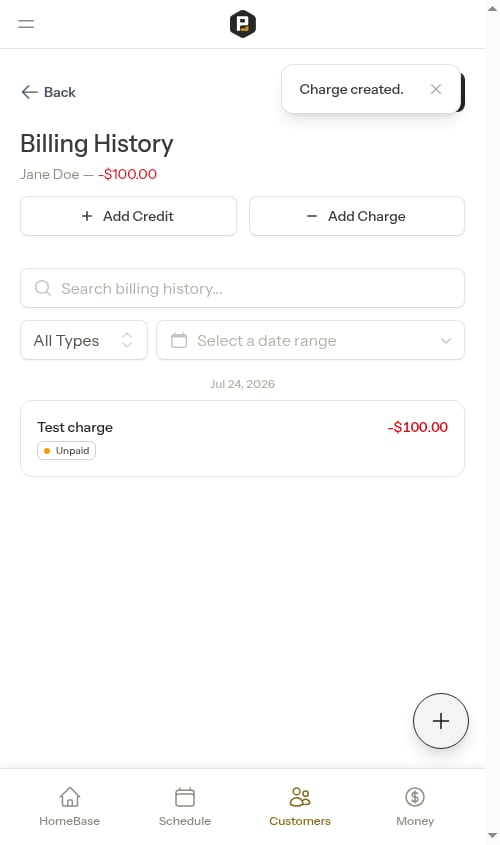
4
Save
Click Add Charge or Add Credit to save. The customer’s balance will update immediately and a draft invoice will be created or updated automatically.
Charge amounts are negative (increase what customer owes). Credit amounts are positive (reduce what customer owes or add credit to their account).
Payment status
Charges are automatically tracked as Paid or Unpaid:- Unpaid — No credits have been applied to this charge yet
- Paid — Credits or payments have fully covered the charge amount
Understanding customer balances
Each customer has a balance that’s automatically calculated from all their billing line items:- Negative balance (like -$150.00) - Customer owes you money
- Zero balance ($0.00) - Account is paid in full
- Positive balance (like $25.00) - Customer has a credit on their account