Overview
Notes help you document important information about your customers, their properties, and services. You can add text notes with a rich text editor and attach photos or documents. Notes are different from service records, which capture structured data about completed work. Use notes for general information and documentation, and service records for specific service details.Looking to track chemical readings, materials used, or service observations? See Service records for structured service documentation.
Where you can add notes
Notes can be added to:- Customers - General notes about the customer (contact preferences, billing arrangements)
- Properties - Gate codes, access instructions, pet warnings, property layout
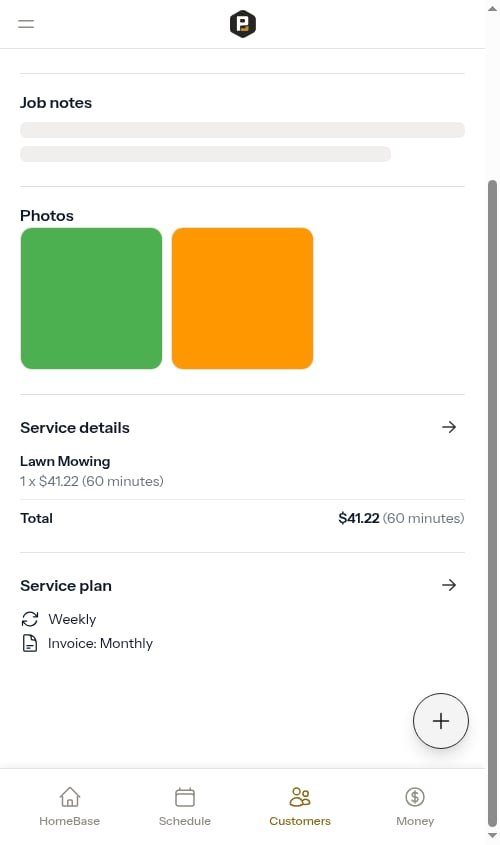
- Appointments - Completion notes and photos captured during job completion
How to add notes
Customer notes
Customer notes are accessed through the customer Edit modal:- Go to Customers and click on the customer’s name
- Click the Edit button
- In the edit modal, click Add Customer Note
- Write your note in the rich text editor
- Optionally attach photos or files
- Click Save
Property notes
For a property with no existing notes:- Go to the property page
- Click the Edit button
- Click Add Property Note in the edit modal
- Write your note and optionally attach files
- Click Save
Appointment notes (completion notes)
Notes and photos for a specific visit are captured during job completion:- Open the appointment and tap Complete Visit
- Write your internal notes in the Visit notes field — these are for your own records and not shown to the customer
- Optionally write a Customer Notes summary — a short, friendly description of what was done that appears on the customer’s service report and invoice. Tap the AI Assist button (✦) after typing your visit notes to generate this automatically.
- Optionally tap the photo upload area to attach after photos of the completed work
- Tap Complete Visit to finish
You can create a note with just attachments (no text), just text (no attachments), or both.
Note attachments
Attachments are useful for:- Before/after photos of completed work
- Gate codes or access instructions
- Property diagrams or maps
- Signed service agreements
- Photos of issues or damage
- Reference documents
Image previews
When you attach images, a preview is shown for each one. Click on any image preview to view the full-size image.Edit a note
For customer notes (accessed via the Edit modal) and property notes:- Open the customer or property Edit modal
- Find the note in the Notes section
- Click the 3-dot menu (⋮) on the note and select Edit
- Update the text in the editor
- Add new files or remove existing ones
- Click Save to save your changes
Delete a note
- Open the customer or property Edit modal
- Find the note in the Notes section
- Click the 3-dot menu (⋮) on the note and select Delete
- Confirm deletion in the confirmation modal
View notes
Customer notes are visible in the customer Edit modal. Property notes are visible on the property page and in the property Edit modal. Each note shows:- The note content
- Any attached files with thumbnails for images
- Who created the note
- When it was created
- When it was last edited (if applicable)
Completion notes vs. service records
When completing an appointment, you have two ways to document work: Completion notes - Free-form text summary of what was done. Use for general descriptions and overview. Service records - Structured data like chemical readings, materials used, and observations. Use for specific, searchable details. See Completing appointments and Service records for details.Best practices
- Gate codes: Add as property notes so they’re visible every time you visit
- Access instructions: Include in property notes (e.g., “Enter through side gate, gate code 1234”)
- Hazards: Document in property notes (e.g., “Dog in backyard - call first”)
- Service details: Add notes to appointments about what was done
- Customer preferences: Add to customer notes (e.g., “Prefers text messages over calls”)
- Before/after photos: Attach photos to appointment notes to show completed work
- Issues found: Document problems found during service with photos if needed