What are quotes?
In Probase, “quotes” is a general term for creating either Quotes or Assessments for customers. The system provides a guided multi-step wizard that helps you create the right type of work based on your situation. Two types of quotes:- Quotes - Formal quotes with pricing that you send to customers for review and approval before starting work
- Assessments - On-site evaluation appointments where you visit the property first to evaluate needs, then create a quote afterward
When to use each type
Create a Quote when:
- You can quote the work without visiting the property first
- The customer knows exactly what they want and you know the scope
- You’re providing a standard service with known pricing
- You want to send a formal quote for customer approval before starting
Create an Assessment when:
- You need to visit the property before providing accurate pricing
- The scope of work is uncertain and needs on-site evaluation
- It’s a complex or custom project requiring inspection
- New customer inquiries where you need to see the property first
If work is already confirmed and doesn’t need a quote or assessment, create a Job directly instead. See Creating jobs.
How to create a quote
Click New Quote from the Quick Actions menu (the bottom-right floating button) or from the sidebar to open the wizard. It then guides you through a simple 4-step process. The wizard remembers your progress, so you can navigate back and forth between steps. If you start from a customer’s Schedule button (see Skip steps when you start from a customer below), the customer — and property, if you started from a property — are pre-filled and those steps are skipped.1
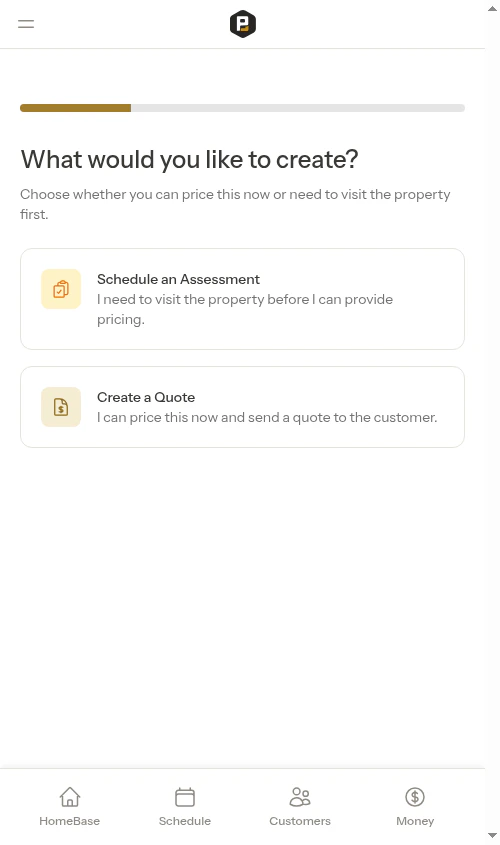
Step 1: Choose what to create
Choose whether you need to visit the property first or can price the work right away: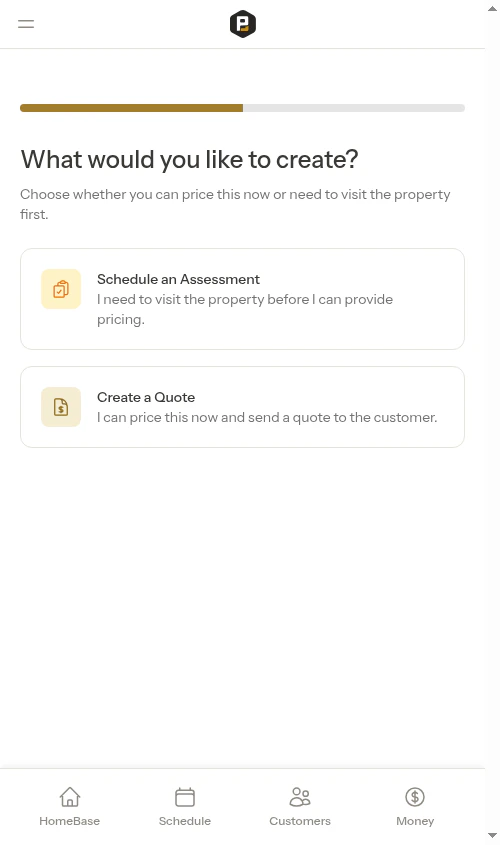
- Schedule an Assessment - You need to visit the property before you can provide accurate pricing
-
Create a Quote - You can price this work now and send a quote to the customer immediately
2
Step 2: Select or create customer
Choose an existing customer or create a new one (skip this step if you came from a customer page).The customer step shows your full customer list in alphabetical order. The header is sticky as you scroll, so the Back button, New customer button, and search bar stay reachable.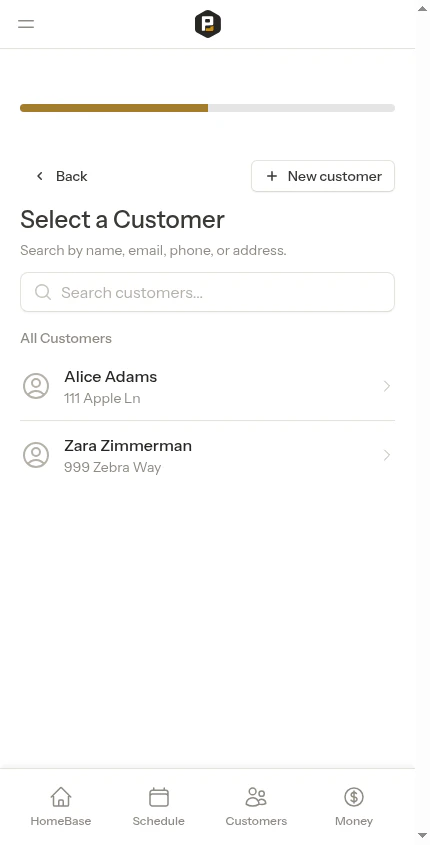
- Scroll through the All Customers list — more customers load automatically as you reach the bottom
- Or type into the search box to filter by name, email, phone, or address
- Tap the customer to select them
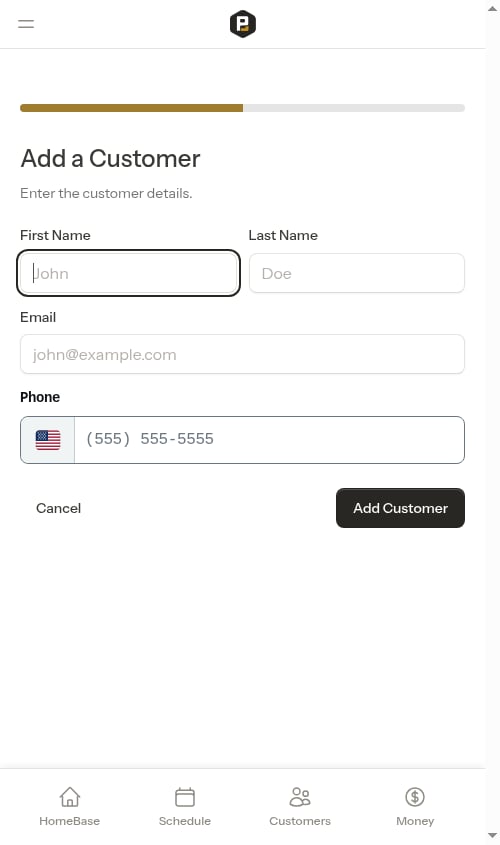
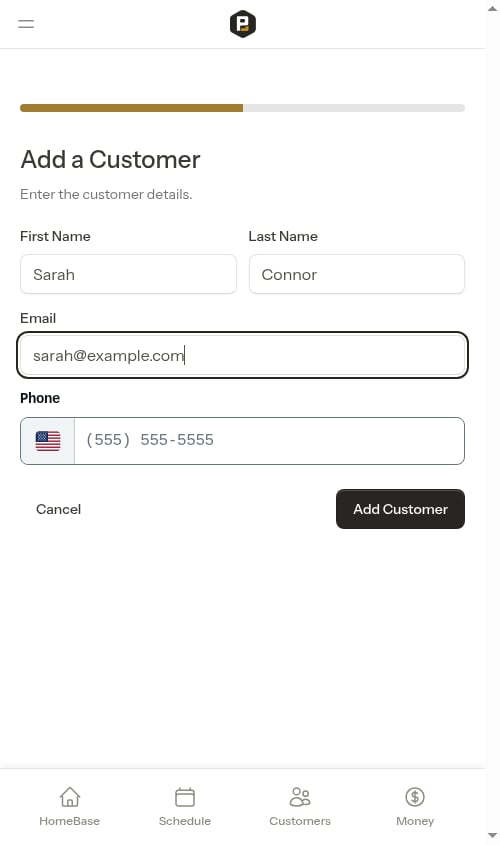
- Tap New customer in the top-right of the header
-
Fill in their information:
- First Name (required)
- Last Name (required)
- Email (optional)
- Phone (optional)
-
Click Save
3
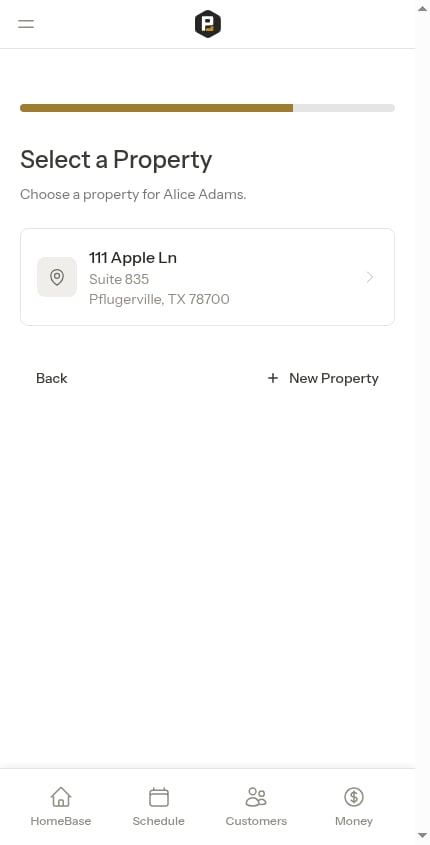
Step 3: Select or create property
Choose which property address the work is for, or create a new one (skip this step if you came from a property page).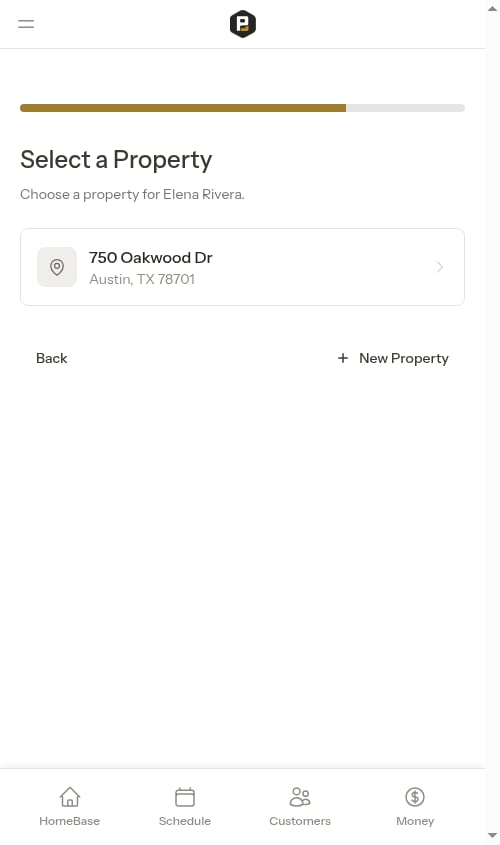
- Click on any of the customer’s properties shown in the list
- Click New Property
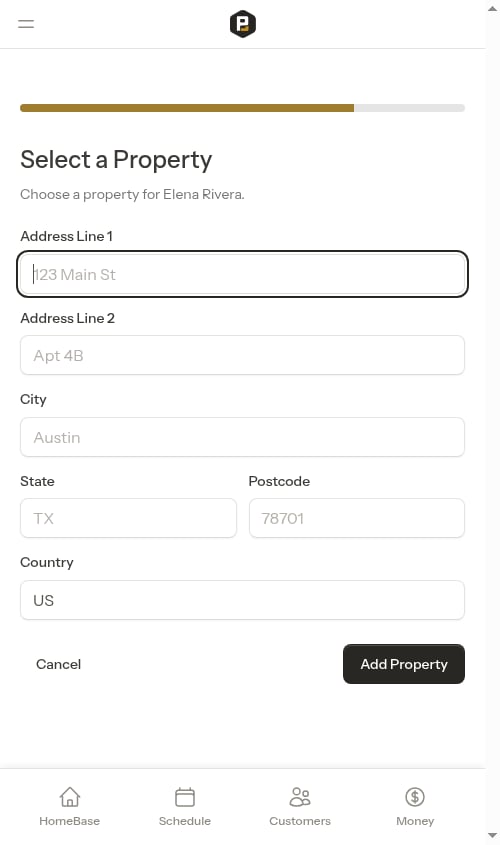
-
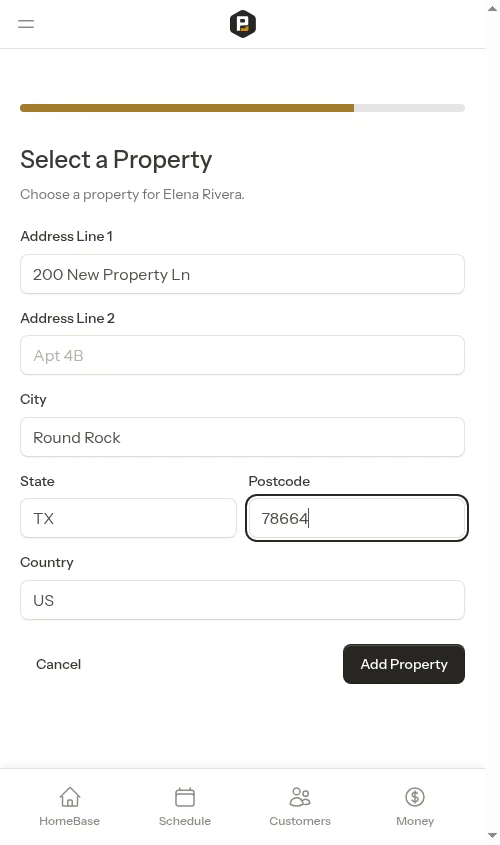
Fill in the address:
- Address Line 1 (required) — Start typing and address suggestions will appear. Select one to auto-fill the city, state, and postcode fields automatically.
- Address Line 2 (optional) — Apartment, suite, or unit number
- City, State, Postcode — Filled in automatically when you select an address suggestion, or enter manually
-
Click Save
4
Step 4: Enter details
The final step depends on whether you’re creating a Quote or Assessment.For Quotes:
Fill in the quote details including pricing and service information. See Creating quotes below.For Assessments:
The form auto-fills the assessment name based on the property address (e.g., “Assessment for 123 Main St”). You can customize the name if needed. See Creating assessments below.
Creating quotes
When you select “Quote” in Step 1, the final step shows a quote creation form.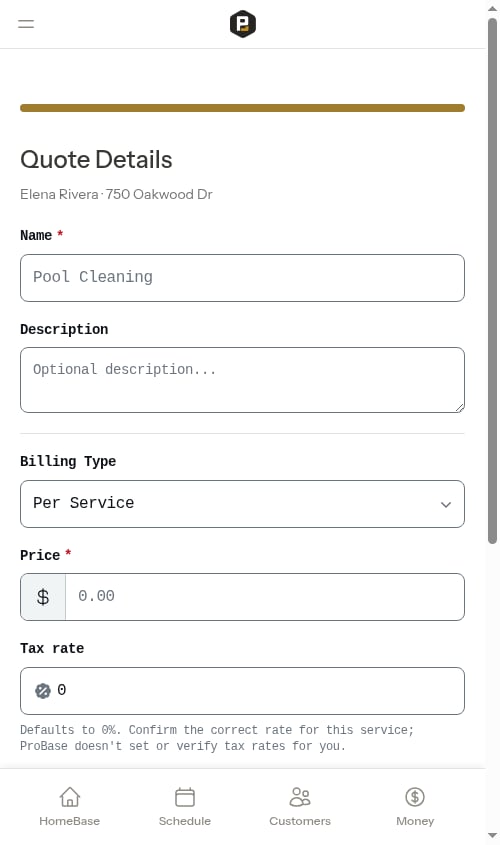
Start from a saved service (optional)
If you’ve built a service catalog, the form starts with a Service Offering dropdown. Pick a saved service and Probase fills in the name, description, price, billing type and interval, and service frequency for you — so most quotes are one selection plus a tweak. When your catalog spans more than one trade, the dropdown groups the options under industry headers to make them easier to find. Leave it on Custom (enter details below) to type the quote from scratch instead.Choose the industry (optional)
If your business works in more than one industry, an Industry field appears so you can tag which trade the quote is for. Picking a saved service above fills this in automatically from that service; you can still change it. Businesses that work in a single trade won’t see this field — Probase fills it in behind the scenes. See Industries (trades) for what tagging a quote’s trade unlocks.Fill in quote details
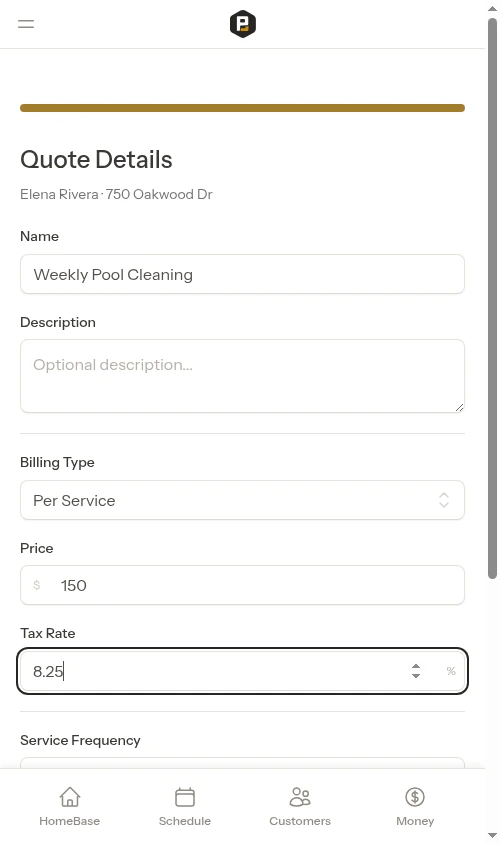
Service Information:- Name (required) - What service you’re providing (e.g., “Weekly Pool Cleaning”)
- Description (optional) - Details about what’s included in the service
- Price (required) - Amount customer pays per service or per billing period
- Tax Rate (required) - Tax percentage (e.g., 8.25 for 8.25% tax)
- Billing Type - Per Service or Subscription
- Per Service - Customer billed each time work is completed
- Subscription - Customer billed on recurring schedule regardless of visits
- Billing Interval (subscription only) - Weekly, Monthly, or Annual
- One-time (0 days)
- Weekly (7 days)
- Bi-weekly (14 days)
- Monthly (28 days)
- Valid Until - Quote expiration date
- Notes - Any extra context to include on the quote
Submit the quote
After filling in the details, click Create Quote.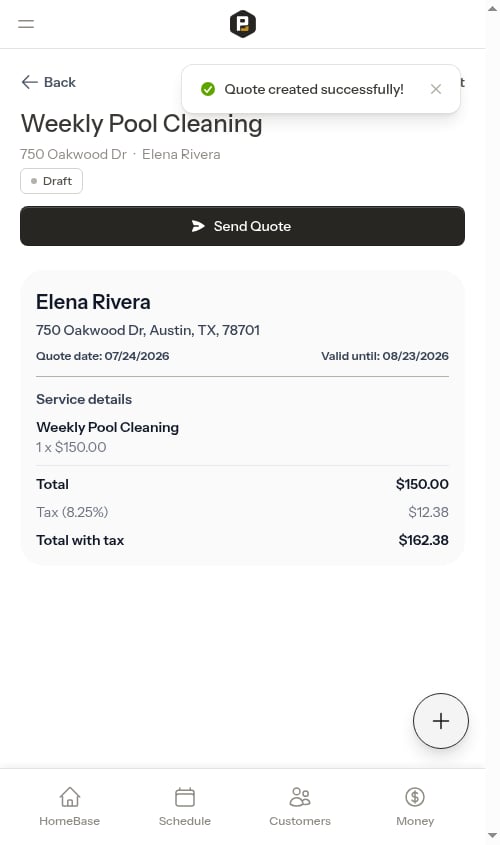
Creating assessments
When you select “Assessment” in Step 1, the final step shows a simpler assessment creation form.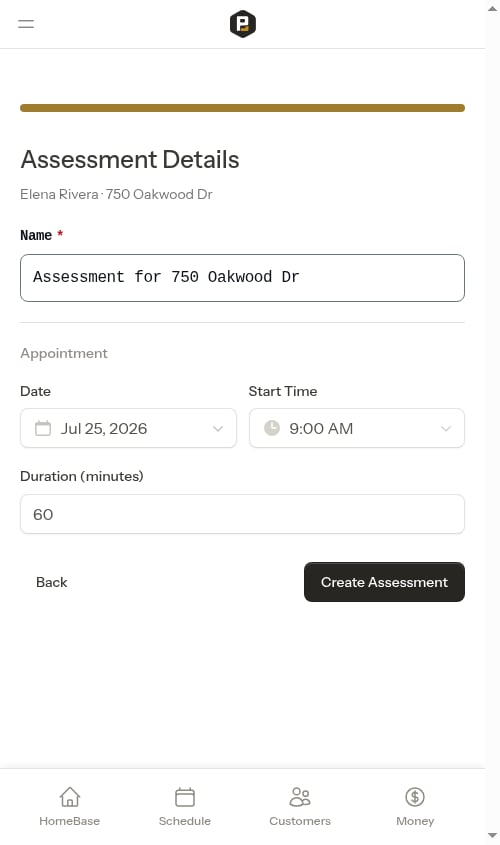


Submit the assessment
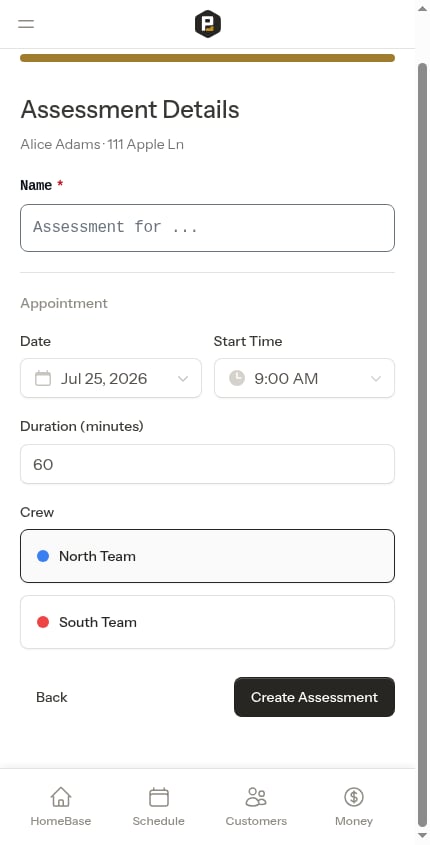
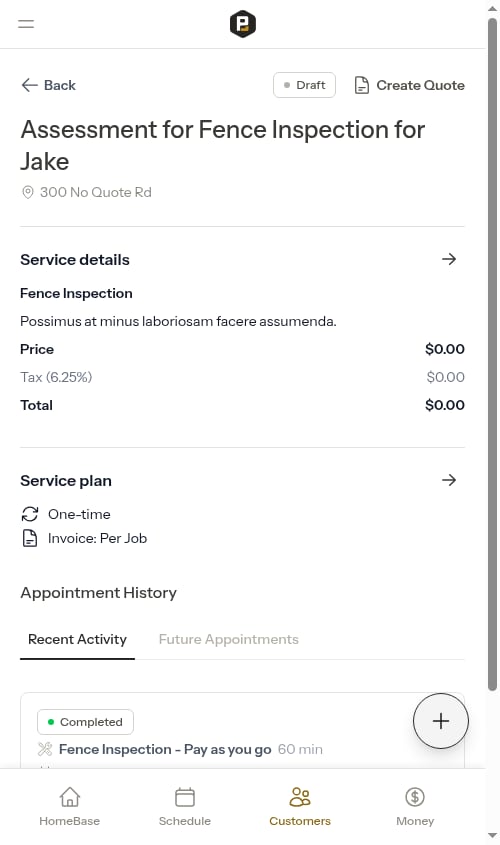
Click Create Assessment to create:- An Assessment service with “Draft” status
- An appointment for the on-site visit, scheduled for the date and time you entered on the form
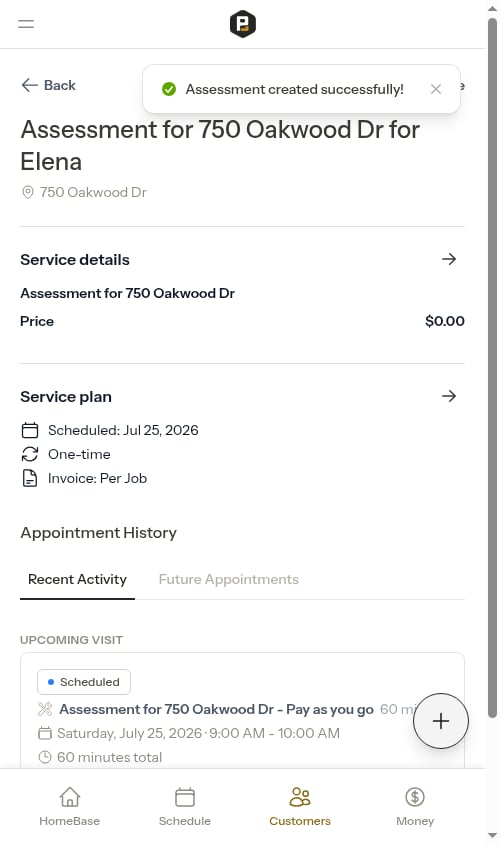
The assessment visit is always scheduled when you create the assessment — the date, time, and crew are part of the assessment form, so there’s no separate scheduling step.
Complete the assessment
After visiting the property and evaluating the work needed:- Open the scheduled assessment appointment
- Click Complete Assessment
- A single-screen form opens where you can:
- Enter your assessment notes about what you observed
- Click AI Assist to automatically generate quote line items, a quote name, and a customer-facing summary from your notes
- Add or edit line items manually (name, type, price, duration/quantity, recurring)
- Enter a Name for the quote (required) — this becomes the title of the resulting job once the customer accepts the quote
- Upload photos of the property
- Click Complete & Draft Quote to finish — the assessment is marked complete and a quote is created automatically
Skip steps when you start from a customer
The fastest way to quote a specific customer is to start from their page, which carries their details into the wizard for you: From a customer page: Open the customer and tap the Schedule button. On the “What would you like to do?” screen, choose Visit the Property First — this opens the quote wizard with the customer already pre-filled, so you skip straight to property selection. On the wizard’s first step, pick Create a Quote or Schedule an Assessment. From a property page: Start the same Schedule → Visit the Property First flow from a property and both the customer and property are pre-filled, taking you directly to the details form. Starting New Quote from the Quick Actions menu (FAB) or the sidebar instead opens a blank wizard where you pick the customer and property yourself.After creating a quote
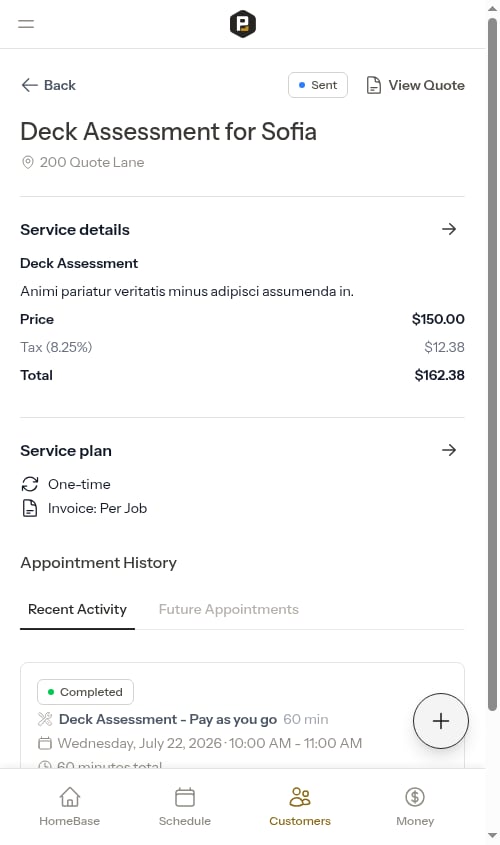
For Quotes:- Review the quote details on the quote detail page
- Send it to the customer for approval
- Accept or decline based on customer response
- When accepted, a Job service is automatically created with the first appointment scheduled
- Visit the property on the scheduled date and evaluate the work needed
- Complete the appointment — a single-screen form lets you document findings, use AI Assist to draft quote line items, and click Complete & Draft Quote
- Access the quote from the assessment service page using the View Quote button in the header
- Review and send the quote to the customer
- When accepted, a Job service is automatically created
Best practices
Use assessments for uncertainty - If you can’t accurately quote without seeing the property, create an assessment first. This ensures you can provide accurate pricing based on what you observe. Quotes for known work - If you know the scope and pricing (e.g., standard services), skip the assessment and create a quote directly to speed up the sales process. Set valid until dates - Add expiration dates to quotes to create urgency for customer decisions and protect yourself from pricing changes. Include detailed descriptions - Help customers understand exactly what’s included in your quote. The more specific you are, the fewer questions they’ll have. Use the Quick Actions menu - Access quote creation from anywhere in the app using the floating action button (FAB) in the bottom-right corner.Next steps
- Managing quotes - Learn about reviewing, sending, accepting, and declining quotes
- Creating jobs - Create confirmed work directly without needing quotes
- Managing services - Understand the difference between jobs and assessments
- Completing jobs - Complete assessment appointments and create quotes