What are notes?
Notes let you record important information about your customers, their properties, or a specific visit. Notes are visible to everyone on your team and help ensure consistent service. There are three levels of notes:- Customer notes — information about the customer themselves (contact preferences, billing arrangements, general instructions)
- Property notes — details specific to a location (gate codes, parking, pets, equipment locations)
- Visit notes — what happened on one particular visit, typed into the notes pad on that visit
The Notes card
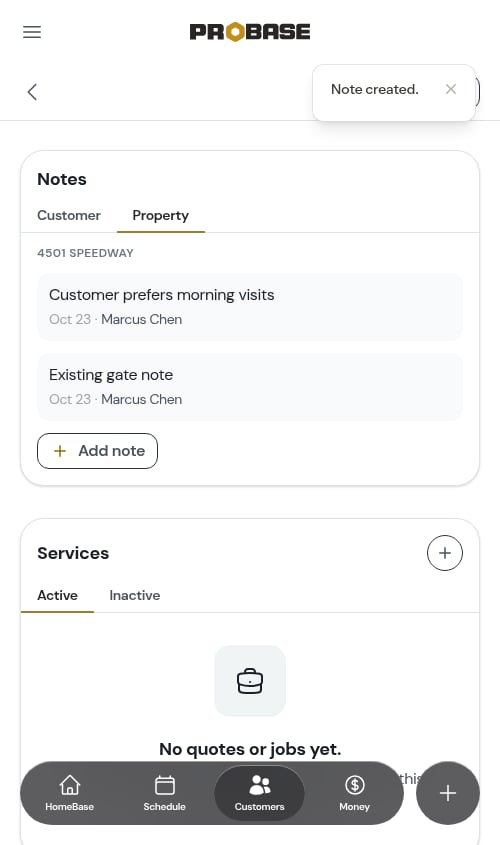
Customer and property notes both live in the Notes card, which sits on the customer page and on each property page. The card has two tabs:- Customer — notes about the customer, opens first
- Property — notes about the property, labelled with the street address so you always know which location you’re looking at
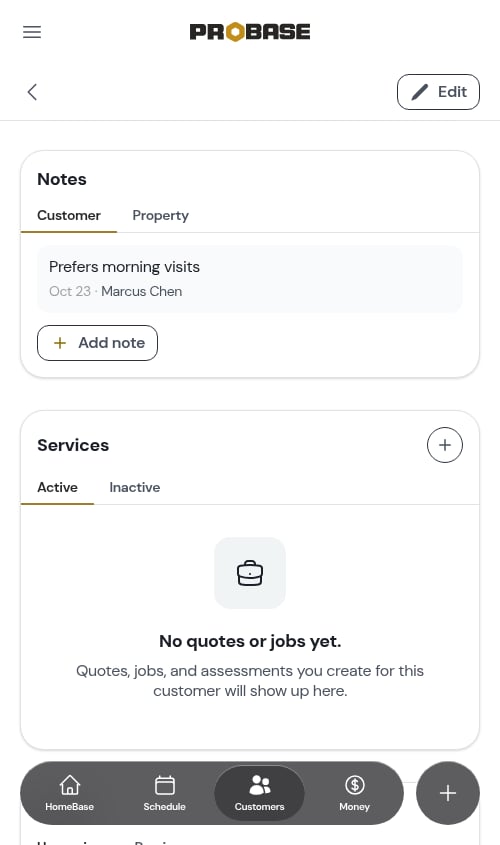
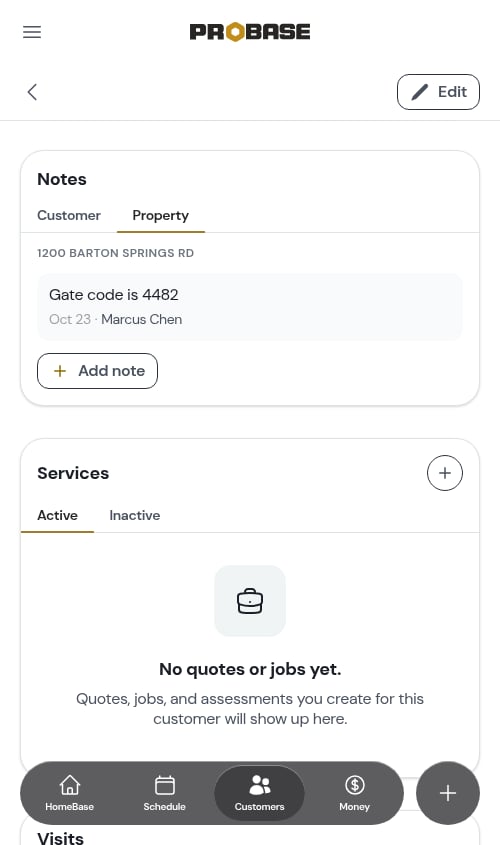
Where the Property tab appears. If a customer has just one property, the Notes card on their customer page covers both the customer and that property. If they have several, the customer page shows only the property list — open the property you want and use the Notes card on that property’s page.
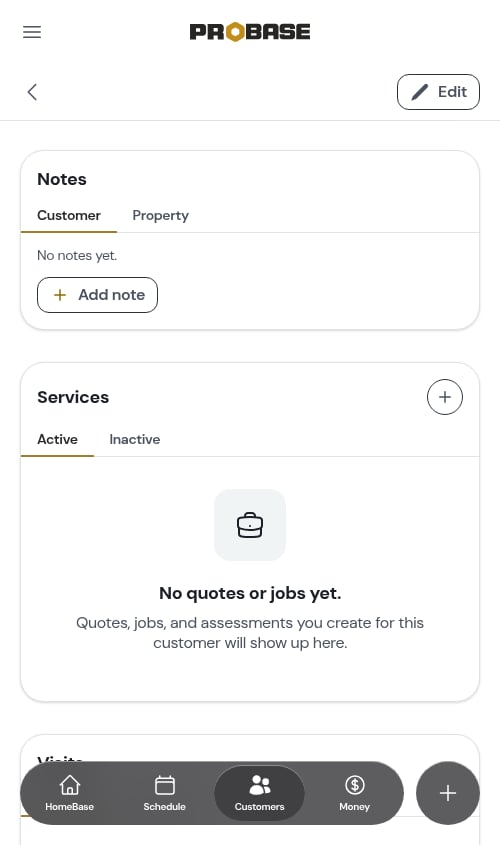
Adding a note
1
Open the Notes card
Go to Customers in the sidebar and open the customer. Scroll down to the Notes card.To add a note about a specific property instead, open that property’s page and scroll to its Notes card.
2
Pick the right tab
Choose Customer for information about the person, or Property for information about the location.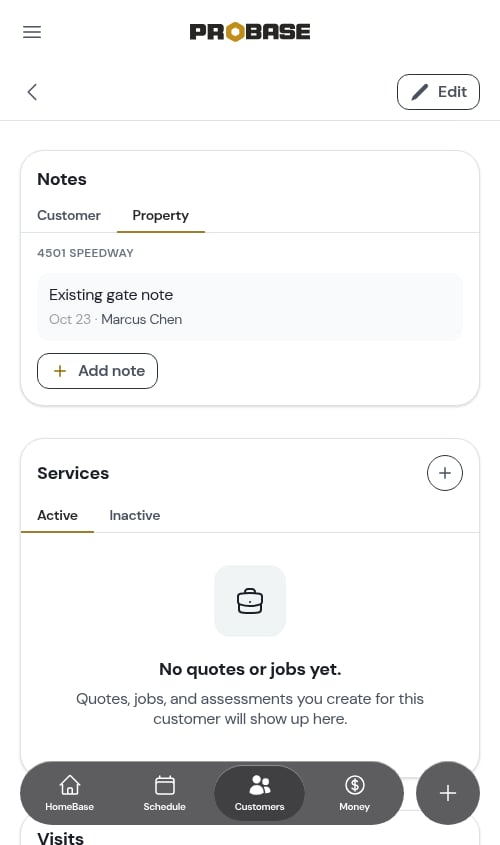
3
Tap Add note
The Add note row sits at the bottom of the list. Tapping it opens the Add Note window.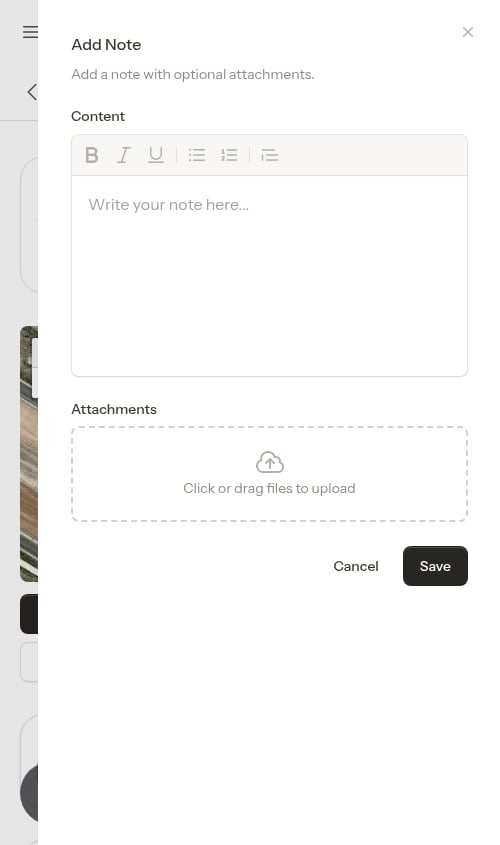
4
Write your note
Use the editor to write your note. You can:
- Type plain text
- Format text (bold, italic, underline)
- Create bulleted and numbered lists
- Add block quotes
5
Attach files (optional)
In the Click or drag files to upload area, tap to pick files or drag them in. You can attach several, and any file type is supported — images, PDFs and documents.
While you’re still writing, each file you’ve picked is listed with a small thumbnail (or a document icon) and its filename, plus a ✕ to remove it. Once the note is saved, clicking an image opens it full size.
6
Save the note
Tap Save. The note appears in the card straight away, without leaving the page.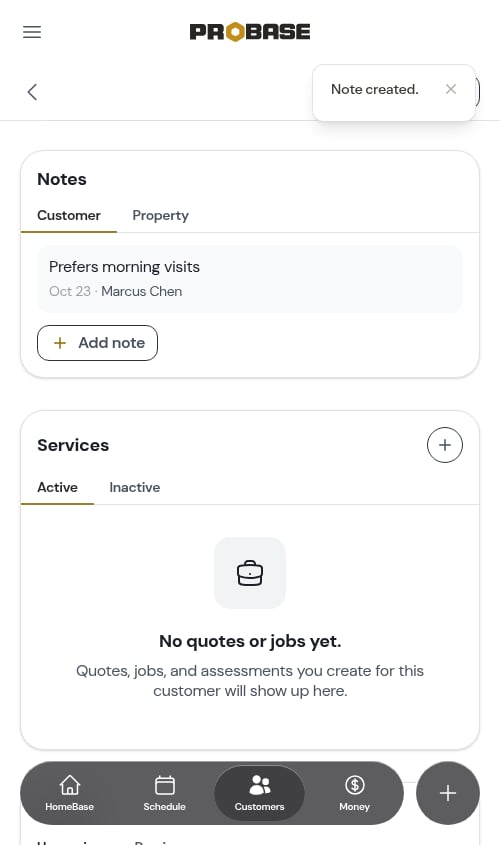
Editing or deleting a note
Tap any note in the card to open it. The Edit Note window lets you change the text, add or remove attachments, and delete the note outright.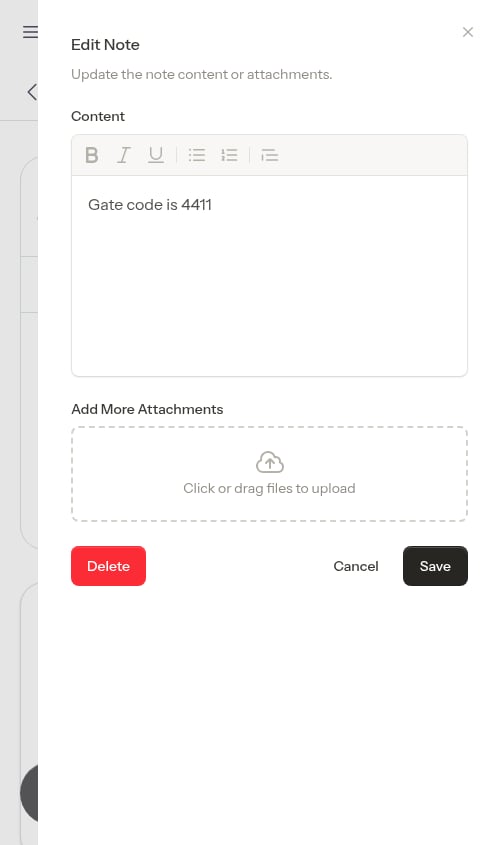
- Tap Save to keep your changes.
- Tap Delete to remove the note. You’ll be asked to confirm first.
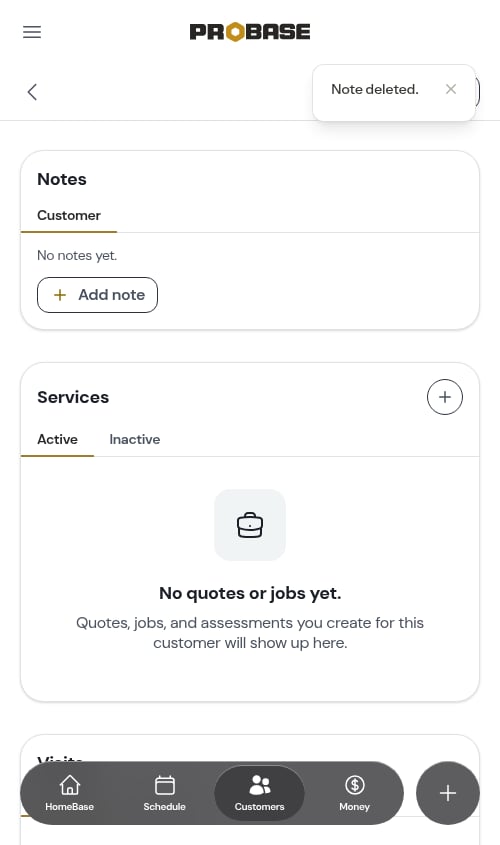
Delete only appears if your role is allowed to delete notes, and the Add note row only appears if your role is allowed to create them. See Roles and permissions.
Notes on a visit
Anything about one particular visit is written on the visit itself, not here. Open the visit and tap the Notes tab — the box at the top, labelled This visit, saves as you type.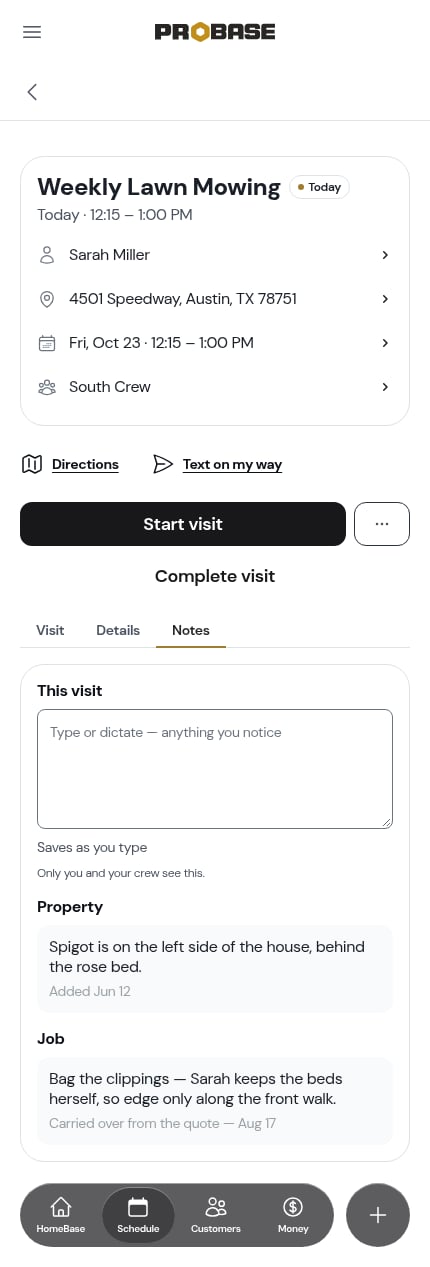
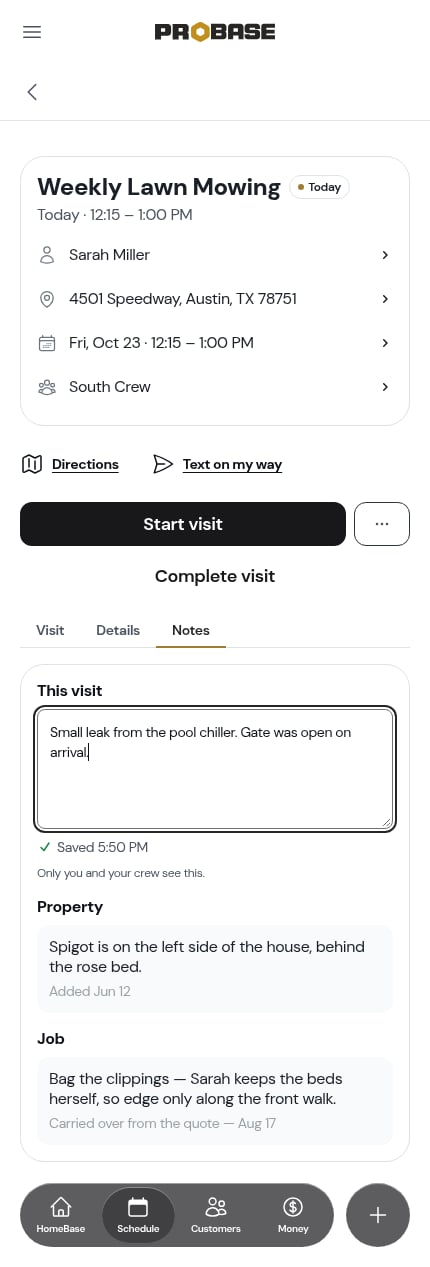
Notes about the visit are internal — only you and your crew read them. What the customer sees is the Customer notes you write on the completion form.
File attachments
What you can attach
- Images — property photos, equipment pictures, before/after shots
- PDFs — contracts, quotes, diagrams
- Documents — customer communications, instructions
Viewing attachments
- Images appear as inline previews below the note text. Click one to open it full size, with a Download button.
- Other files appear as download links with the filename and file size.
Managing attachments
- Add attachments when creating or editing a note
- Remove attachments while editing by tapping the ✕ on each file
- All attachments are deleted when you delete the note
Best practices
Write clear, actionable notes
- Be specific: “Prefers text communication, no calls” instead of “Has preferences”
- Include context: “Customer is a teacher, only available after 3 PM”
- Use formatting to highlight important information
Put the note at the right level
- Customer tab — communication preferences, billing arrangements, how they like to be dealt with, how you got the account
- Property tab — gate codes, parking instructions, pet warnings, property layout, equipment locations
- The visit’s notes pad — what was done on a specific visit, and anything you noticed while you were there
Keep notes updated
- Edit notes when information changes
- Delete outdated notes so the list stays relevant
- Add new notes as you learn more about the customer
What a lead wrote on your contact form isn’t a note. When someone fills out your contact form and writes something in the “Additional information” box, their words open an assessment and show at the top of their page in a tinted From your contact form block — not in the Notes card, so your own notes stay yours. See Their words sit at the top of their page. Leads from before this change may still carry an old property note labelled Lead Form instead of a team member’s name.
On a customer from a connected marketplace, notes are read-only. Both tabs of the Notes card show the notes that came from the marketplace, but there’s no Add note row and tapping a note doesn’t open it for editing. A marketplace visit has no Notes tab at all for the same reason — the marketplace’s notes are summarised for you in the briefing above the tab. See Marketplace customers.
On an archived customer, notes are read-only too. The full history stays viewable, but nothing can be added, changed or deleted.
Next steps
- View customer information to see full details and history
- Add properties to organise services by location
- Notes and photos on a visit for the notes pad and the visit’s Notes tab