Overview
When work is finished, mark the appointment as complete. The completion form lets you document visit notes, customer-facing notes, photos, and service records all on one screen. For recurring services, a final scheduling step appears after you confirm completion. For Jobs: Document completion notes, photos, and service records, then optionally schedule the next appointment. For per-service billing, completing an appointment automatically creates a charge on the customer’s account. For Assessments: Document your assessment findings and create a quote with pricing and service details based on what you observed.Completing a Job appointment
Jobs are confirmed work where you perform the service and document what was done.1
Open the appointment
Click on the appointment from the calendar or from the service details page. This opens the dedicated appointment detail page.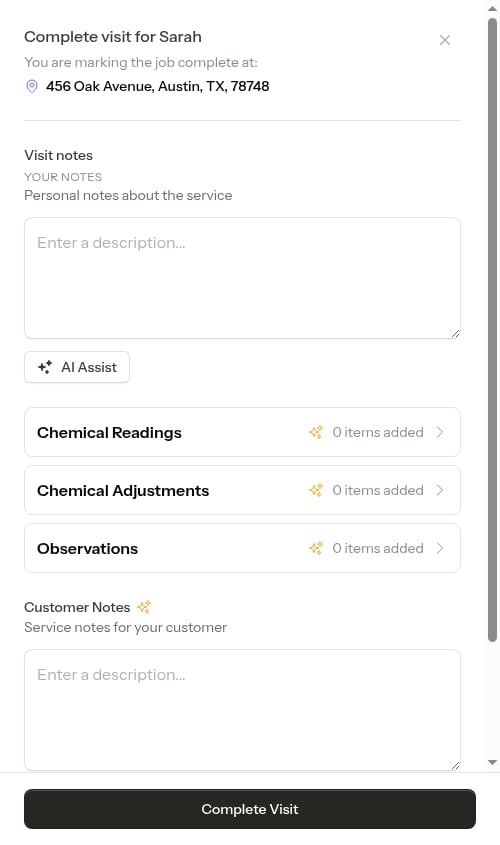
2
Add any extra charges (optional)
Before completing, you can add additional line items for extra work performed or materials used. From the appointment detail page, scroll to the Service details section and tap the arrow button to open the service details page. Add any service or material items, then navigate back to the appointment.See Adding service items for full instructions.
3
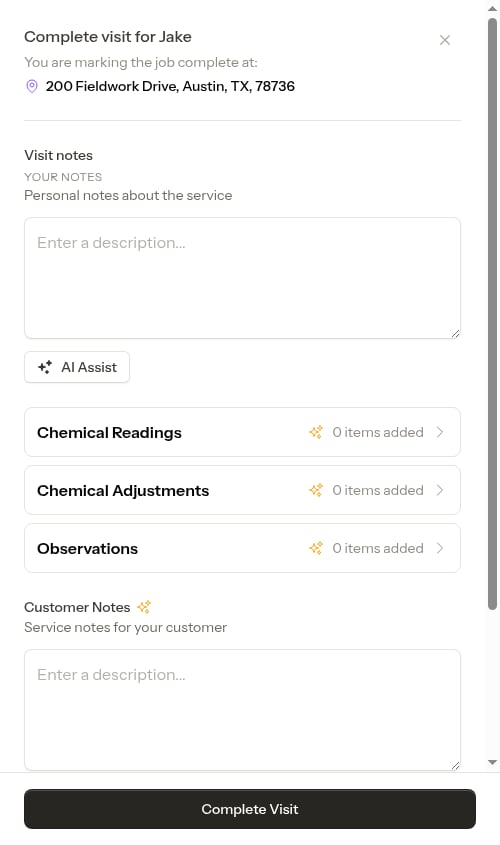
Click Complete Visit
Tap Complete Visit to open the completion form.
If the job has a checklist with required questions, you’ll be routed through the checklist first — required answers must be filled in before you can continue to the completion form. See Completing checklists on a job.
4
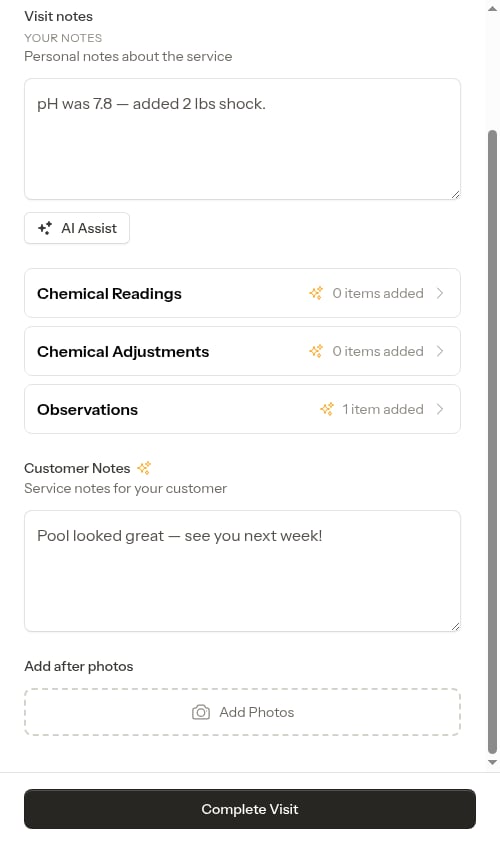
Fill in the completion form
All fields are on one screen:Visit notes — Write your internal notes about the work performed. These are for your own records and are not shown to the customer.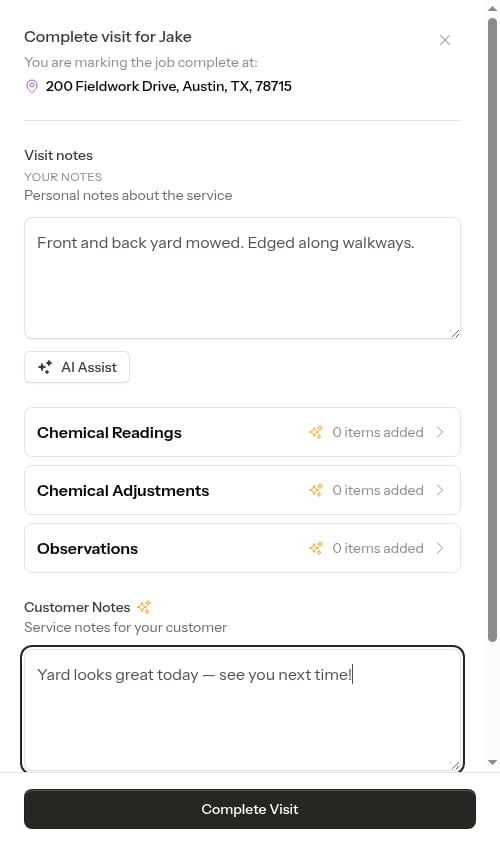

If trades (industries) are enabled for your account, the completion form adapts to the job’s trade. Pool jobs show the full set of pool fields — Chemical Readings, Chemical Adjustments, and Observations — while other trades (and jobs with no trade) show a simpler Observations-only completion. If the job has no trade yet, ProBase shows a “Set an industry for this service” prompt so you can tag it on the spot and unlock the right fields. See Industries (trades).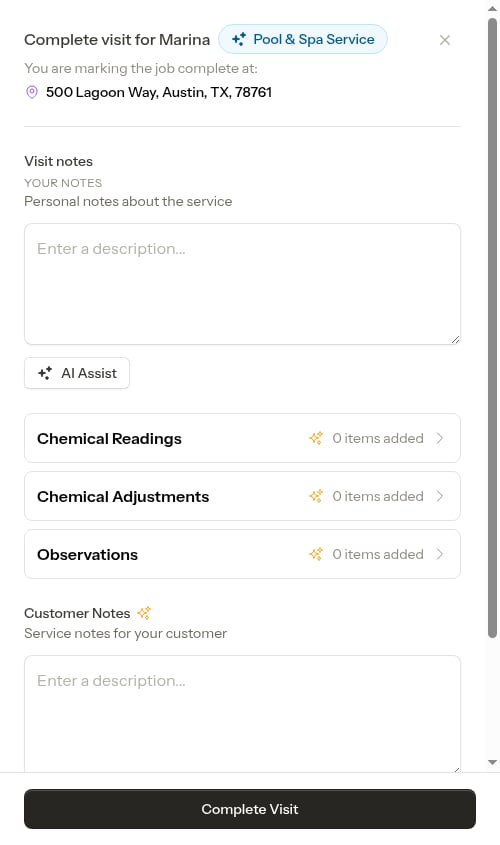
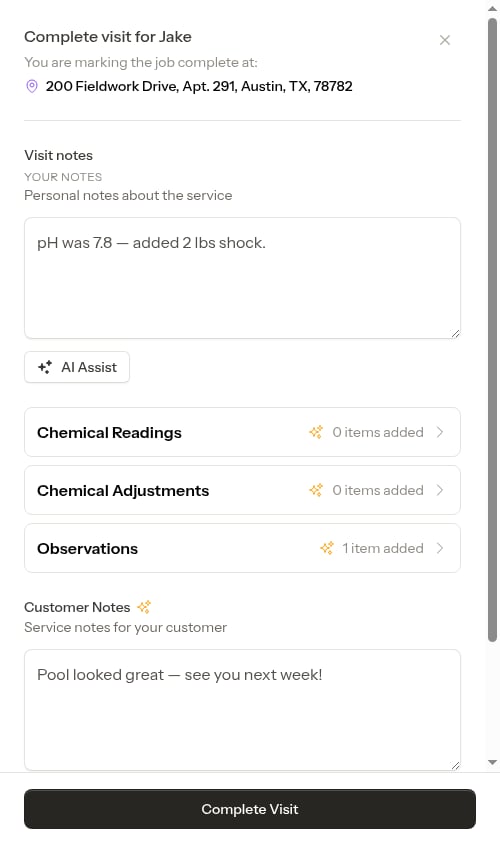
5
Tap Complete Visit
Tap Complete Visit at the bottom of the form.For most recurring services, the next visit is already on the calendar as part of the pre-scheduled chain. When that’s the case, there’s nothing more to schedule — the form simply confirms the date of the next visit and marks this one complete.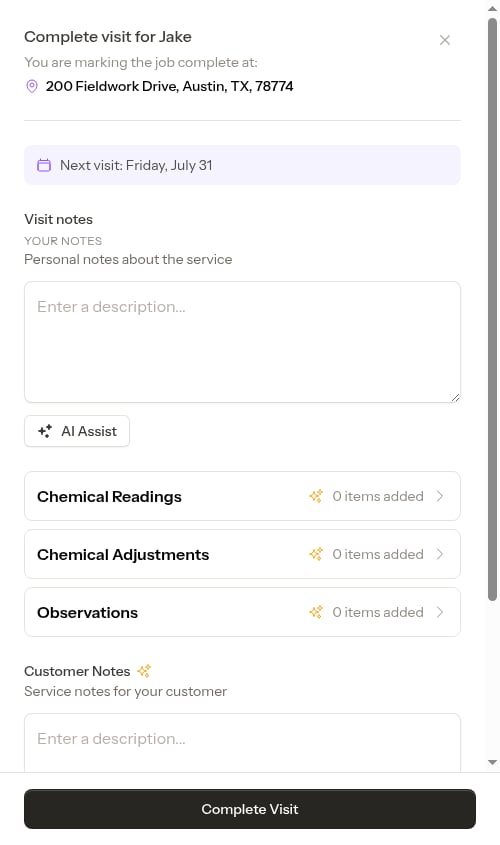
6
Schedule the next visit (only when none is booked)
If a recurring service has no upcoming visit on the calendar — for example after you skipped scheduling on a previous visit — a scheduling step appears so you can book the next one. The date and time are pre-filled based on the service interval.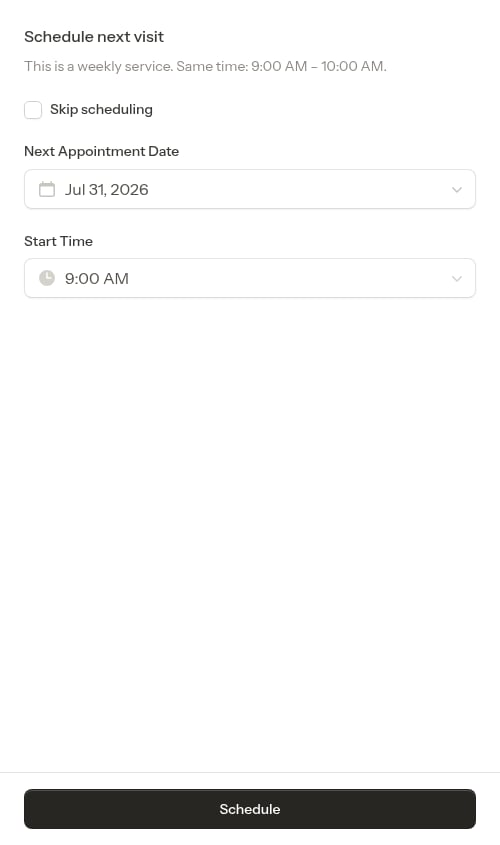

7
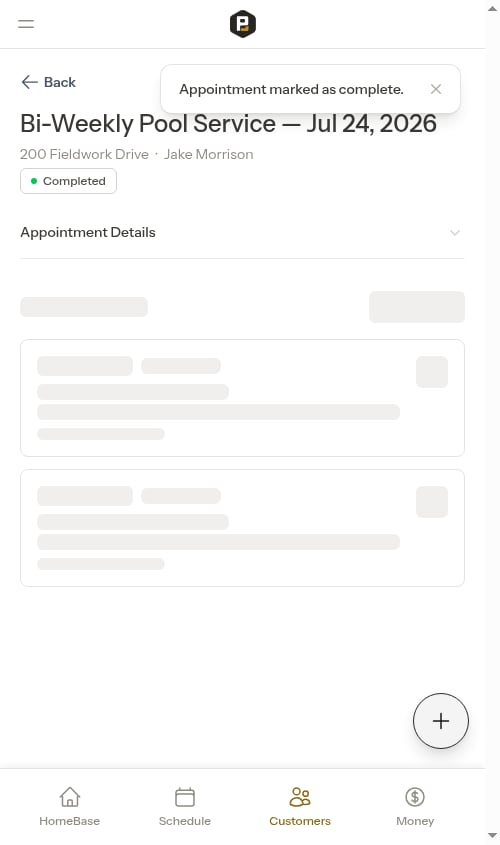
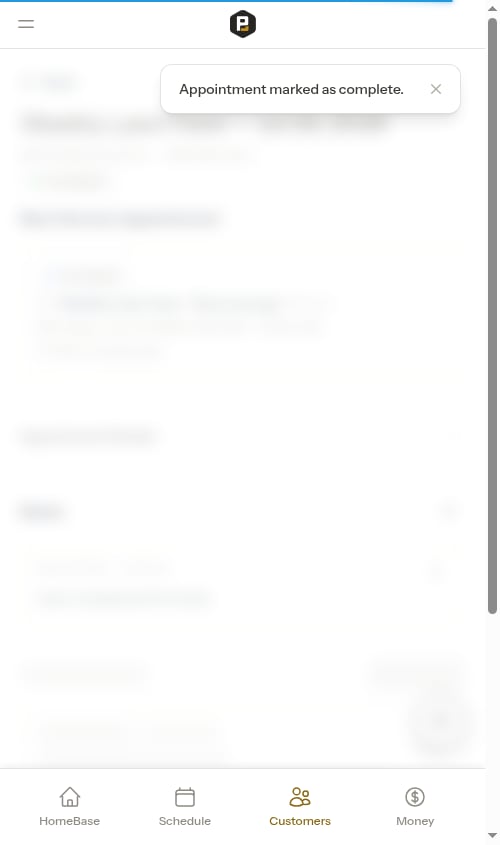
View the completed appointment
After completing, the appointment detail page shows the completed status with your visit notes and service records.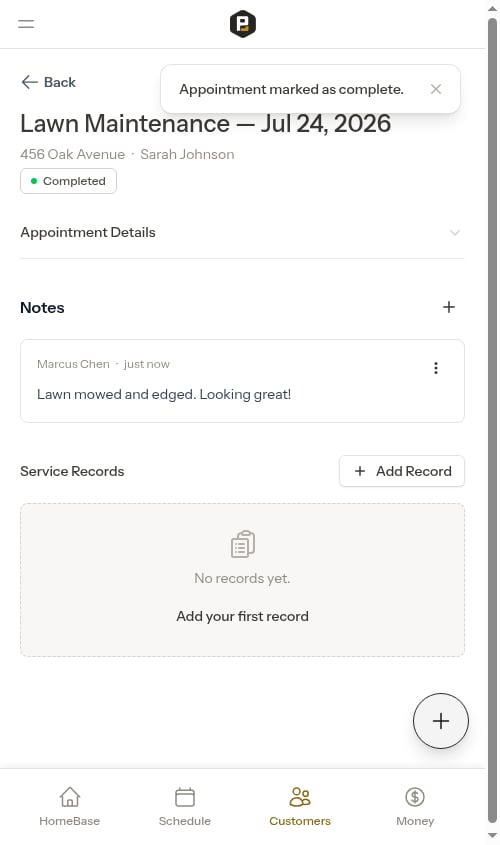
8
Send the invoice (optional)
After completing a job appointment, a Send Invoice button appears as the primary action when you open the appointment from the calendar.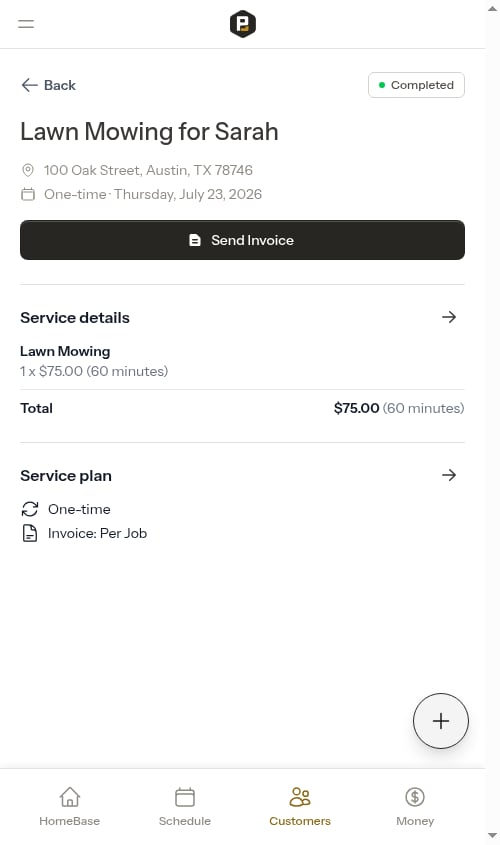
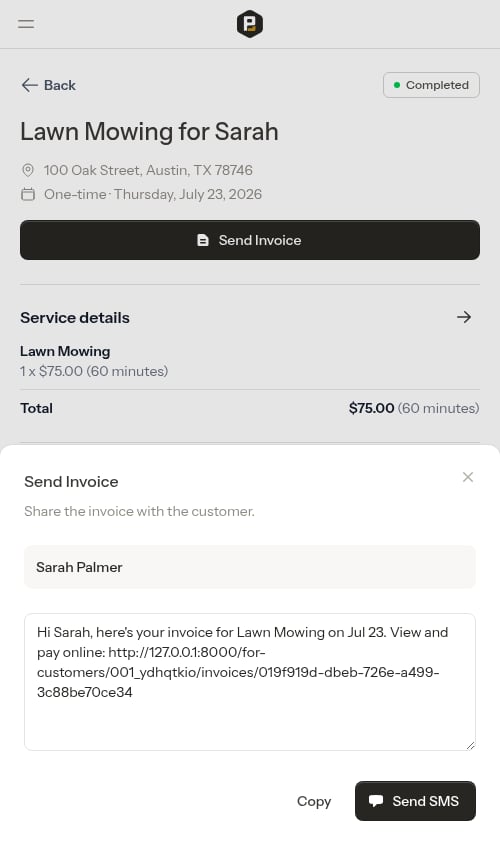
- Send SMS — Opens your messaging app with the message pre-filled (shown when the customer has a phone number on file)
- Copy — Copies the full message, including the payment link, to your clipboard so you can paste it wherever you like
- Copy Message — Also copies the full message to your clipboard (shown instead of Send SMS when no phone number is on file)
Already sent the invoice? Tapping Send Invoice again jumps you straight to the SMS compose step with the same invoice — no second invoice is created. Use this when you need to re-share the payment link with the same customer.
Completing an Assessment appointment
Assessments are on-site evaluation visits where you assess the property and create a quote for the customer based on what you find.1
Open the assessment appointment
Click on the appointment from the calendar or service details page.
2
Click Complete Assessment
Click the Complete Assessment button to open the assessment completion form. Everything — notes, quote line items, summary, and photos — is on a single screen.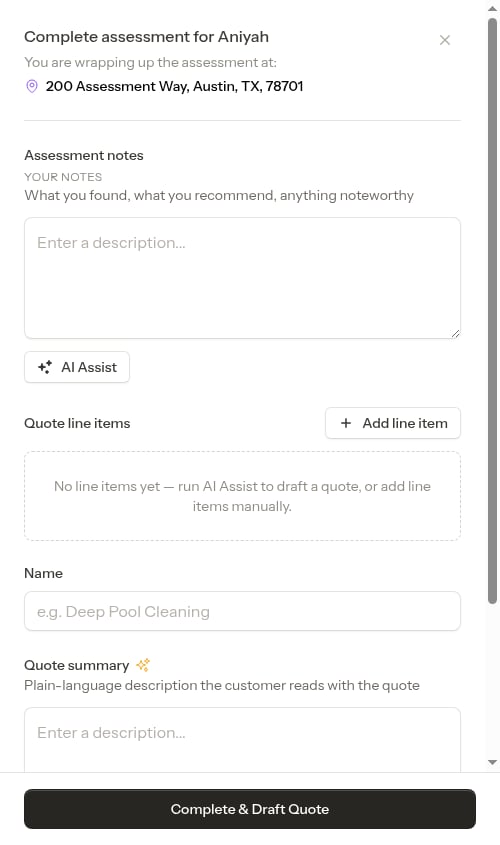
If the assessment has a checklist set to appear on assessments, a Finish checklists step opens first — fill in any required questions and tap Continue to reach the quote form. See Completing an assessment with a checklist.
3
Enter your assessment notes
Write what you found during your visit in the Assessment notes field. Describe the property condition, work needed, and anything relevant.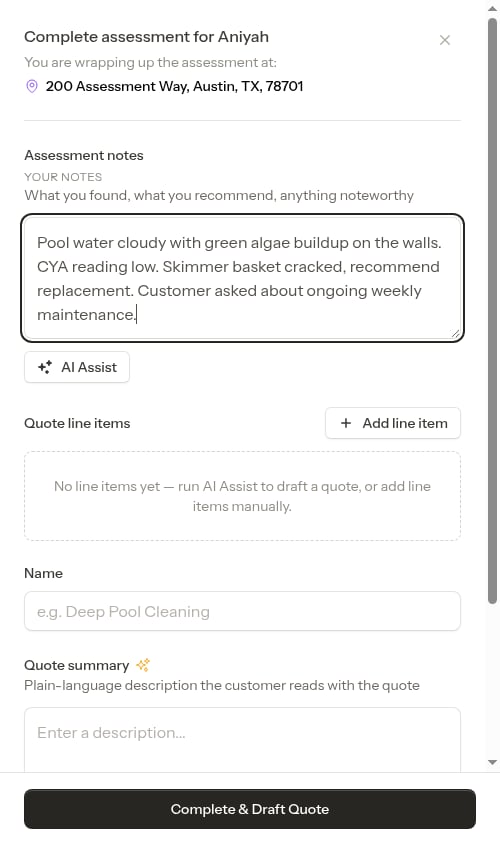
4
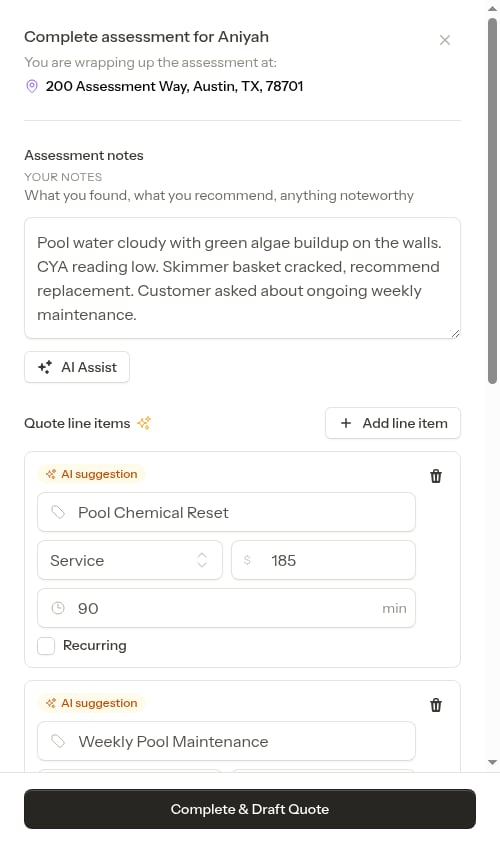
Review or add quote line items
The Quote line items section lists the services and materials to include in the quote. If you used AI Assist, it pre-fills this list from your notes. You can edit, remove, or add items manually using Add line item.Each line item has:
- Name — what the service or material is called (the tag icon marks this field)
- Type — Service or Material
- Price — what you’ll charge
- Duration in minutes (services, with the clock icon) or Quantity (materials, with the hashtag icon)
-
Recurring — check if this item should repeat on future visits
5
Name the quote (required)
Enter a Name for the quote (e.g. “Deep Pool Cleaning”). This is required — when the customer accepts the quote, the resulting job uses this name as its title.If you ran AI Assist and left the field empty, the AI’s suggested name fills in automatically. You can always edit it before completing.
6
Add a quote summary (optional)
The Quote summary field holds a customer-facing description of the work to be done. If you used AI Assist, this is filled in automatically. You can edit it or leave it blank.
7
Upload photos (optional)
Tap the photo upload area to attach photos of the property. Photos are attached to both the assessment and the new quote.
8
Click Complete & Draft Quote
Tap Complete & Draft Quote at the bottom. The assessment is marked complete and you’re taken to the new quote page.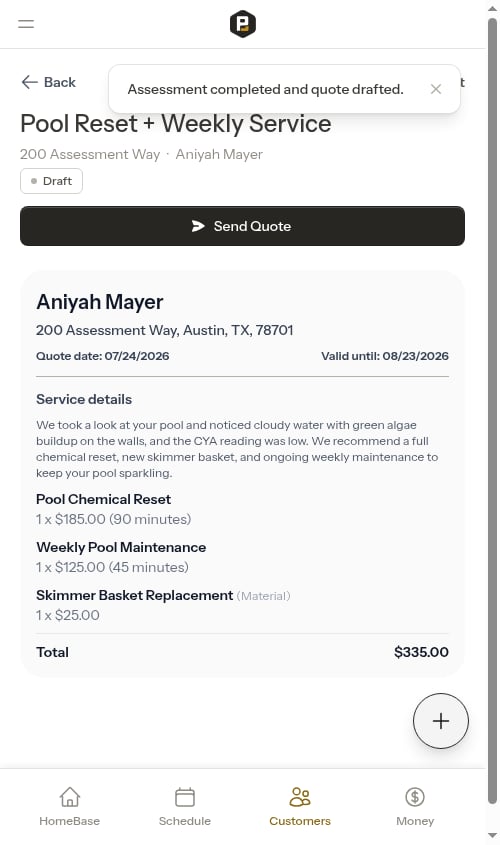
Photos you uploaded are automatically attached to both the assessment and the new quote.
Your work is saved as you go
If you have to step away mid-completion — to pull supplies, take a call, or jump to another screen — Probase saves your in-progress work automatically. When you reopen the completion form for the same appointment, everything you’d already entered is still there:- Visit notes and Customer Notes are autosaved when you tap out of the field
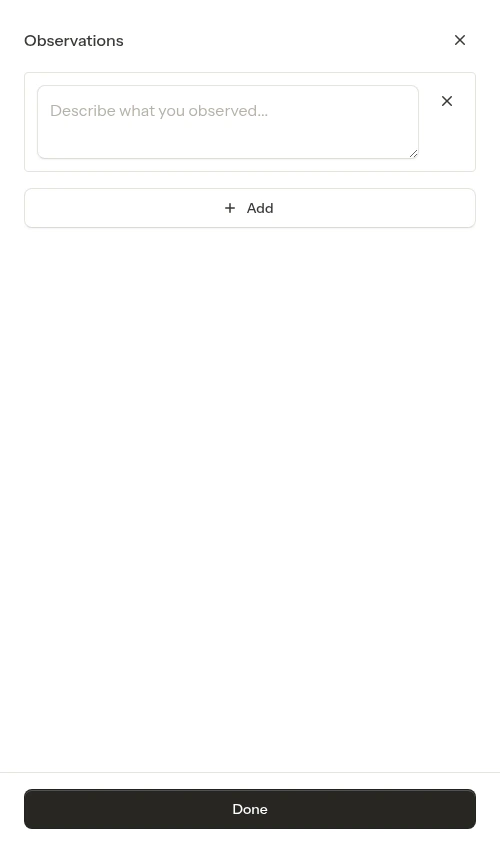
- Service records (chemical readings, chemical adjustments, observations) are saved each time you tap Done on a category screen
- Photos uploaded to the form persist even if you close and reopen it

What happens when you complete
When you mark an appointment complete:- The appointment status changes to Completed
- Your completion notes and service records are saved
- For per-service billing: A charge is automatically added to the customer’s account for the base service price, plus separate charges for any service items you added
- For recurring services: The next visit is already on the calendar as part of the pre-scheduled chain (or, if none is booked, you can schedule it from the completion form). Recurring service items carry forward to upcoming visits automatically
- The completed appointment appears in the appointment history
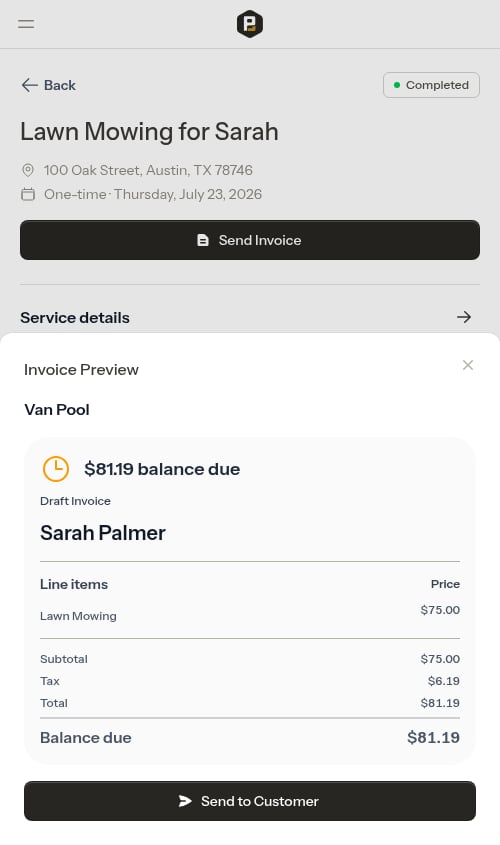
- A Send Invoice button appears on the appointment detail — tap it to preview and send the invoice to the customer
AI-powered note parsing
When completing a job, you can use AI to automatically extract structured service records and draft customer-facing notes from your visit notes:- Write your notes naturally in the Visit Notes field
- Click the AI Assist button (✦)
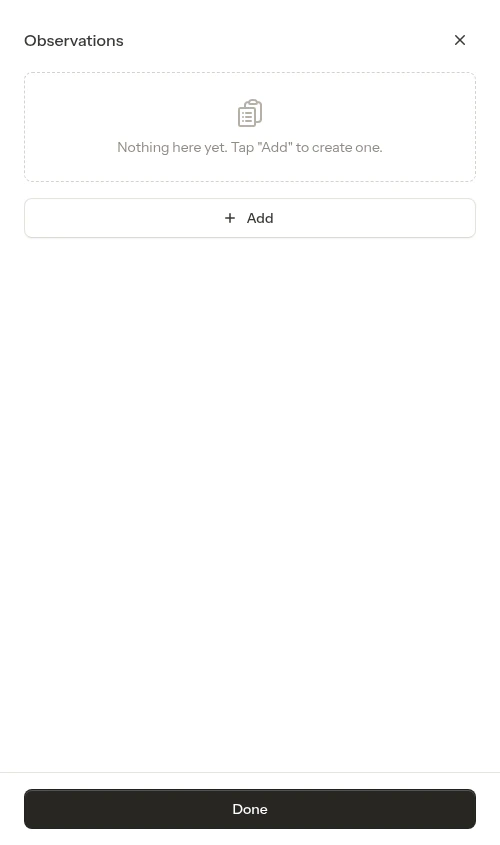
- The AI extracts service records and populates the category buttons (Observations, Chemical Readings, Chemical Adjustments), and drafts a Customer Notes summary from your notes
- Review and edit any parsed entries — tap a category button to open its screen, where you can edit values or remove entries
- Tap Complete Visit when ready
“pH was 7.2, chlorine at 3 ppm. Added 2 lbs shock. Pool looked clear, no algae.”This creates:
- Chemical Reading: pH = 7.2
- Chemical Reading: Chlorine = 3 ppm
- Chemical Application: Shock = 2 lbs
- Observation: “Pool looked clear, no algae”
Materials and parts used on the visit aren’t captured here — add those as invoice line items on the appointment or service instead, so they appear on the invoice the customer receives. See Adding service items.
On accounts with AI assistance, if the job has checklists, ProBase can run this analysis for you automatically the moment you finish the checklist and continue to the completion form — you’ll see a full-screen “Analyzing your visit…” indicator while it drafts your service records and summary. See Automatic drafting when you finish a checklist.
If AI Assist can’t run right now. AI drafting is a convenience, never a requirement. If the AI is busy or takes too long to respond, you’ll see a brief message — “AI assist is unavailable right now. You can still add records and notes manually.” — and nothing you’ve entered is lost. Just add your service records and notes by hand and complete the visit as usual. You can also tap AI Assist again to retry.
AI-assisted assessment quotes
When completing an assessment, AI Assist generates a full draft quote — not just service records — directly from your notes:- Type your assessment findings in the Assessment notes field
- Click the AI Assist button (✦)
- The AI reads your notes and suggests quote line items with names and pricing based on what you described
- A suggested Name for the quote and a customer-facing Quote summary are filled in automatically
- Review the suggestions, adjust the name, pricing, or summary, and add or remove items as needed
- Click Complete & Draft Quote
As with jobs, if the assessment has checklists, ProBase can draft these quote line items automatically as soon as you finish the checklist and continue — a full-screen “Analyzing your visit…” indicator appears while it works. See Automatic drafting when you finish a checklist.
Automatic billing
For services with per-service billing, completing an appointment automatically:- Creates a billing line item (charge) on the customer’s account
- Uses the service’s unit price as the charge amount
- Applies tax based on the service’s tax rate
- Shows the charge in the customer’s billing history
Viewing completed appointments
Completed appointments appear in:- The calendar with a “Completed” status badge (green)
- The service’s appointment history section
- The customer’s activity timeline
- Completion notes
- Service records (observations, chemical readings, materials used, etc.)
- The after photos you attached during completion
- Completion date and time
- The crew assigned to the appointment
After photos
If you attached photos while completing the job, they appear in a Photos section on the completed appointment’s detail page. Tap any thumbnail to open the full-size image in a new tab. The section only shows when the visit has photos, so appointments completed without any stay clean.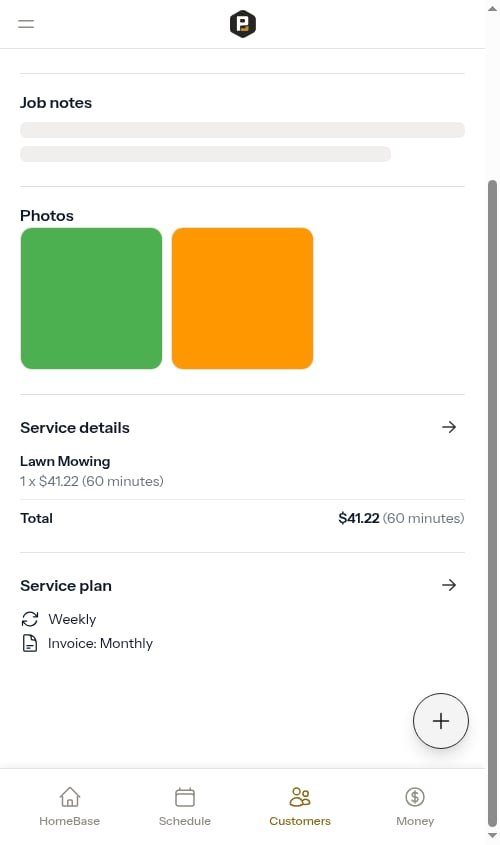
Completing appointments on cancelled services
If a cancelled service still has any scheduled appointments that need to be completed, you can still mark them as done:- Open the scheduled appointment from the calendar or service details page
- Click the Complete Visit button
- The completion form works the same as for active services
- Important: The “Schedule Next Visit” step is automatically skipped for cancelled services
- For per-service billing, charges are still created when completing appointments