Why this matters
Crews are the teams that perform your services. Setting them up in ProBase allows you to schedule work efficiently, optimize daily routes, and track which crew completed each job. Even if you’re a one-person operation, you’ll have a crew for yourself.Where crews live
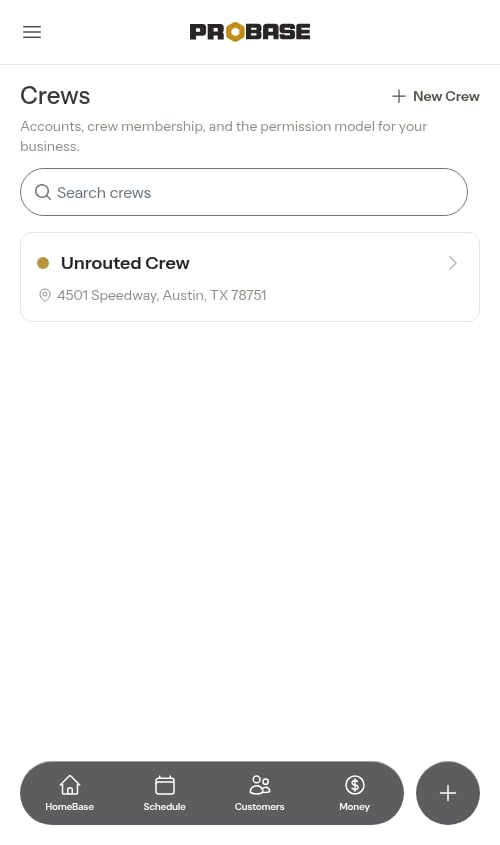
Your crews sit under Team Roster in the sidebar. Open it and choose the Crews tab — you’ll see a card for each crew showing its color, its members, its starting location, and how many upcoming appointments it has.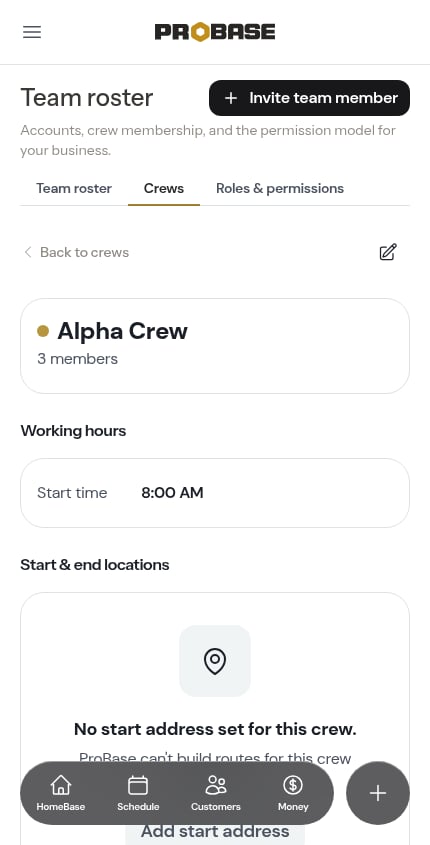
Your default crew
When you create your ProBase account, a default crew named “My Crew” is automatically created for you. This crew is ready to use immediately for scheduling appointments. You can:- Edit it to add a more descriptive name
- Add the people who work on it
- Add start and end locations for route optimization
- Set its working hours — new accounts start at 8:00 AM to 5:00 PM, Monday to Friday
- Keep using it as-is if you’re a solo operation
If you only have one crew, appointments are automatically assigned to that crew when you schedule work — no need to select a crew each time.
Create a crew
1
Open the Crews tab
Go to Team Roster in the sidebar and click the Crews tab.
2
Tap New crew
Tap New crew. The crew form opens as a full-screen flow headed New crew, with a back arrow in the bar at the top.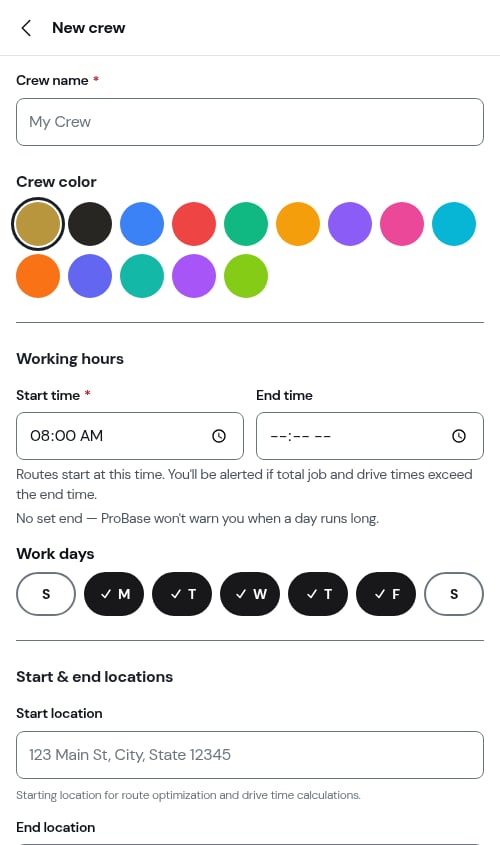
3
Fill in the details
Enter the crew information:
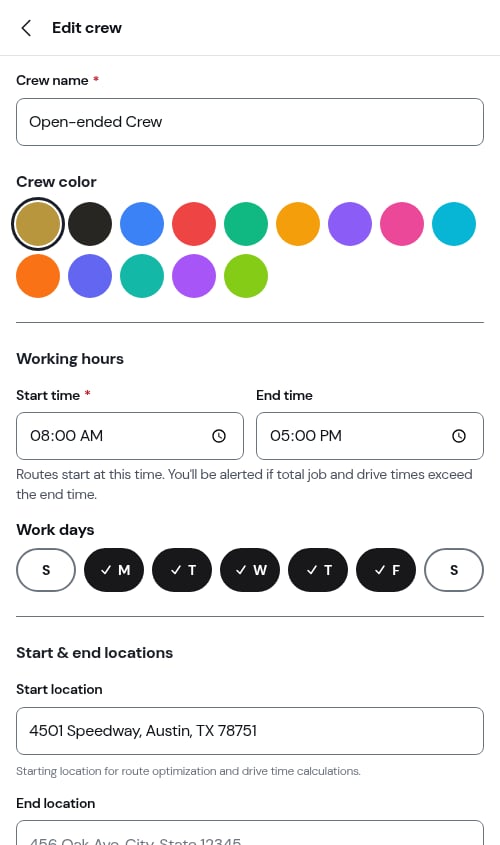
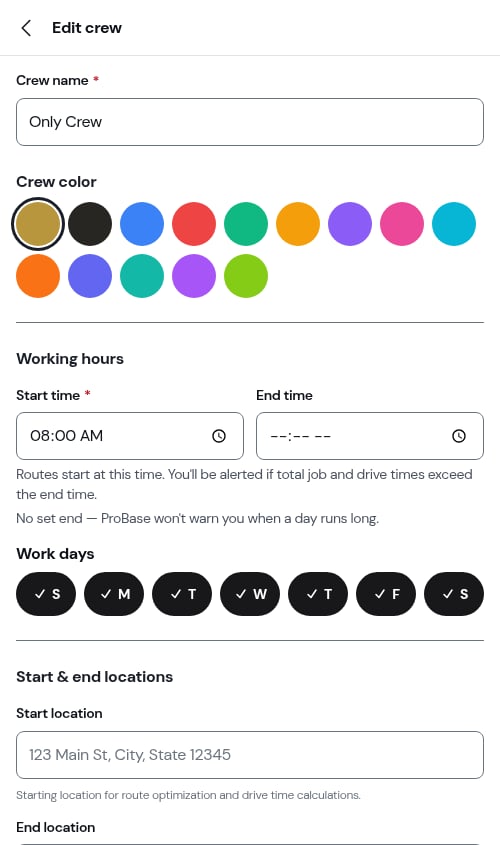
- Crew name — A descriptive label for the crew (e.g., “Team 1”, “South Crew”)
- Crew color — Pick a color from the palette. This color is used on the calendar, the map pins, and crew labels to make it easy to tell crews apart. ProBase auto-picks the first color that isn’t already in use, so you only need to change it if you want a different one.
- Working hours — Start time, End time, and the days the crew works. See Working hours below.
- Start & end locations — where the crew begins and finishes the day. See Start and end locations below.
-
Members — Tap the people who work on this crew to add them (see Add members to a crew below).
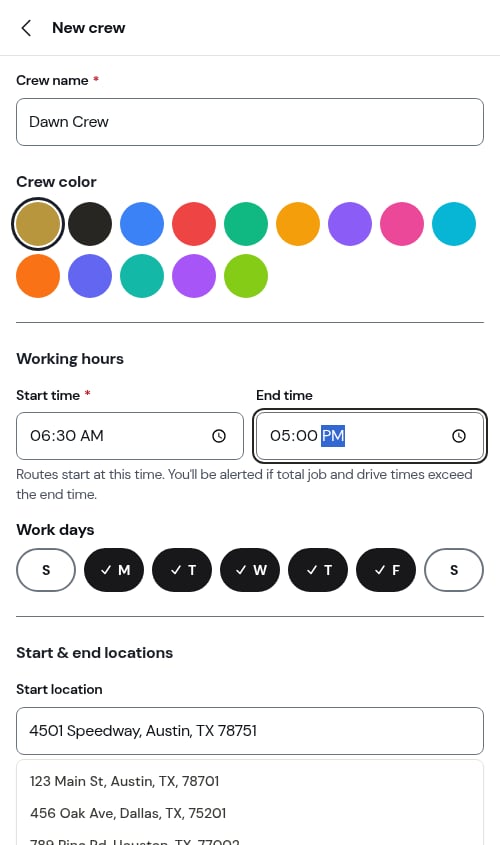
If you’ve already added more crews than there are palette colors, you’ll see a notice that some crews may share the same color. You can still pick any color from the palette.
4
Save
Cancel and Save sit side by side at the foot of the form. Tap Save and the new crew appears in the list, ready to be assigned to appointments.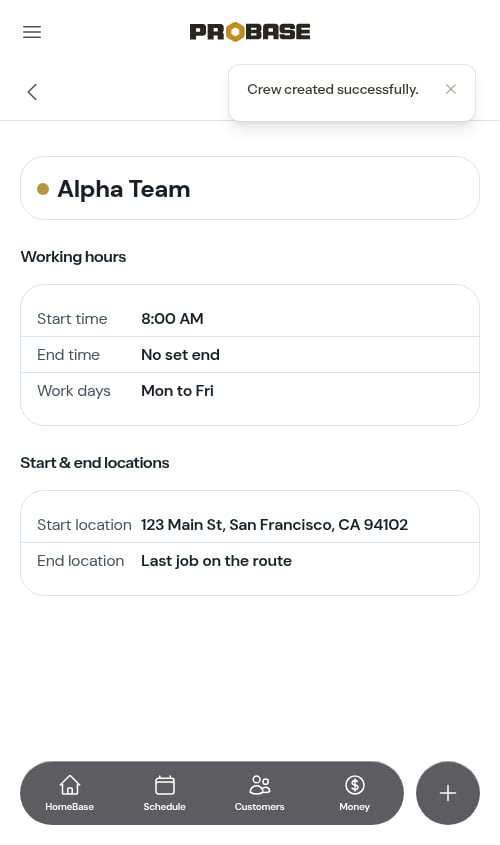
Working hours
Working hours tell ProBase when the crew can actually be out on the road. They’re used to anchor the day, to warn you when a day won’t fit, and to keep work off days the crew doesn’t run.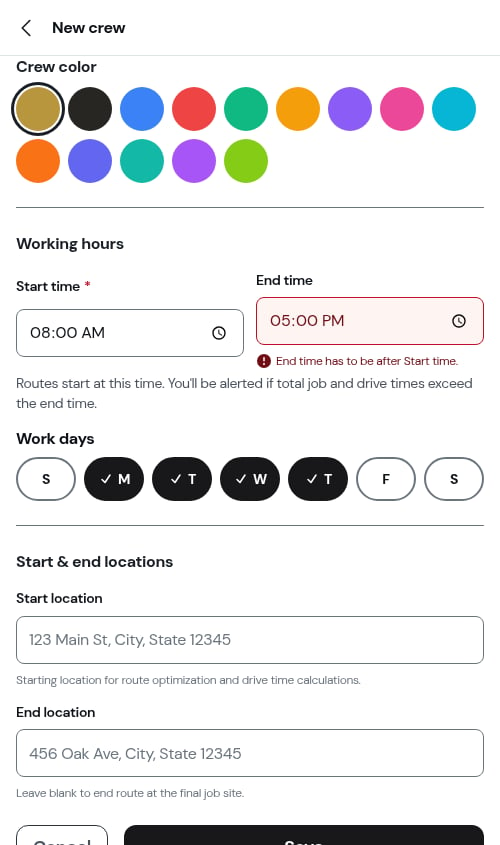
- Start time — when the crew begins each day. Routes start here, and it’s the anchor used when stop times are recalculated after reordering or optimizing.
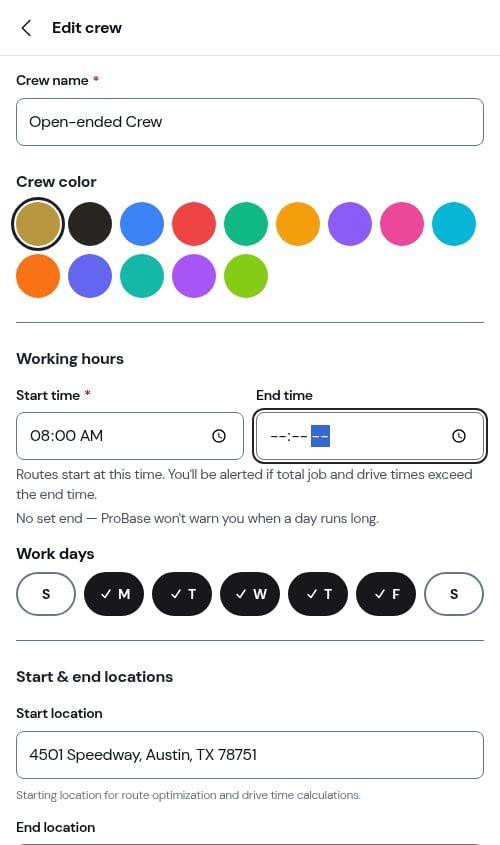
- End time — when the day is supposed to be over. Leave it blank and ProBase simply won’t warn you; a helper appears the moment you clear the field — “No set end — ProBase won’t warn you when a day runs long.”
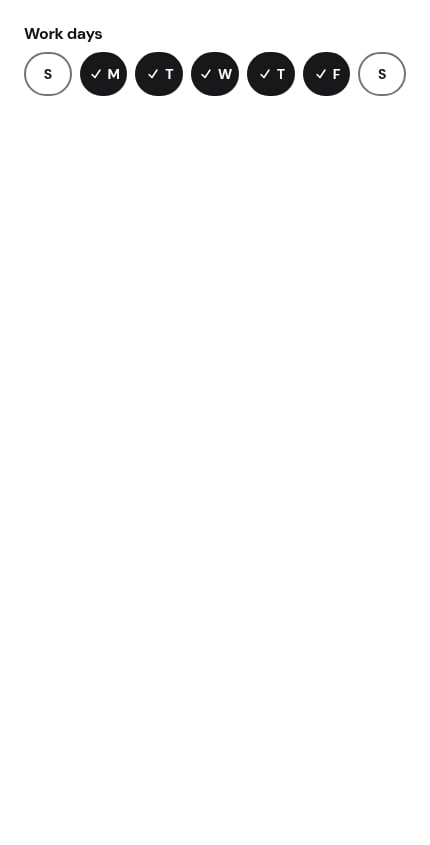
- Work days — tap the S M T W T F S row to switch each day on or off.
End time has to be after Start time. If you type one that isn’t, the form refuses to save and tells you.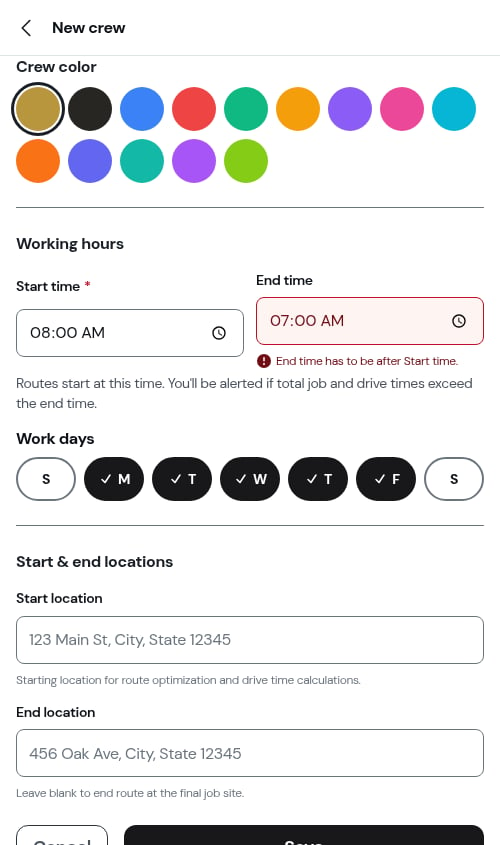
Scheduling on a day the crew doesn’t work
ProBase never proposes a day the crew doesn’t work — when a form suggests “tomorrow”, it rolls forward to the crew’s next working day. If you deliberately pick an off day, it asks once before booking:Schedule on an off day? Tuesday isn’t a working day for this crew. Schedule it anyway?Schedule it books it; Pick another day leaves you on the form. You’re asked once per booking, not once per field.
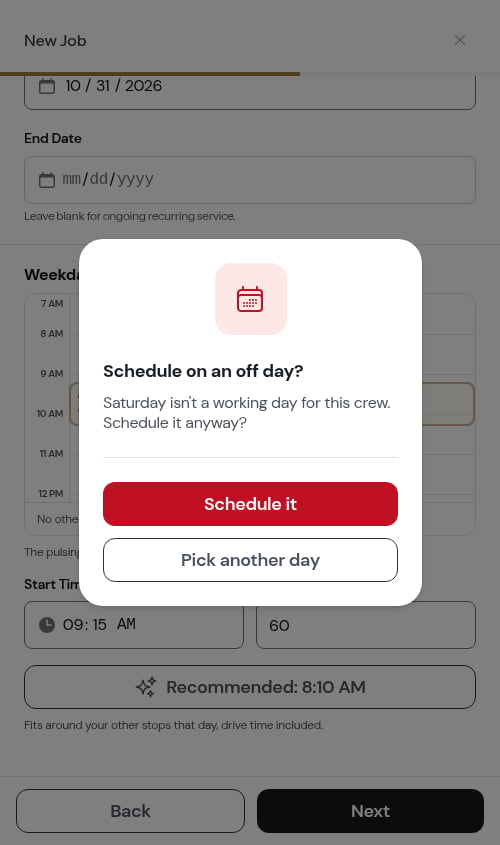
Crews created before working hours existed haven’t been asked about their days, so ProBase treats them as working every day with no set end, and never warns about their hours. Open the crew, set its hours, and save — nothing else about the crew changes.
Start and end locations
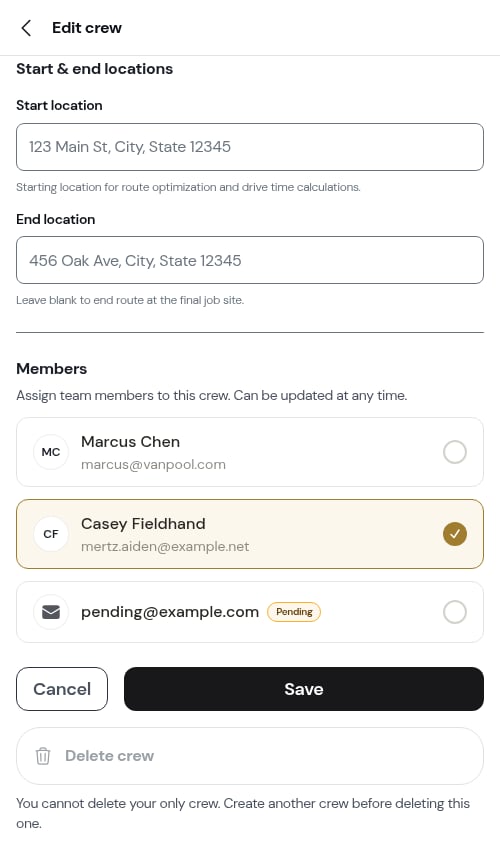
- Start location — where the crew begins their day (shop, home, equipment storage). “Starting location for route optimization and drive time calculations.” Address suggestions appear as you type — see Address suggestions as you type.
- End location — optional. “Leave blank to end route at the final job site.”
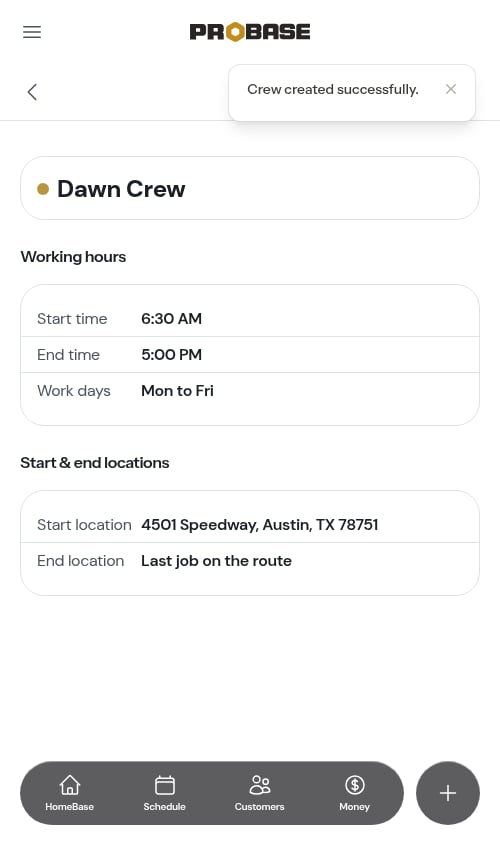
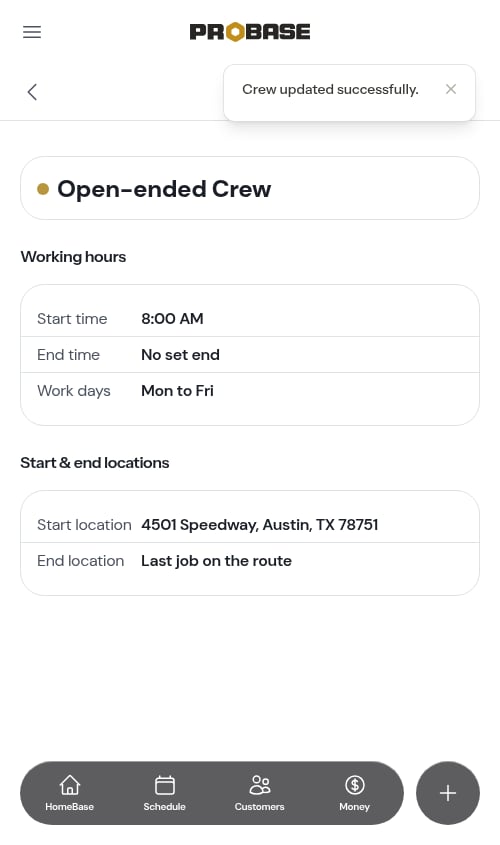
Only the start location is needed for route optimization — it’s where the drive is measured from. The end location just decides whether the day finishes back at a depot or at the last job.
Add members to a crew
Assigning people to a crew tells ProBase who’s doing the work and lets those crew members see the jobs scheduled for them. You can manage a crew’s members in two places:- From the crew — on the crew’s create or edit form, the Members section lists everyone on your team. Tap a person to add or remove them; a checkmark shows who’s on the crew. People you’ve invited but who haven’t joined yet show a Pending badge and can still be added.
- From the person — on the Team Roster, open a member’s Edit member form and use the Crews field to pick which crews they run with.
Deactivated members are automatically dropped from every crew. When you reactivate someone, add them back to their crews — reactivation doesn’t restore crew assignments.
View crew details
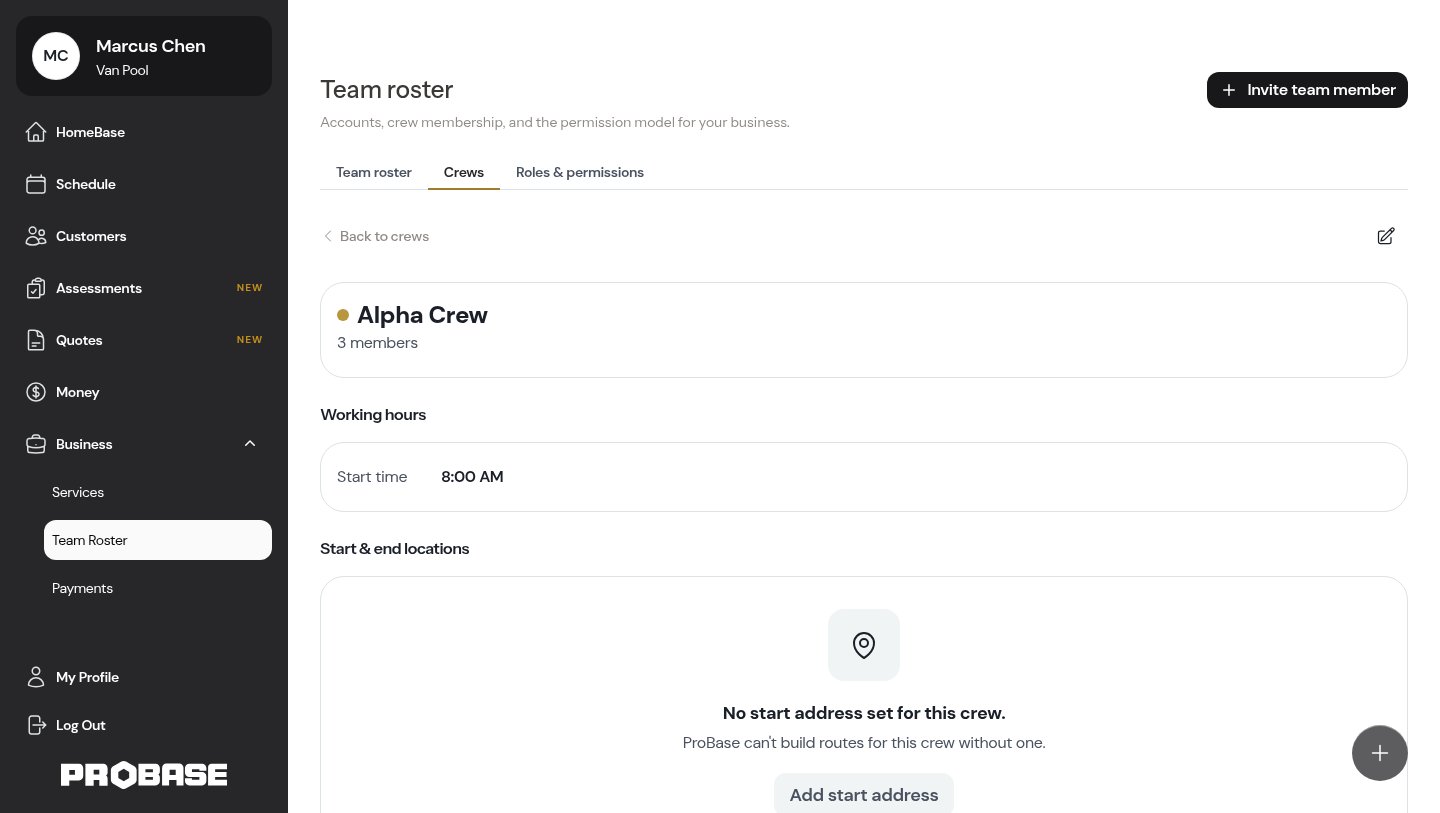
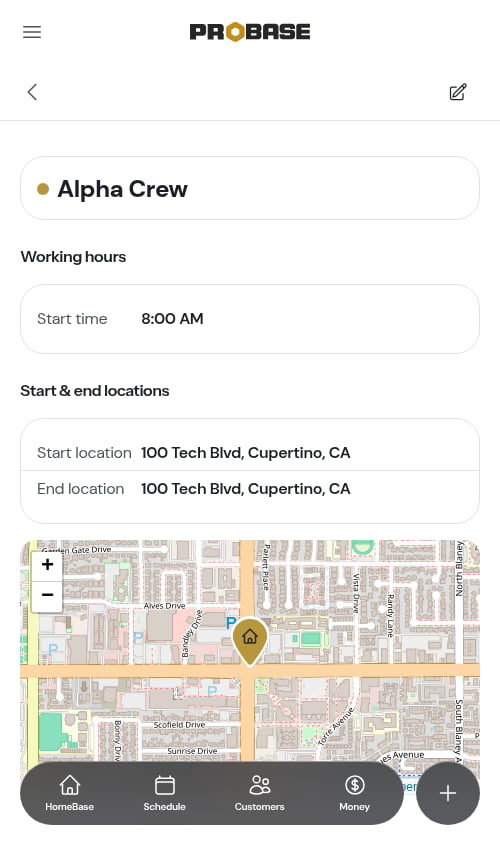
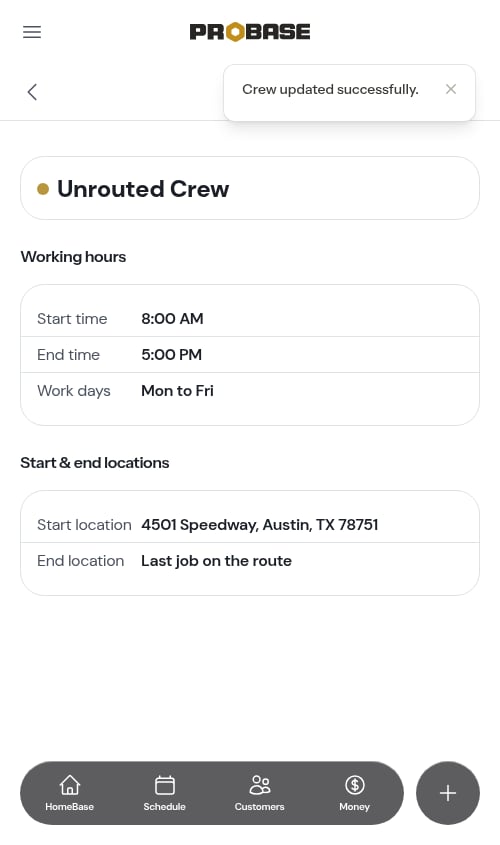
Go to Team Roster → Crews and tap a crew to open its page. The crew’s colour dot and name sit at the top with the member count underneath, and Edit is the pencil in the bar above. Below that, three labelled sections:- Working hours — Start time, End time, Work days. A crew that’s never been given hours shows the Start time alone.
- Start & end locations — the two addresses, with Last job on the route where there’s no end location, and a map of the crew’s start and finish.
- Members — everyone on the crew, with their role.
Edit a crew
- Go to Team Roster → Crews
- Tap the crew
- Tap Edit in the bar at the top
- Change the name, colour, working hours, locations, or members
- Tap Save — or Cancel to back out
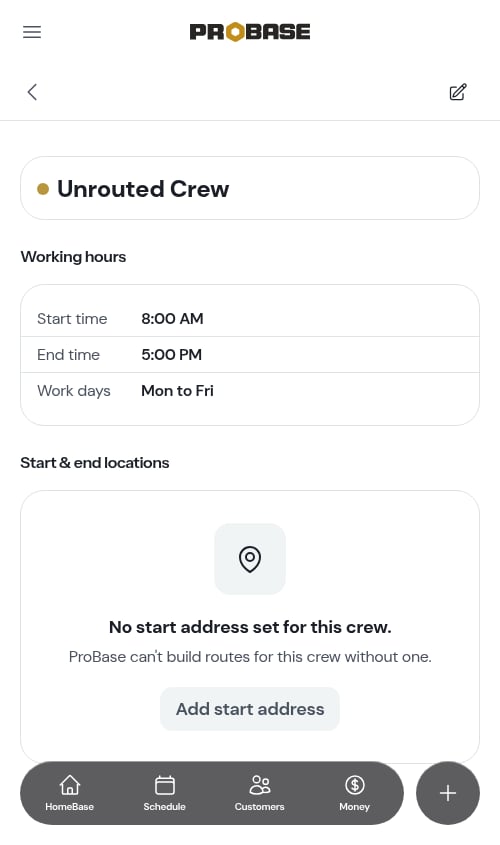
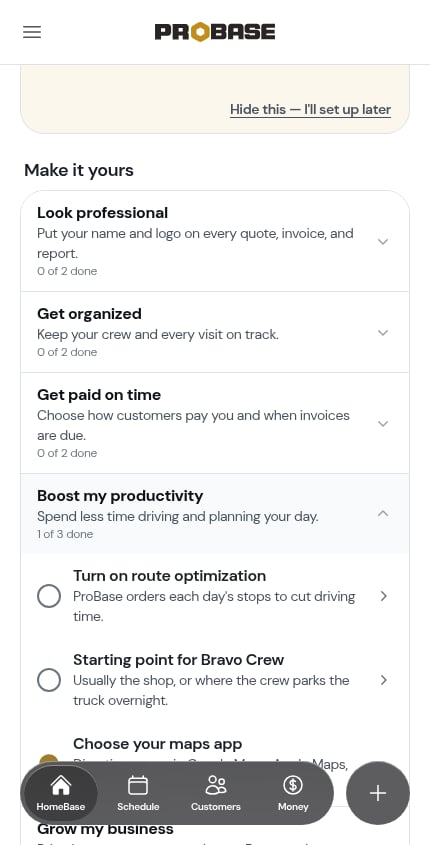
If a crew has no start address
A crew with no start address can’t be routed at all, and ProBase says so in three places. Its card in the Crews list carries an amber line — “No start address — ProBase can’t build routes for this crew.”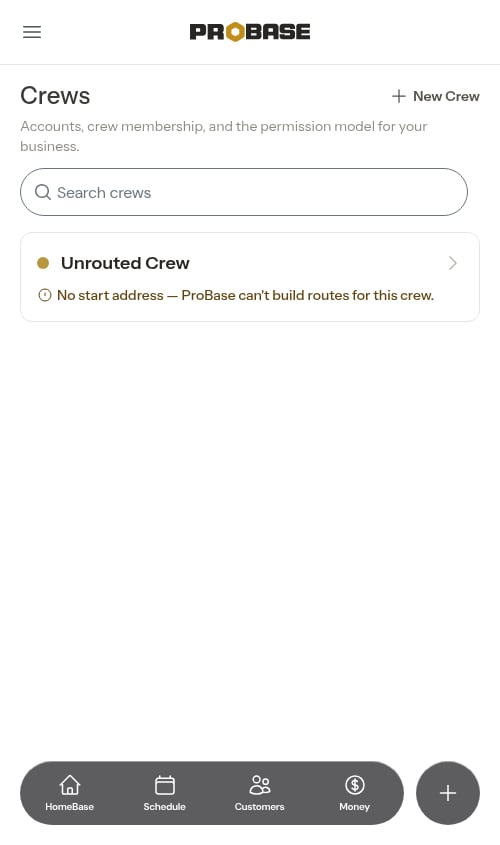
Delete a crew
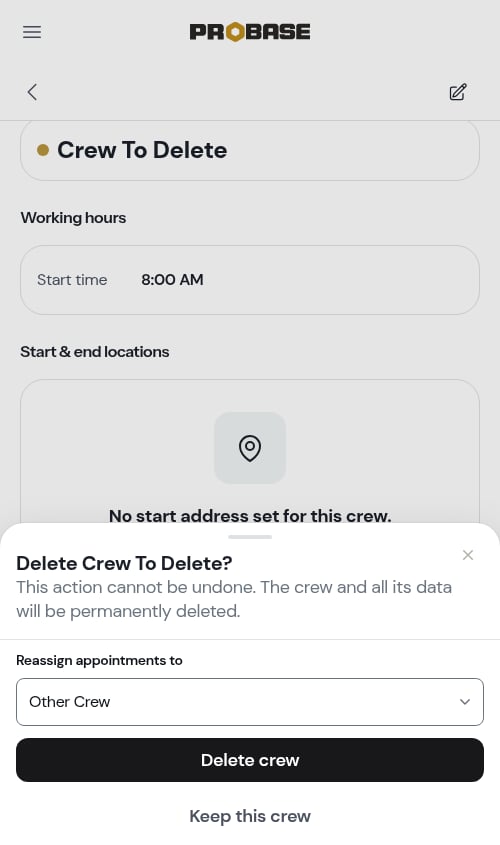
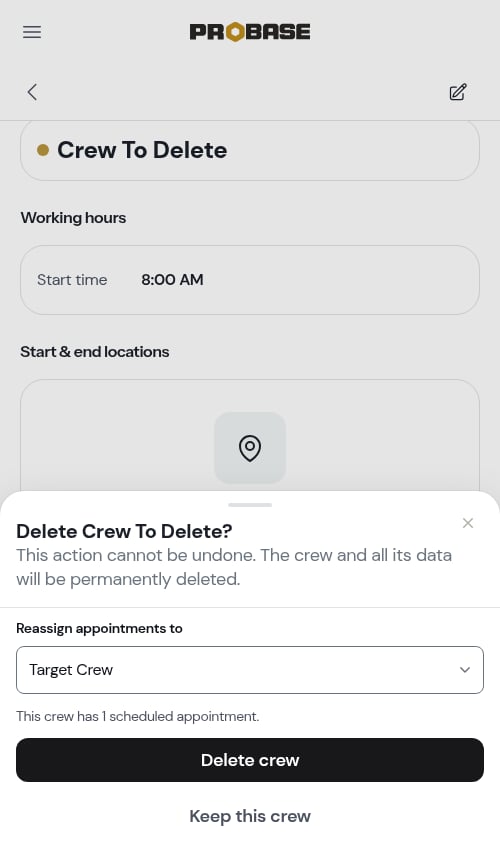
If you no longer need a crew:- Go to Team Roster → Crews
- Click on the crew name
- Tap Edit
- Scroll to the foot of the form and tap Delete crew
- Choose another crew to reassign existing appointments to
- Confirm the deletion
Managing multiple crews
When you run more than one crew:- Each crew gets its own color on the calendar — ProBase auto-picks an unused color when you create a crew, and you can change it anytime from the create or edit form
- Use distinct names for easy identification
- Set realistic start locations and working hours so route planning and the day-fit warnings mean something
- Assign specific service types to specific crews if they specialize
- Use Rebalance this day when one crew’s day is overloaded and another is light
Next steps
- Add your first customer and schedule work for your crews
- Learn about route optimization to save time and fuel
- Plan your day — what HomeBase and the Day view tell you about your crews each morning