Creating a checklist
From the Checklists library (under Business in the sidebar), tap New checklist to open the builder. The builder is designed mobile-first, so it works the same on your phone in the field as it does on a desktop.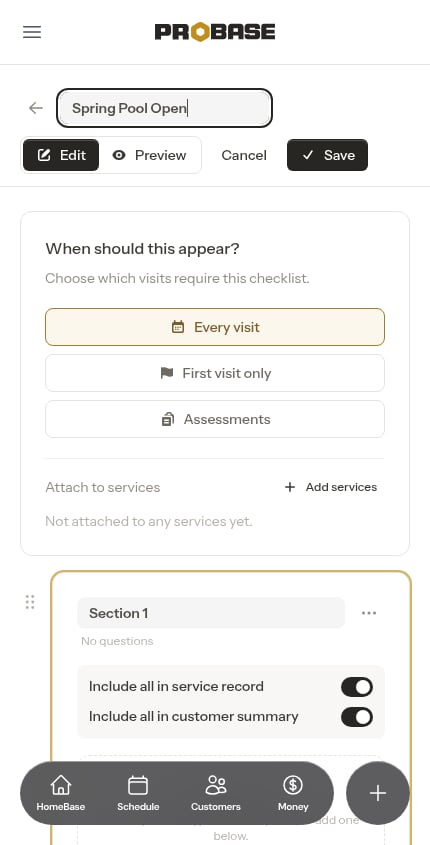
Choosing when the checklist appears
Under When should this appear?, pick which visits should include this checklist:- Every visit — the checklist appears on every appointment for the services it’s attached to. Best for routine work you want captured each time, like water chemistry readings.
- First visit only — the checklist appears only on the first appointment for a service. Useful for a one-time setup or intake form.
- Assessments — the checklist is used for assessment/quote visits rather than being tied to a specific service.
When you choose Assessments, the “Attach to services” option is hidden — assessment checklists aren’t tied to a specific service.
Adding sections and questions
Checklists are organized into sections, and each section holds one or more questions. Give each section a name (like “Water chemistry” or “Tasks completed”) to group related questions together. To add a question, tap Add question within a section. On a phone, a bottom sheet slides up so you can pick the question type.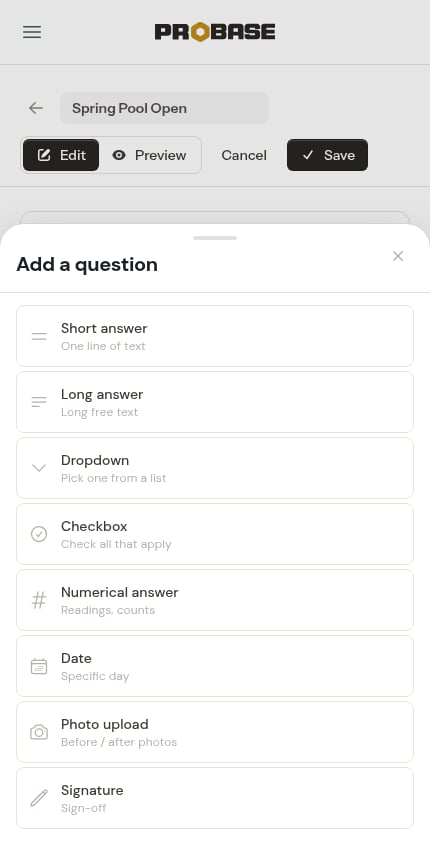
Question types
Checklists support eight question types, so you can capture the right kind of answer for each item:
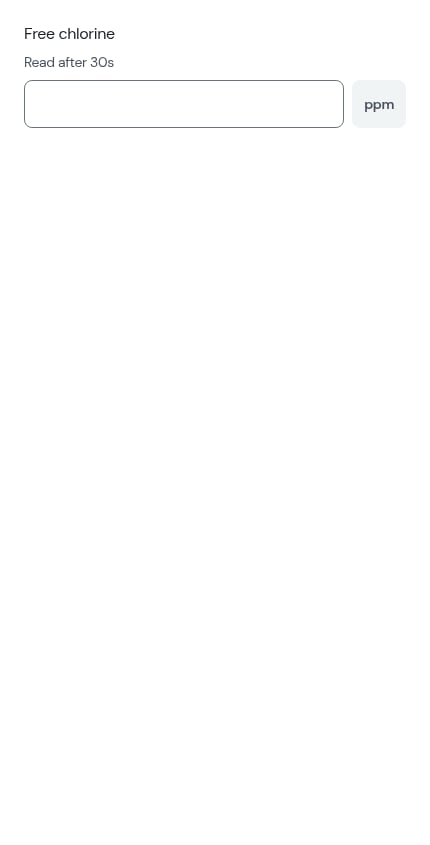
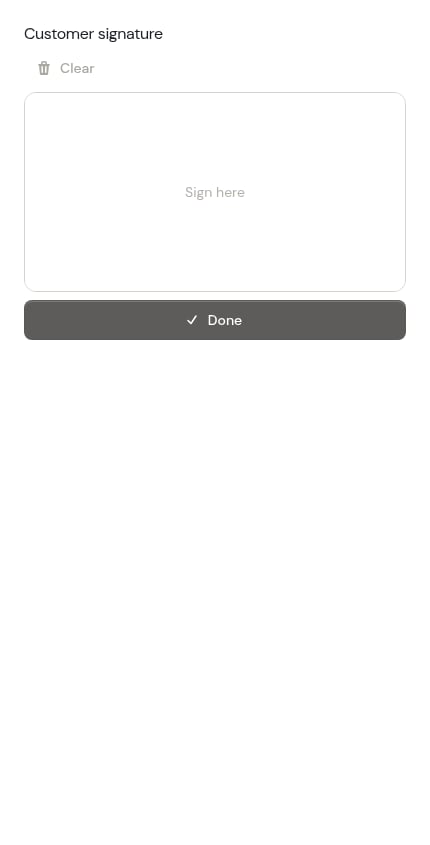
For Numerical questions you can set a unit (for example
ppm, pH, or °F) that appears next to the answer field. For Dropdown and Checkbox questions, you define the list of options crews choose from.Per-question options
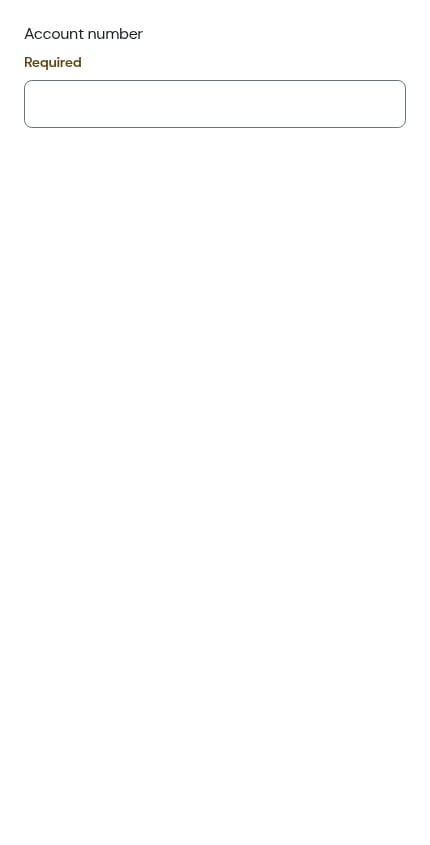
Each question card has a few toggles:- Required — mark a question required and the crew must answer it before the visit can be completed. Required questions show a marker so they’re easy to spot.
- Add instructions — turn this on to show a short hint under the question (for example, “Read after 30 seconds”).
- Include in service record — when this is on, the answer is saved to the property’s service records when the visit is completed, so a “pH reading” numeric answer becomes a chemical-reading service record without anyone re-typing it.
- Include in customer summary — when this is on, the answer appears on the customer’s invoice as part of the Service Report once the visit is completed. See Showing answers on the customer invoice below.
Setting a whole section at once
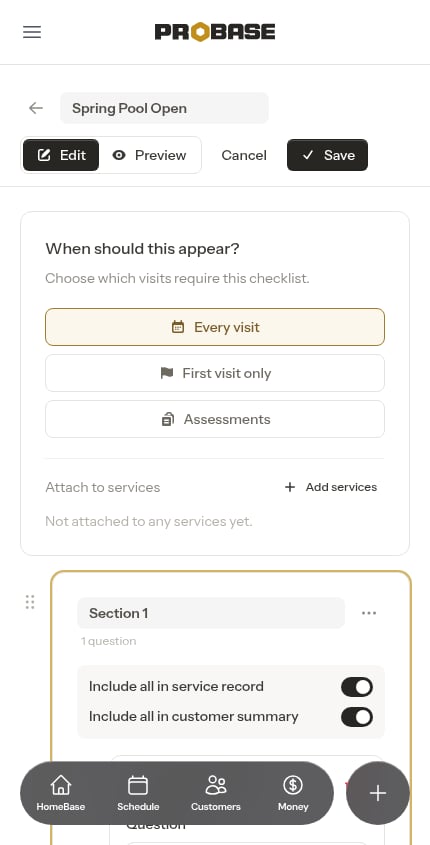
Every section has two switches at the top — Include all in service record and Include all in customer summary. Flipping one applies that setting to every question in the section, so you don’t have to toggle each question one by one. You can still override any individual question afterward with its own per-question switches.To save you setup time, both section switches start on when you add a new section — the common case is to include everything. Any question you add then inherits the section’s current switch settings, so a question added to a section that’s fully included is already set to appear on both the service record and the customer summary. Flip either switch off before or after adding questions to change it.
Previewing your checklist
At any time, switch to Preview to see exactly how the checklist will look to your crew on a real job. Switch back to Edit to keep building.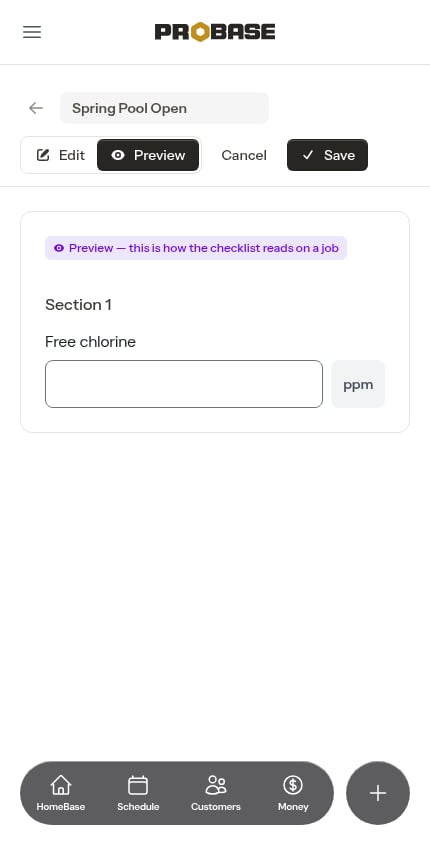
Reordering sections and questions
Drag the grip handle on any section or question to reorder it. While you drag, the other items condense to compact rows so it’s easy to see where the item will land. Release to drop it into place.Attaching checklists to services
For a checklist to appear on jobs, it needs to be attached to the services it applies to.A job created as a Custom service has no service template, so service checklists don’t reach it. Add checklists to that job directly — while creating it, or later from any of its visits. See Adding a checklist to one job.
From the builder
In the builder, under Attach to services, tap Add services and pick the services this checklist should appear on. Selected services show as chips you can remove at any time. (This option is hidden when the checklist’s timing is set to Assessments.) Tap each service you want — every one you tap stays ticked, and the Done button counts how many you’ve picked. Tap Done to add them.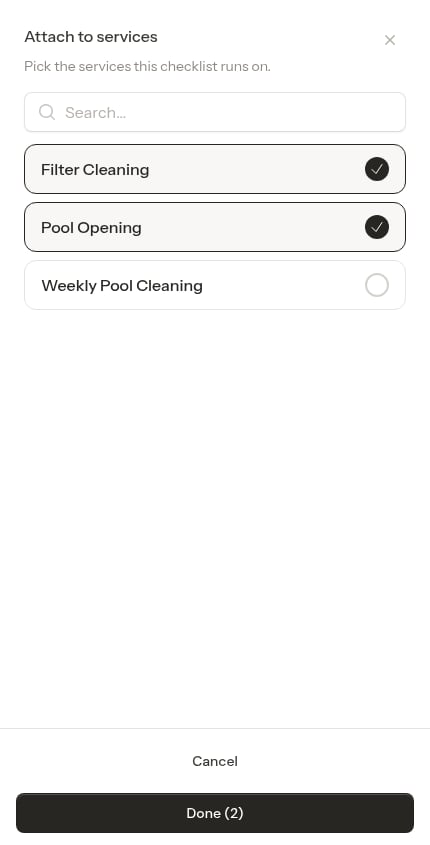
From a service
You can also attach a checklist directly from a service in your catalog:1
Open the service
Go to Services in the sidebar and open the service you want to add a checklist to. Scroll to the Checklists section.
2
Add a checklist
If no checklists are attached yet, you’ll see an empty state explaining what checklists do, with a button to add one.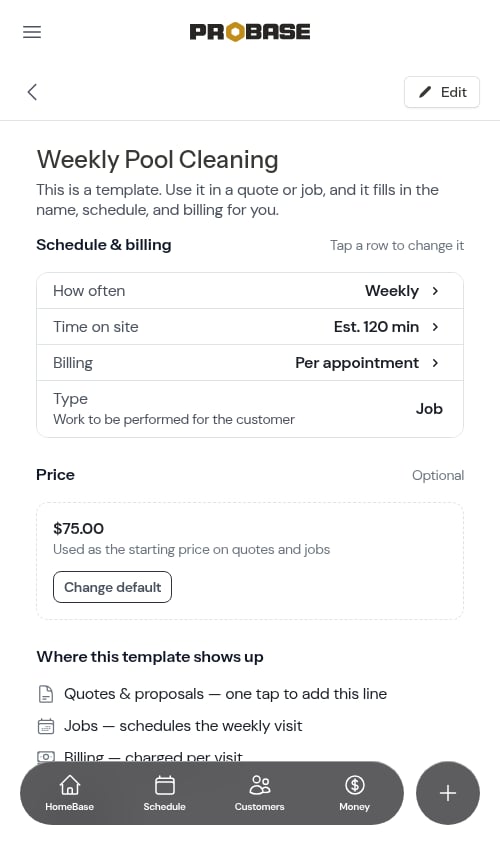
3
Pick from your library
Tap the add button to open the checklist picker. Search for and select the checklist you want, then save — no page reload needed.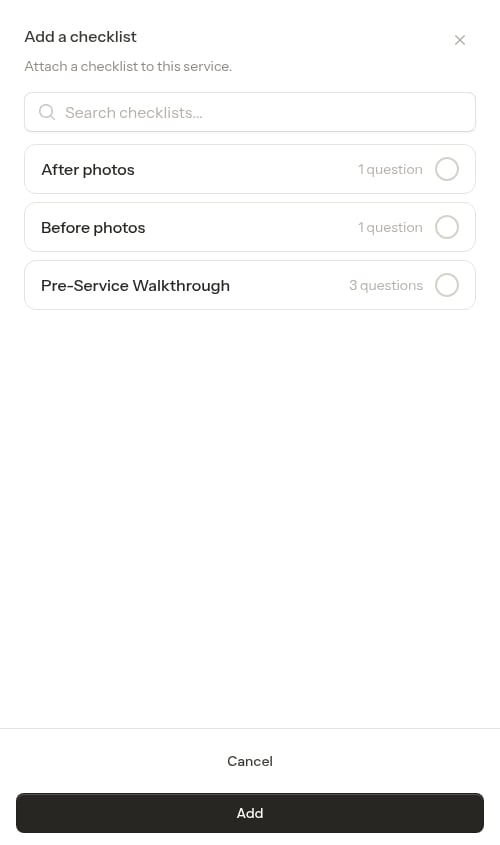
4
Confirm it's attached
The checklist now appears in the service’s checklist list. It will show up on jobs for that service based on its timing setting.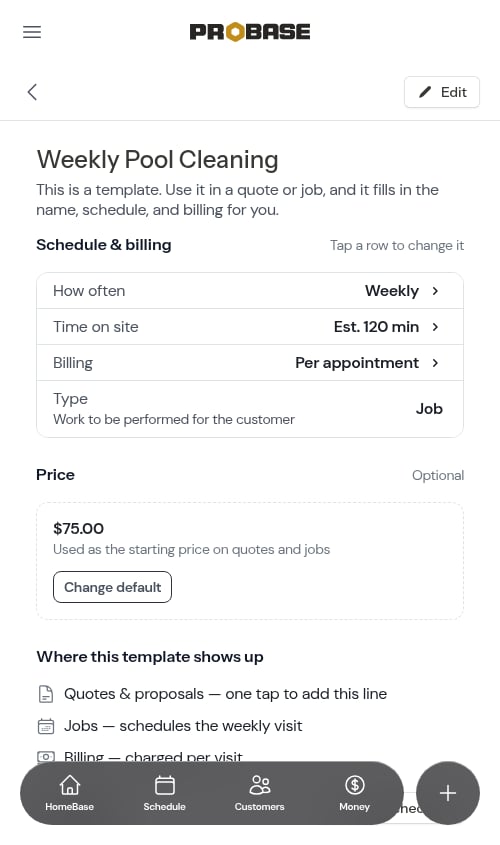
Editing a checklist from a service
Each of your own checklists in a service’s Checklists section has a pencil button. Tap it to open that checklist in the builder without leaving the service behind — the back arrow, Cancel, and Save all bring you back to the service you started from, not to your Checklists library.1
Tap the pencil
On the service, tap the pencil beside the checklist. It opens on its Preview, just like it does from the library.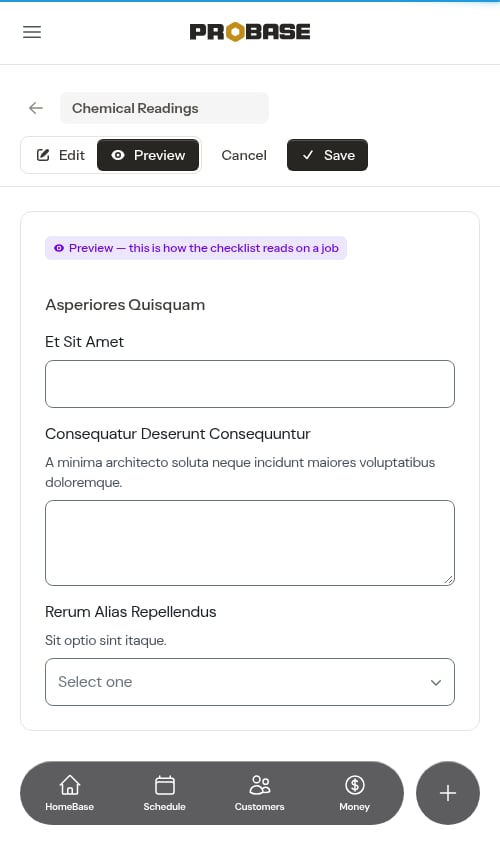
2
Tap Edit and make your changes
Tap Edit at the top, then change the questions you need.
3
Save
Tap Save. You’ll see the Checklist saved. confirmation and land back on the service, with the checklist still in its list. Tapping Cancel or the back arrow returns you to the service the same way, without saving.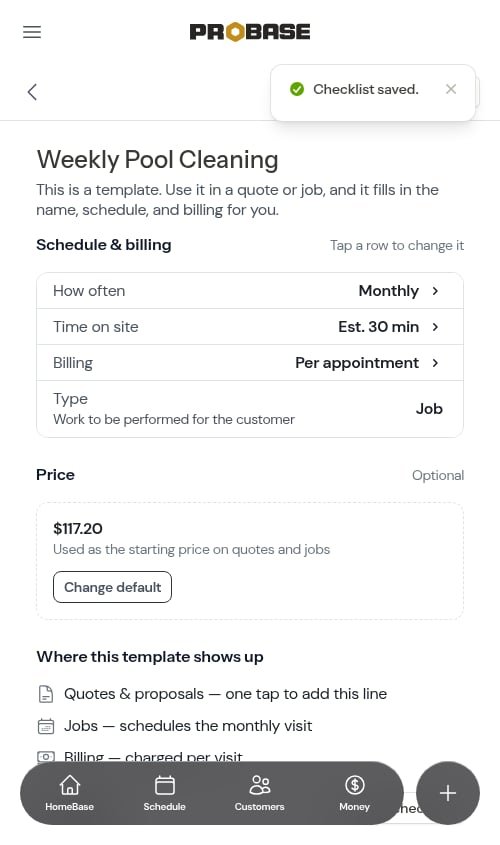
ProBase checklists don’t have a pencil on the service, because the templates themselves can’t be changed. To make your own version of one, open it from your Checklists library and tap Edit — see Making your own copy.
Ordering checklists on a service
A service can have more than one checklist attached — for example a ProBase chemistry template alongside your own “Weekly walkthrough”. When two or more are attached, the service’s Checklists section shows a grip handle on each one so you can drag them into the order you want. That order is exactly the order they’ll appear on the job, top to bottom.Your own checklists and ProBase checklists share one list — neither is forced to the top (the one exception is Before photos and After photos, which always lead the job; see Before photos and After photos). Whatever order you arrange them in is the order your crew sees on the job. With only one checklist attached there’s nothing to order, so the handle is hidden and you’ll see a prompt to add another.
Showing answers on the customer invoice
You choose which answers customers see by turning on Include in customer summary — either on an individual question, or on a whole section at once with Include all in customer summary (see Per-question options above). Any question marked this way appears on the customer’s invoice as part of a Service Report once the visit is completed. This is a great way to give customers a clear, professional record of the work performed — for example, showing the chemistry readings and a customer signature right on their invoice, while keeping internal-only questions off the summary. See The customer Service Report.Saving
Tap Save to save your checklist. You’ll see a Checklist saved. confirmation and the checklist switches to its Preview, so you can check how it reads on a job. It also appears in your Checklists library, ready to attach to services and use on jobs. If you opened the checklist from a service, Save takes you back to that service instead (see Editing a checklist from a service).Editing an existing checklist
A new checklist opens ready to edit, but every checklist you’ve already saved opens on its Preview first — so you can look it over without changing anything by accident.1
Open the checklist
In the Checklists library, tap the checklist’s row. It opens on Preview, showing exactly how it reads on a job.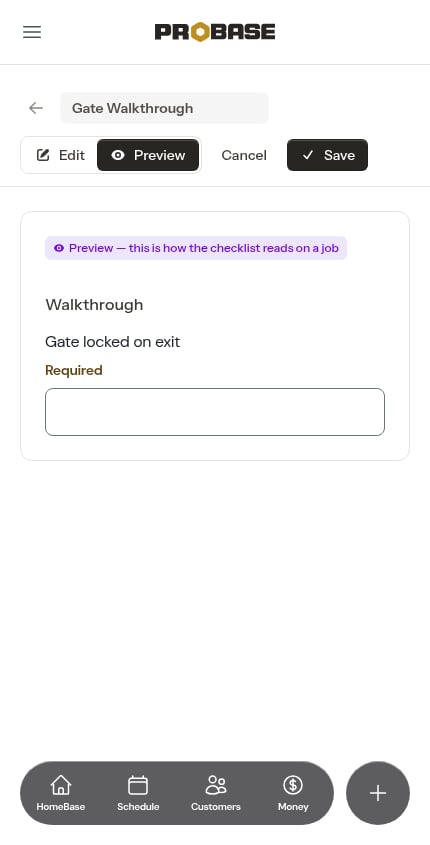
2
Tap Edit
Tap Edit at the top. The builder switches to editing on the same screen, with your questions and services ready to change.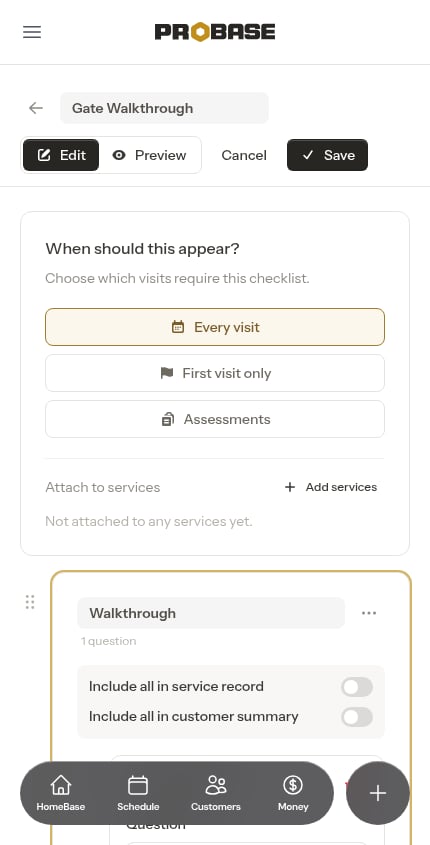
3
Make your changes and save
Change what you need, then tap Save. You’re taken back to the checklist’s preview, showing your changes.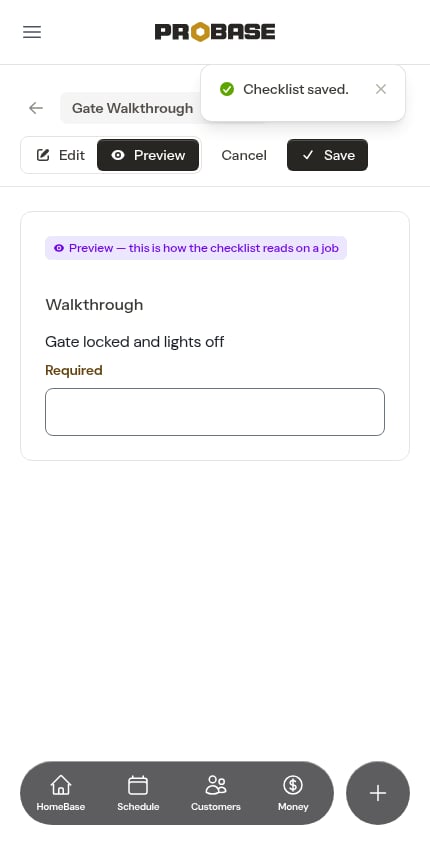
ProBase checklists open on Preview too. Tapping Edit on one makes your own copy instead of changing the template — see Making your own copy.