Overview
Every scheduled visit has its own page, and that page is where the work happens. It’s built for a phone held in one hand on someone’s driveway: the facts you need at the top, the button you’re most likely to press next, and everything else one tap away. Open a visit by tapping it anywhere it appears — your daily schedule, the calendar, HomeBase’s overdue list, the customer’s or property’s Visits card, or the job page.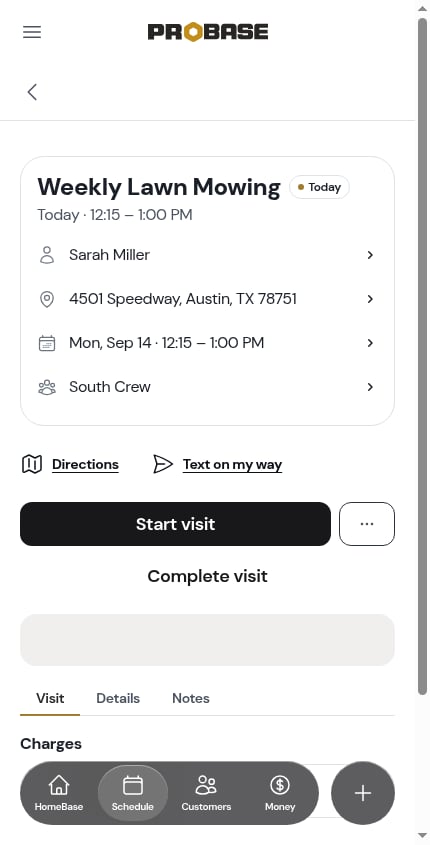
What’s on the page
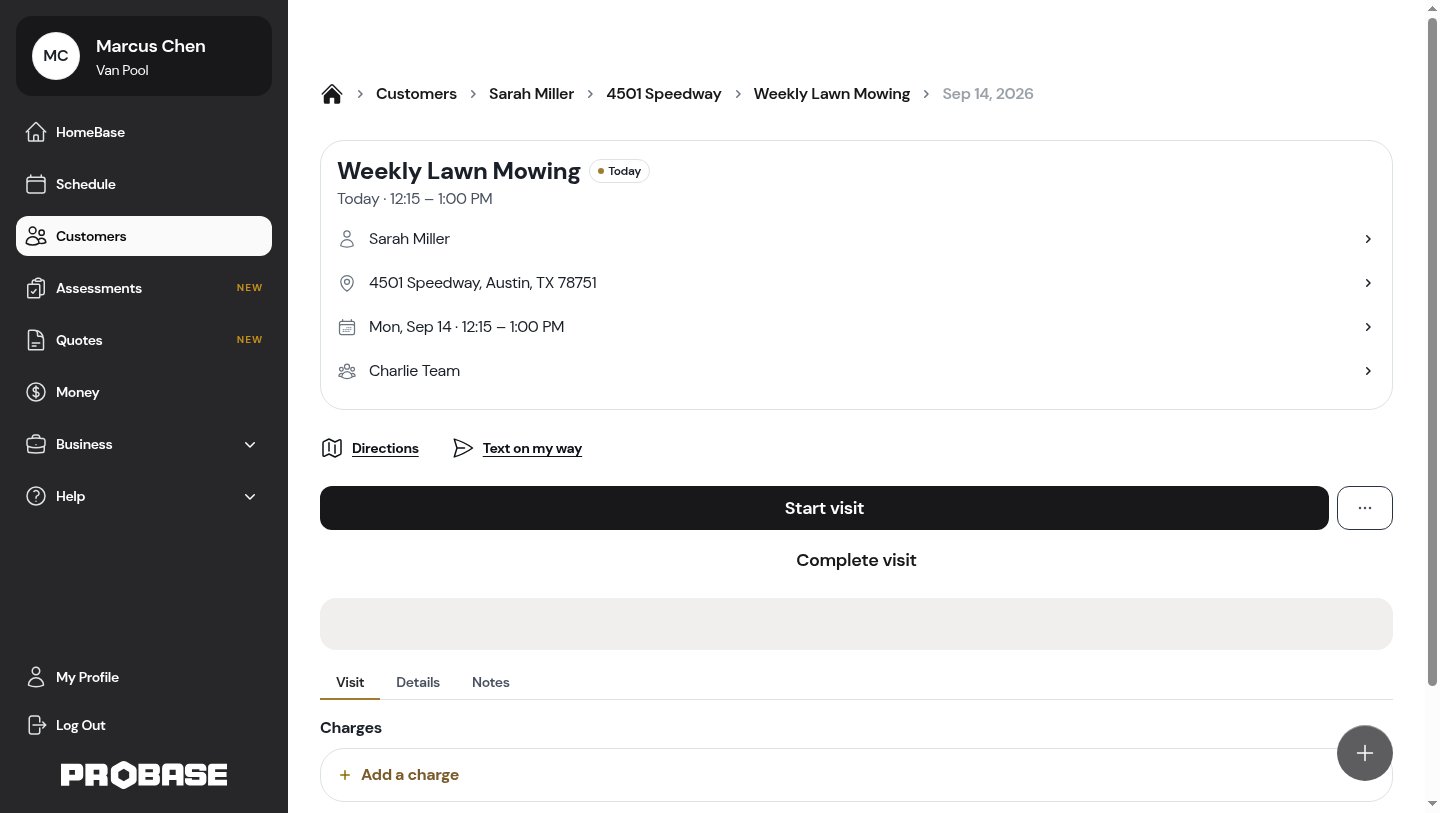
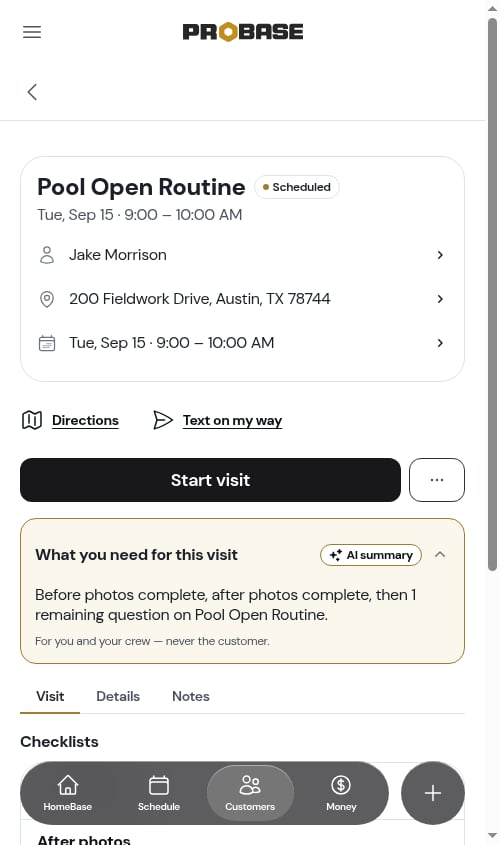
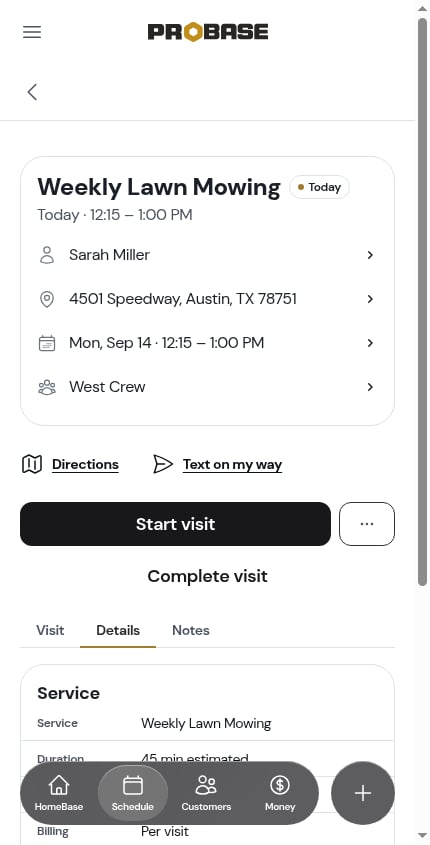
From the top down:- The header card — the service name, the visit’s state, and the customer, property, time and crew rows
- Directions and Text on my way — the two hand-offs you want before you arrive
- The action row — Start visit, ⋯ More, and a quiet third action
- The timer — only once the visit is started
- What you need for this visit — the AI briefing, when there’s something worth saying
- Visit · Details · Notes — the three tabs holding the work
The header card
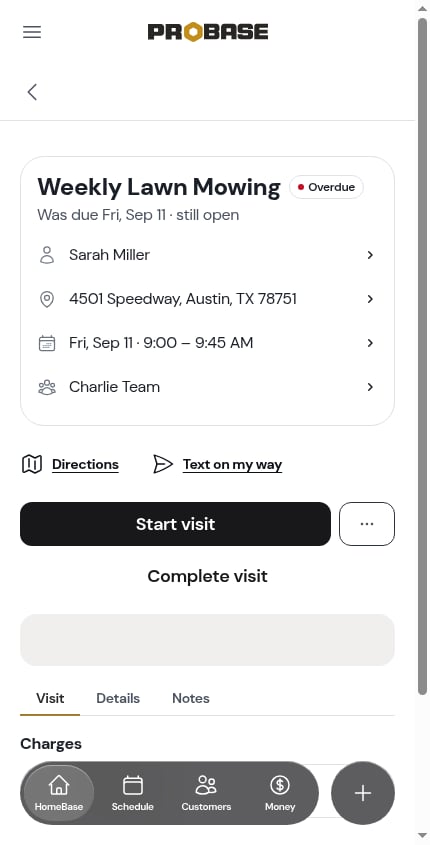
The card carries the job’s name as the page title, a coloured state pill, and one line underneath saying when the visit is: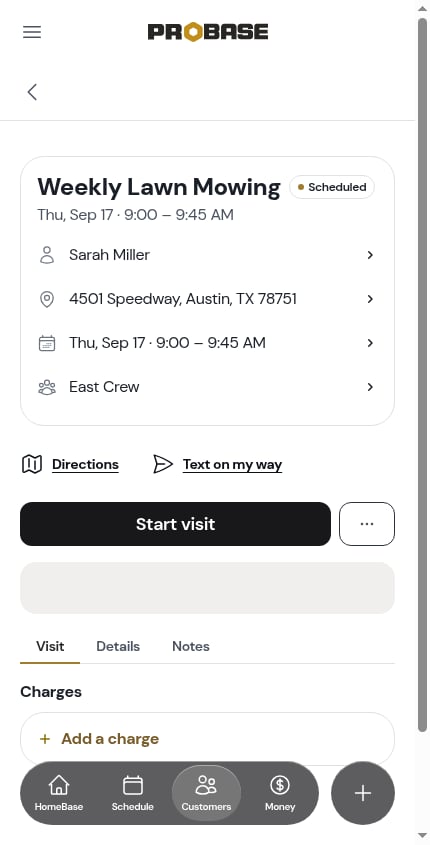
The rows under the title
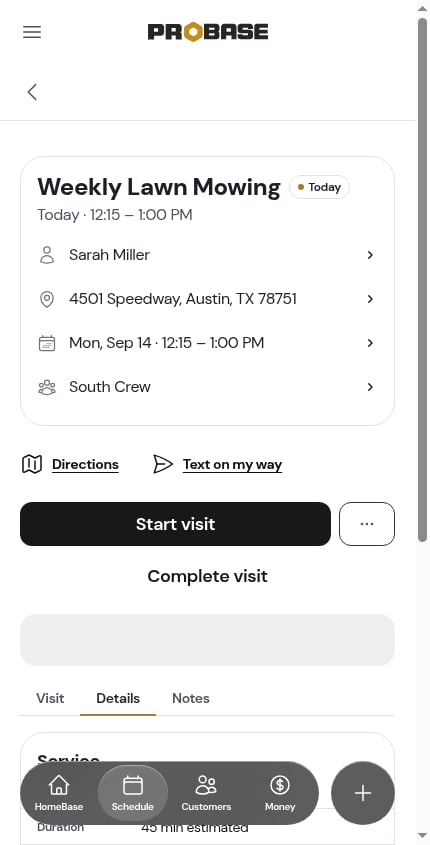
Under the title sit the rows that place the visit — the customer, the property, the date and time, and (on a business with more than one crew) the crew. Each one is a button that opens what you’d want from it:-
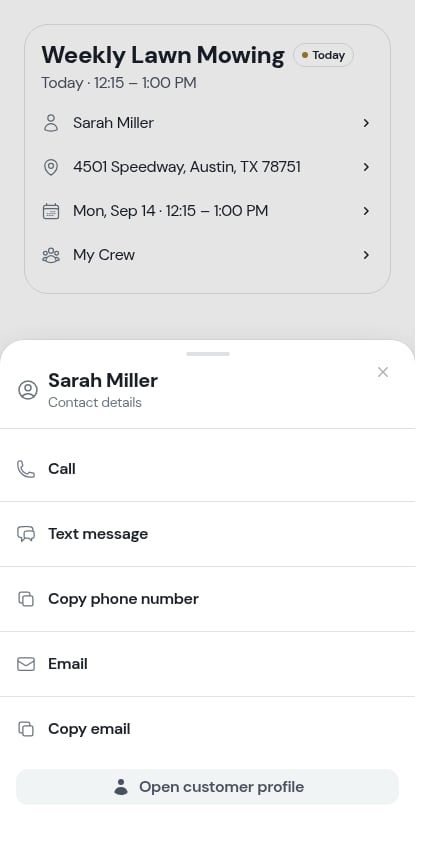
The customer — opens the contact sheet: Call and Text message first, then Copy phone number, Email, Copy email, and Open customer profile
-
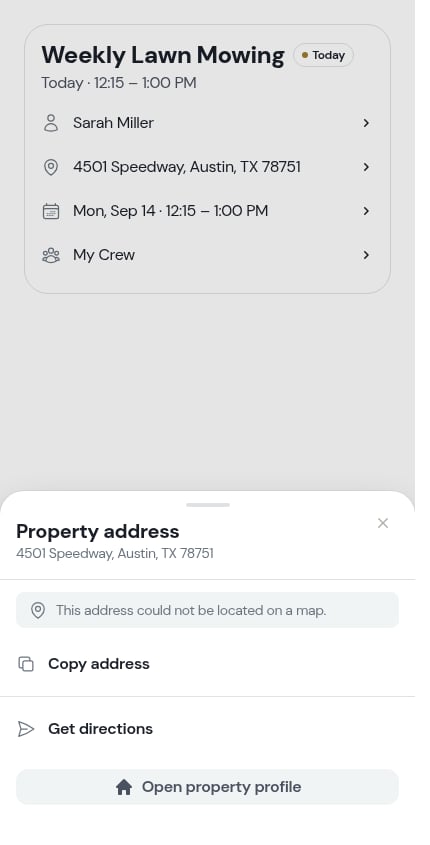
The property address — opens the address sheet: a satellite preview of the property, Copy address, Get directions in your chosen maps app, and Open property profile
-
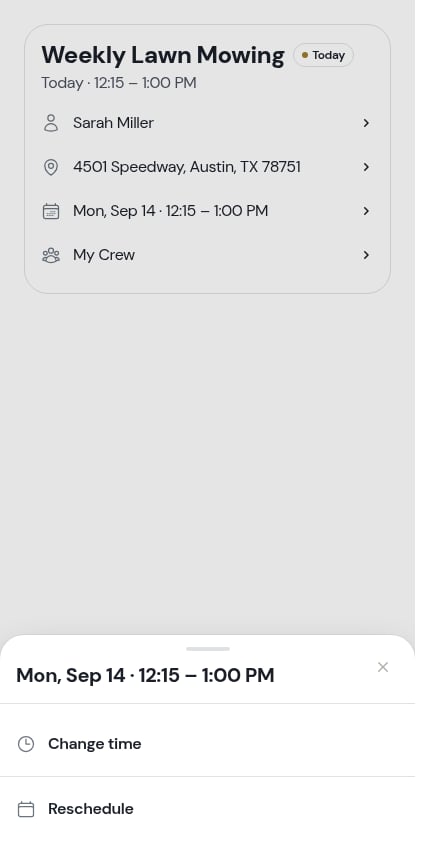
The date and time — opens a short sheet offering Change time (move the visit within the day and set how long it should take) or Reschedule (move it to another day)
-
The crew — opens the Assign Crew window. This row only appears when your team has more than one crew — with a single crew there’s nothing to choose, so ProBase leaves it out entirely
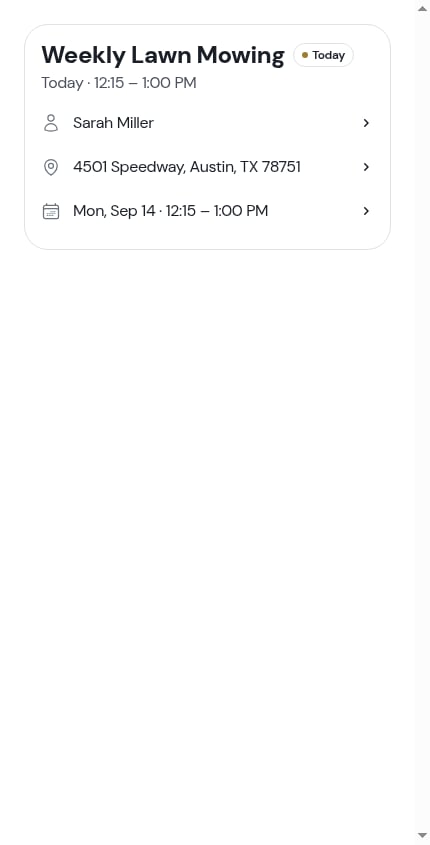
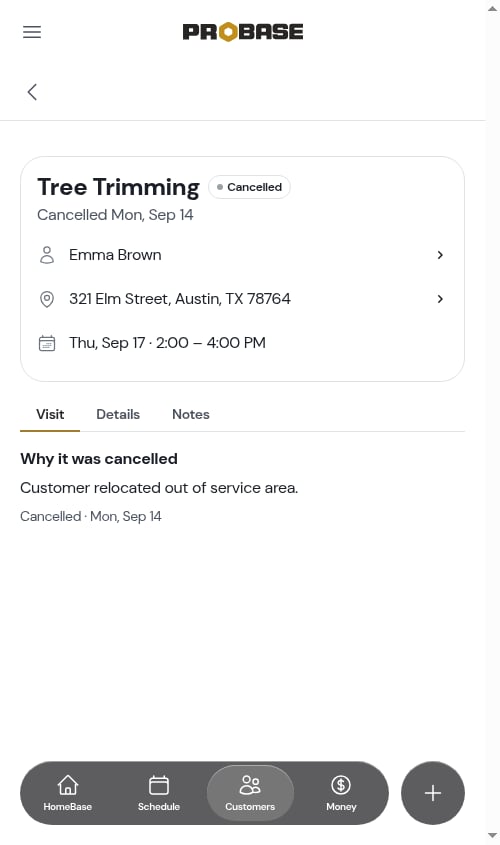
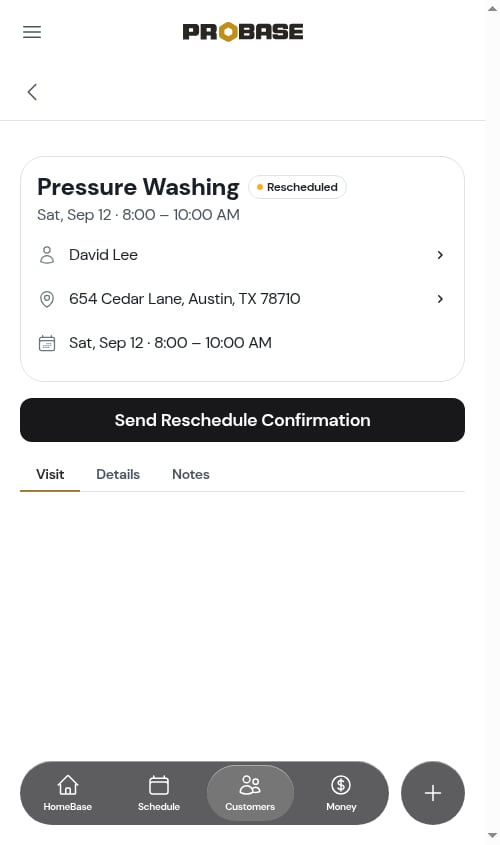
On a completed, cancelled or rescheduled visit the time and crew rows are still there — they just aren’t tappable any more, because nothing about the visit can change. The customer and property rows keep working, so you can still reach the customer about a job you finished this morning.
Directions and Text on my way
While a visit is scheduled and you haven’t started it yet, two wide buttons sit right under the header: Directions and Text on my way.
- Directions opens turn-by-turn directions to the property in your chosen maps app
- Text on my way opens the SMS sheet with a message already written — see Texting the customer you’re on your way
If your role can’t send customer messages, Text on my way isn’t offered — see Roles and permissions.
The action row
One solid button, an outlined ⋯ More button beside it, and sometimes a quiet third action underneath. What sits there depends on where the visit is: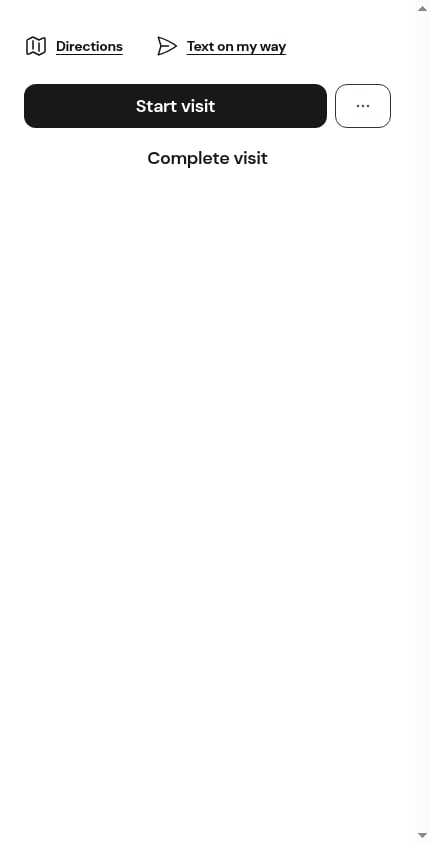
Buttons your role can’t use aren’t shown at all rather than greyed out, so the row only ever offers things you can actually do.
The More sheet
Tap ⋯ More and a sheet slides up with everything that isn’t the main button. It’s always in the same order, so you learn where things are: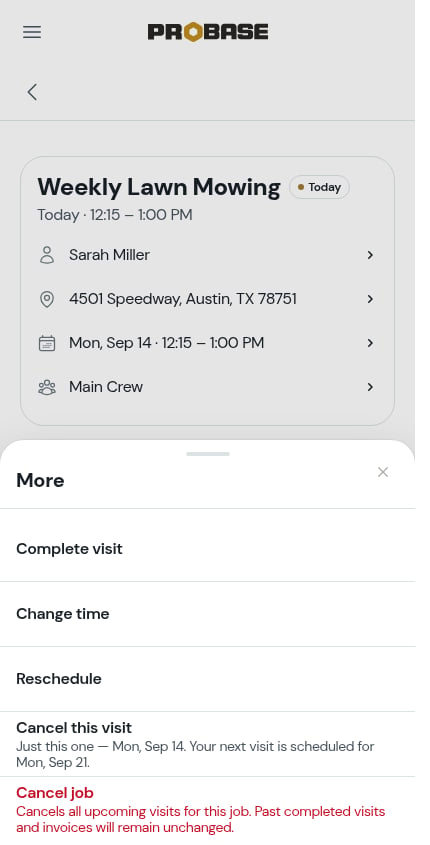
- Directions — only once the visit is started (before that it’s a button at the top)
- Text on my way — same
- Complete visit (Mark assessment complete on an assessment)
- Change time — move the visit within the day and adjust how long it takes
- Reschedule — move it to another day
- Send Confirmation — only on a visit scheduled for a future day
- Cancel this visit — with a line underneath naming this visit’s date and the next visit’s date
- Cancel job — in red, always last; cancels every upcoming visit for the job
The AI briefing
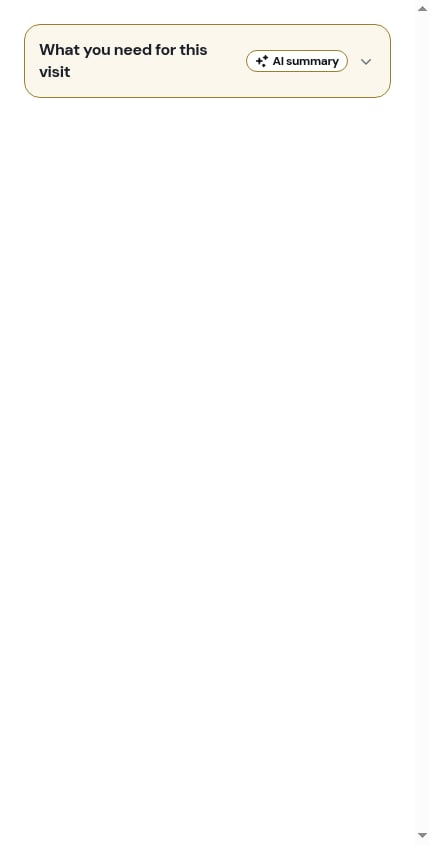
On accounts with AI assistance, a cream card headed What you need for this visit sits between the action row and the tabs. It’s a few plain lines written from the job’s and property’s notes, the checklists waiting on this visit, and anything charged to it — the gate code, the dog, the thing the customer asked for last time.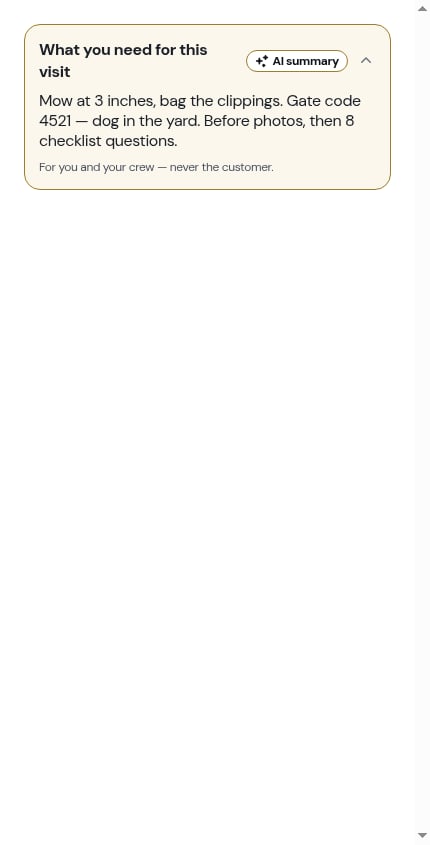
The three tabs
Visit
The work surface. It holds:- Checklists — every checklist that applies to this job, as rows that open in place. The pinned Before photos and After photos rows come first. See Completing checklists on a job
- Charges — a second card holding anything you’ve added to this visit, with an Add a charge row at the bottom. See Charges on a visit
- History — on a completed or cancelled visit that has something logged, the record of what happened and when
Details
The facts about the job behind the visit, in two cards: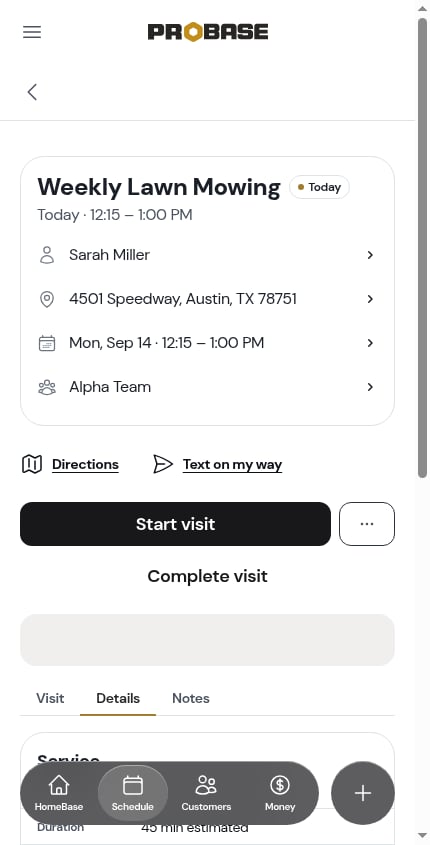
- Service — the service name, the estimated duration, how often it repeats, how it’s billed, the price and tax, the job’s standing Charges, and This visit’s own charges as a separate list. The two lists never blend together. Tapping one of the This visit rows reopens it for editing — see Charges on a visit
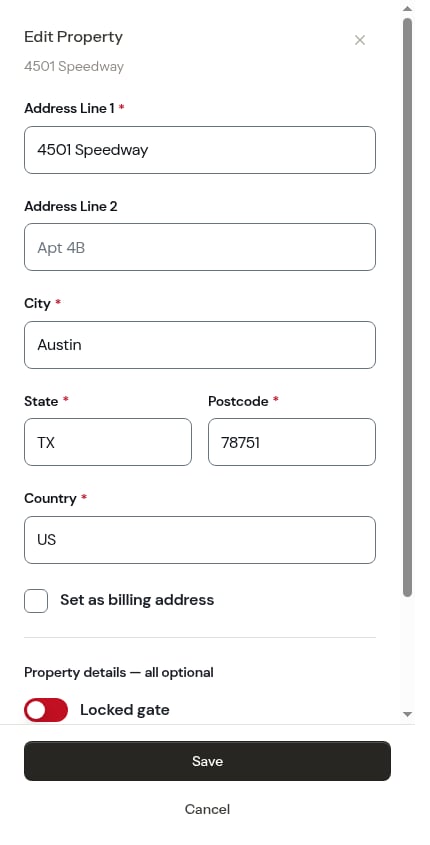
- Property — the address, gate code, and the rest of the property’s details. If something’s missing, an Add property details row sits at the bottom of the card
Notes
Everything written about this visit, once each: your This visit notes pad at the top, then the property’s notes and the job’s notes read-only underneath. See Notes and photos on a visit.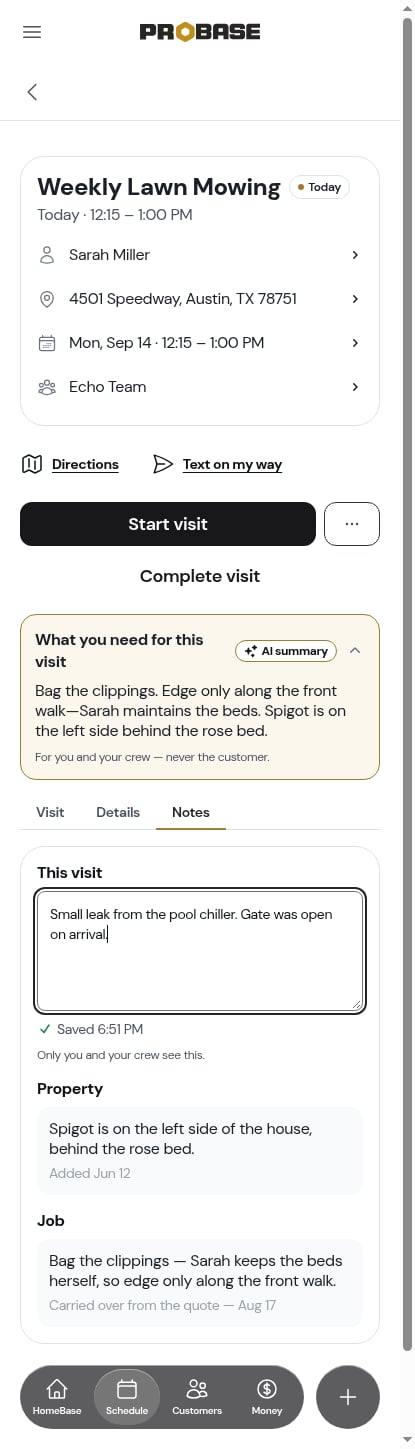
The tab you’re on is part of the page’s web address, so a link to a visit can land straight on Details or Notes — and coming back from a photo or a sheet puts you back on the tab you left.
After the visit
A completed visit keeps the same page, with What happened added between the header and the buttons and the checklists locked read-only. See Completing a visit.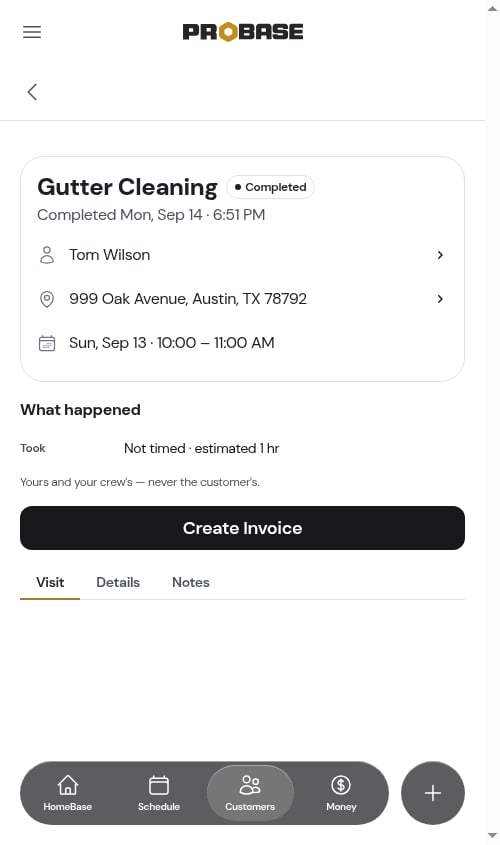
Marketplace visits
A visit that came from a connected marketplace uses this same page. The header card, the hand-offs and your own clock all work as normal — what changes is that the actions the marketplace owns (completing, rescheduling, cancelling, and adding charges) aren’t offered here. In their place the main button is Open in App, which takes you to the job in the marketplace app, and the header carries a marketplace pill plus a Last synced … Refresh row. A marketplace visit also has just one tab, Details — there are no checklists or charges to capture, and its notes are the marketplace’s.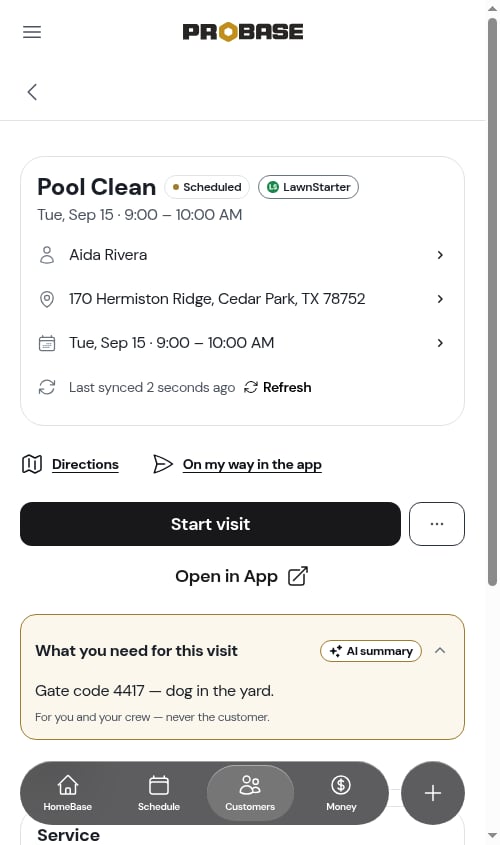
Next steps
- Timing a visit — start, pause and resume the clock
- Completing a visit — finish the work and send the report
- Charges on a visit — bill for the extra you did
- Cancelling a visit — when the visit doesn’t happen