Where checklists appear on a job
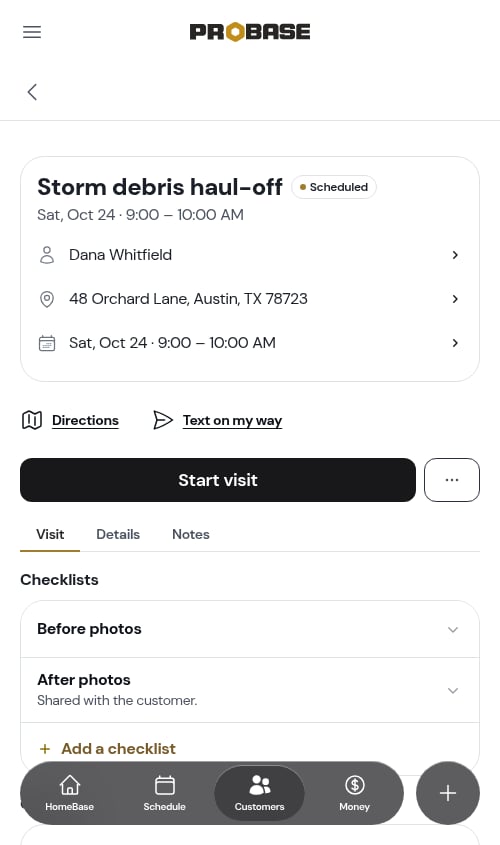
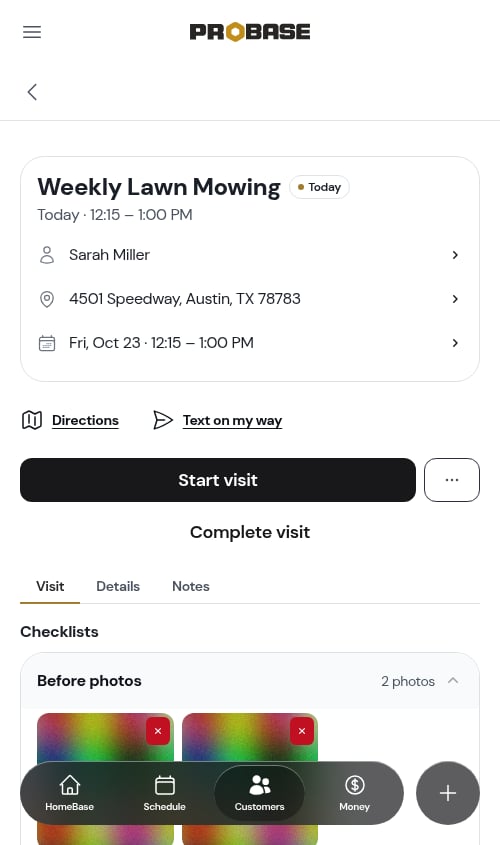
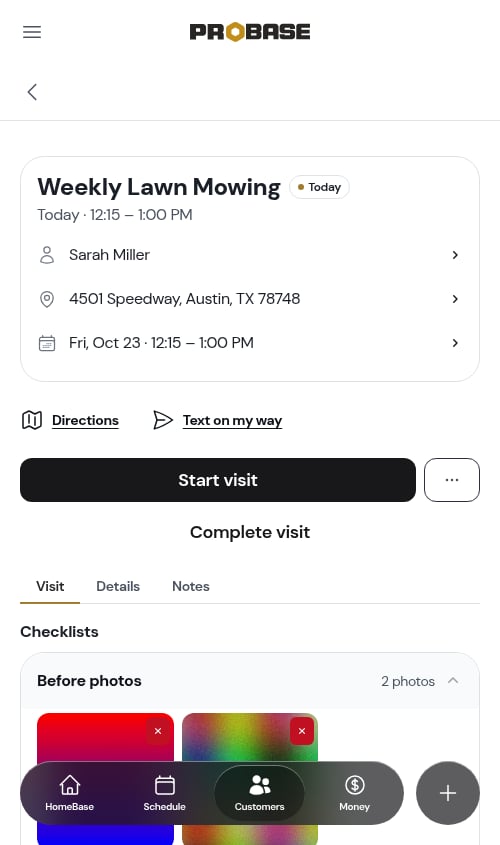
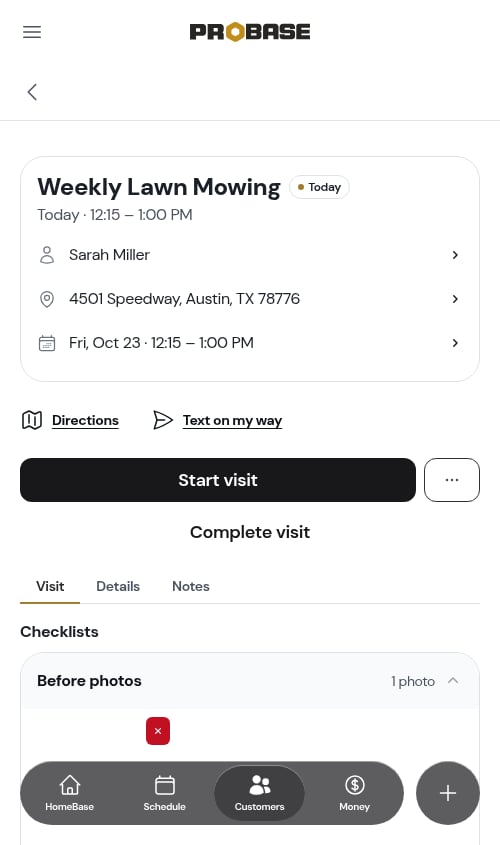
Every checklist that applies to a visit is on the Visit tab of the visit page, under a Checklists heading, as rows inside one card. The pinned Before photos and After photos rows come first, then any checklists attached to the service, in the order you arranged them (see Ordering checklists on a service), then any checklists you added to the job itself (see Adding a checklist to one job).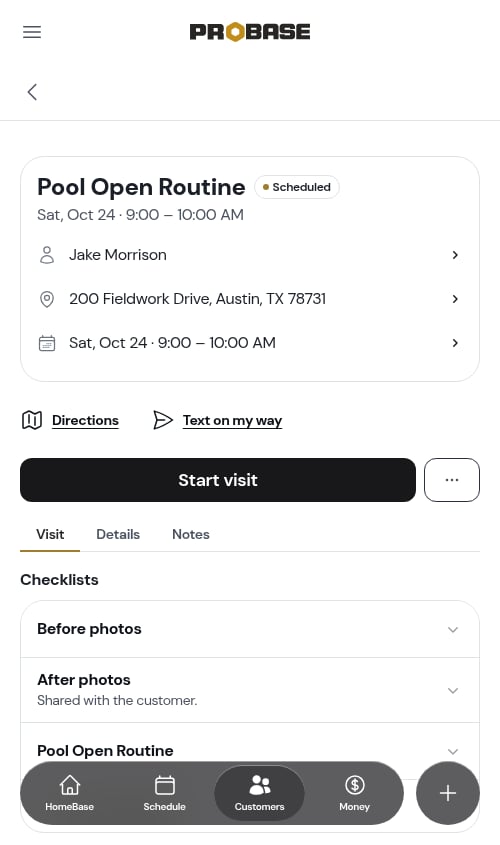
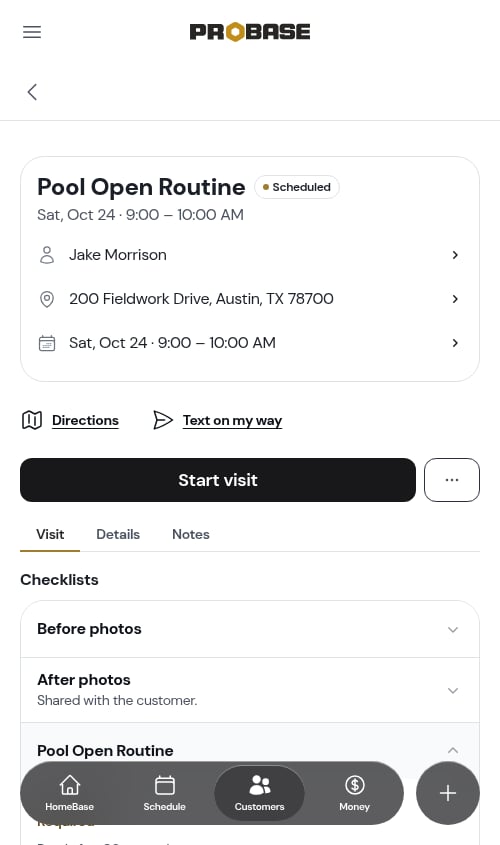
You can fill checklists in before you tap Start visit, while the visit is running, or after you pause. They’re always available on a visit that hasn’t been completed or cancelled.
Checklists don’t appear on marketplace jobs. A marketplace visit is finished in the marketplace app rather than in ProBase, so there’s no completion step here for the answers to be filed against — a marketplace visit has no Visit tab at all. Your checklists run as normal on all of your own work.
Adding a checklist to one job
Checklists normally reach a job through its service (see Attaching checklists to services). A job you created as a Custom service has no service template behind it, so on its own it only gets the Before photos and After photos rows. You can put a checklist on that job — or on any job — straight from the visit, without touching your services.1
Tap Add a checklist
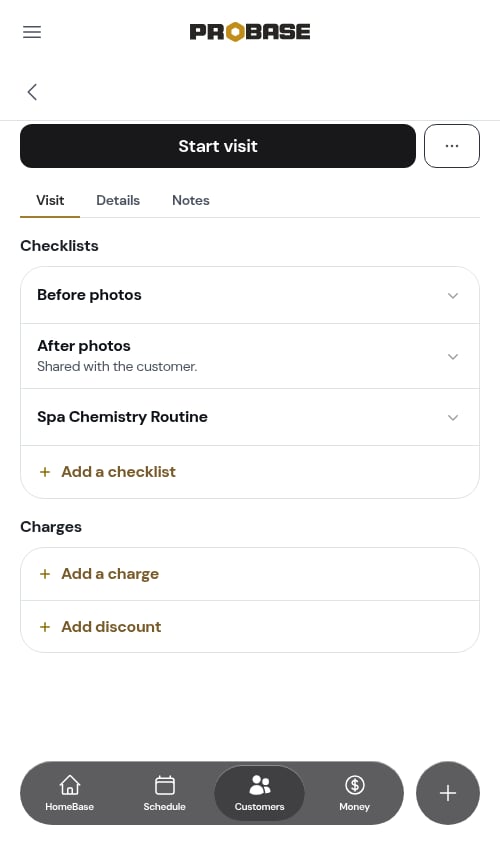
On the visit’s Checklists card, the last row is Add a checklist.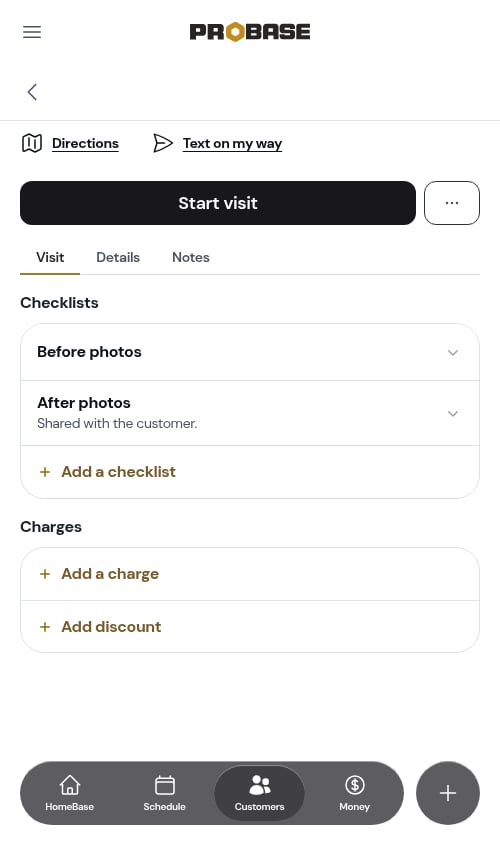
2
Pick the checklists
A picker slides up — It goes on this job — every visit of it, this one and the next. It lists your own checklists and the ProBase checklists for the job’s trade. Search by name, tick one or more, and tap Add.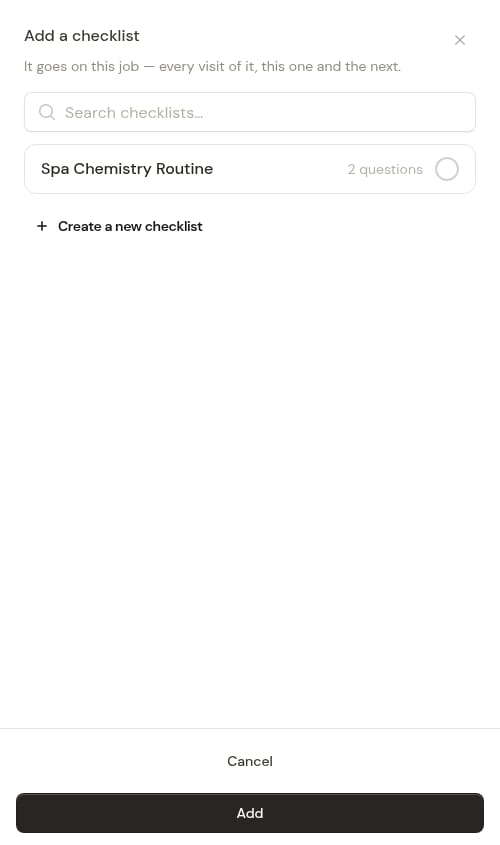
3
Fill it in
A message confirms Checklist added to this job. and the checklist appears as a row on the card, after any checklists the job’s service already brings. Open it and fill it in like any other checklist.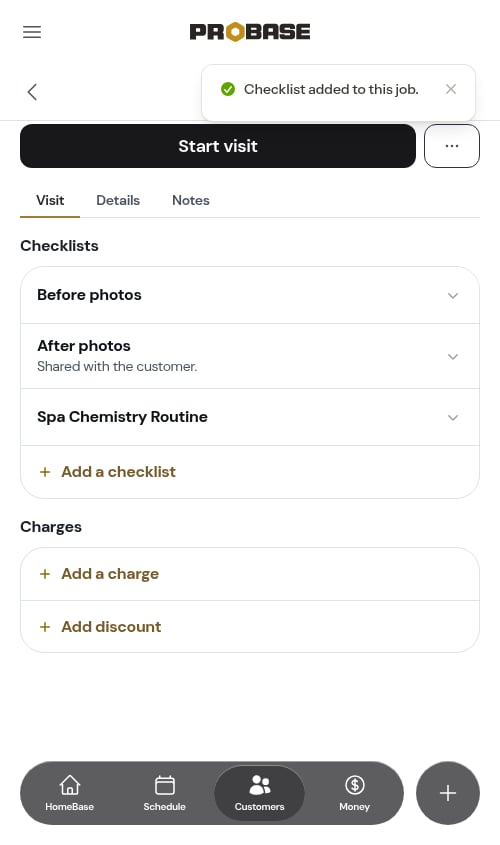
Taking a checklist off a job
A checklist you added this way shows Remove from this job at the bottom when you open its row.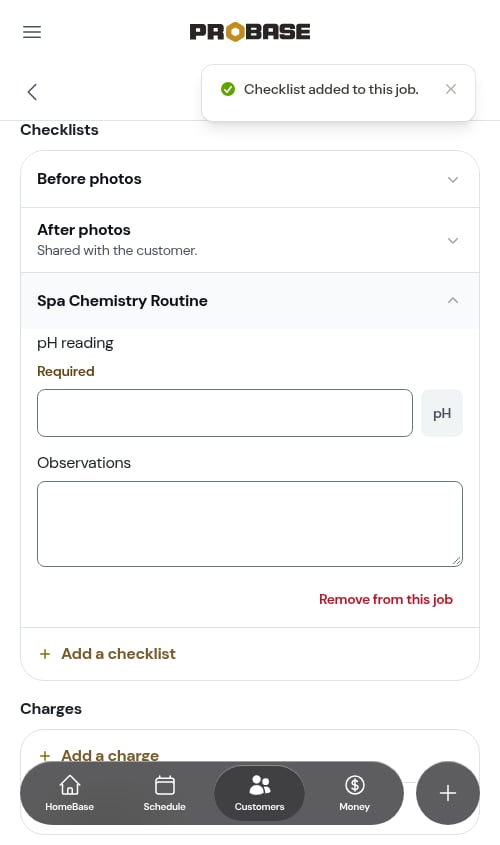
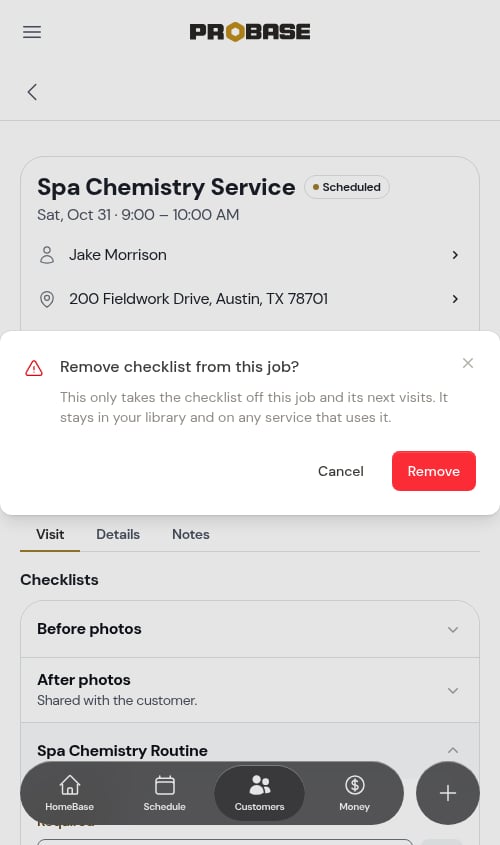
Add a checklist is available to Crew Chiefs and above, on visits that haven’t been completed. It doesn’t appear on assessment visits — their checklists are the ones timed for Assessments. Checklists that come from the job’s service can’t be removed here; change those on the service instead.
Answers save as you go
You don’t need to press a save button. Answers save automatically as you enter them, and the count on the row header updates straight away.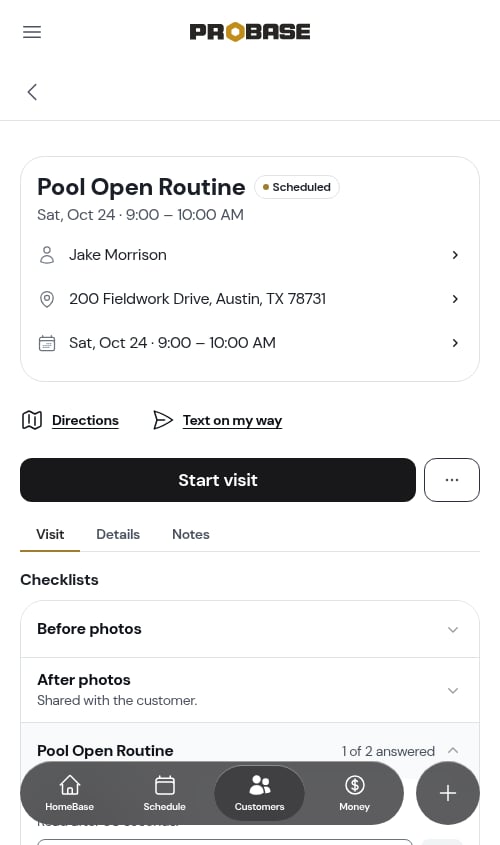
Before photos and After photos
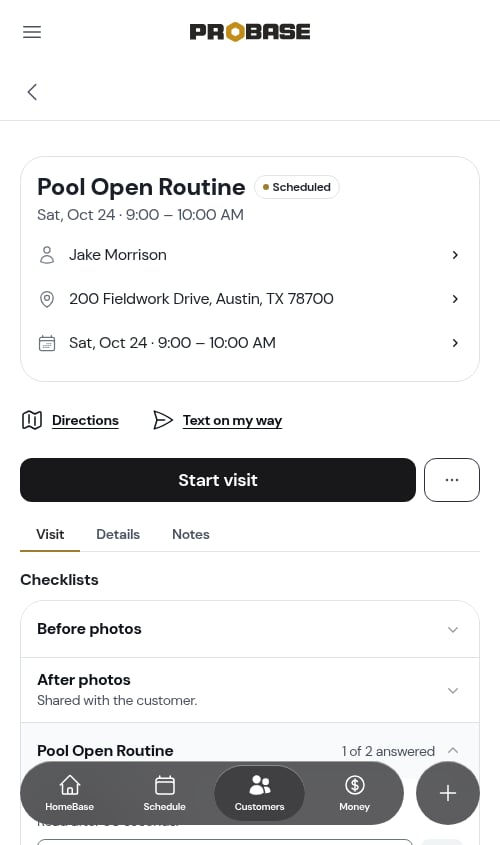
Every job visit gets two photo rows at the top of the card, whatever trade you’re in and whether or not the service has any other checklists on it:- Before photos — for you and your crew, unless you tick Include before photos when you send the report
- After photos — with a line underneath reading Shared with the customer. These are the pictures that go onto the customer’s service report every time
Taking photos
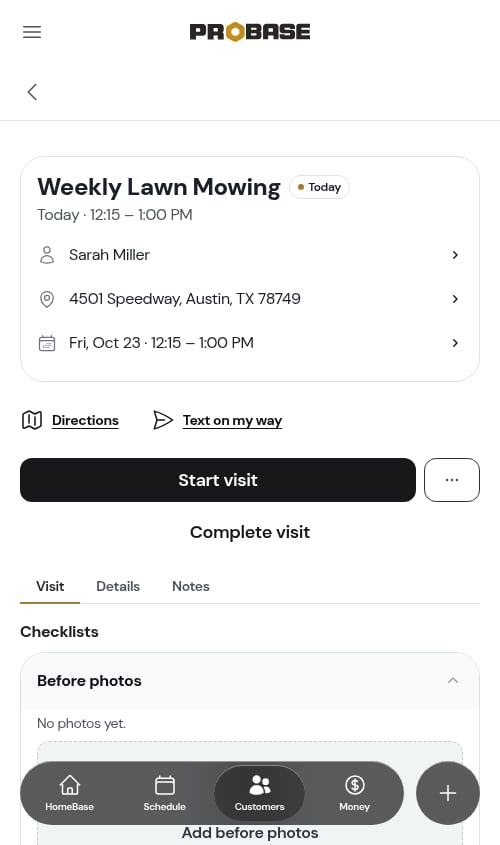
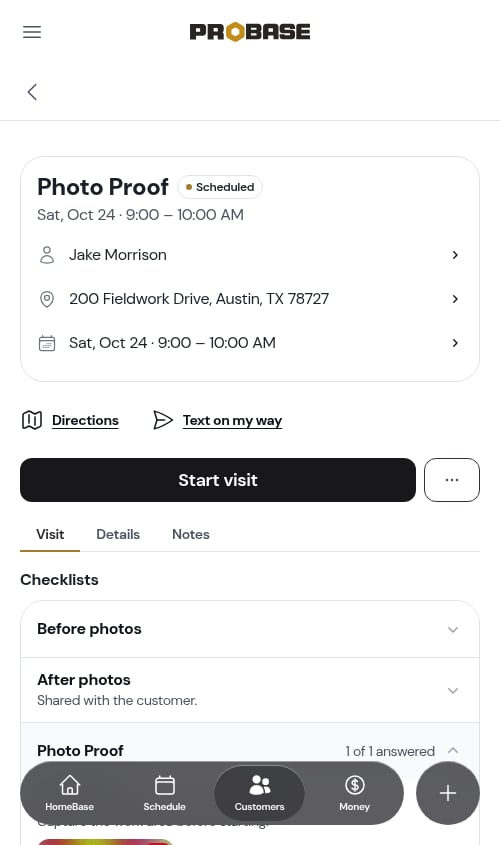
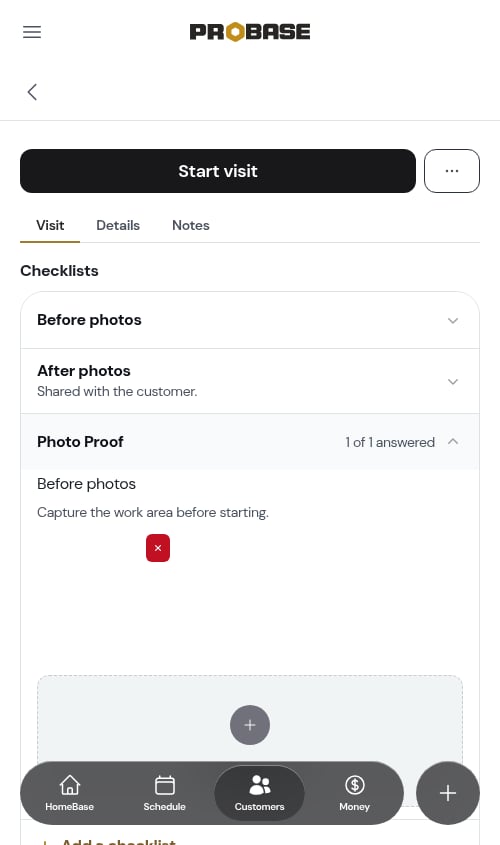
For any Photo upload question — the two photo rows, or an image question on a checklist you built — tap the upload area to add pictures straight from your phone’s camera or photo library. Each photo is uploaded and attached to the visit right away; it isn’t just a preview on your screen.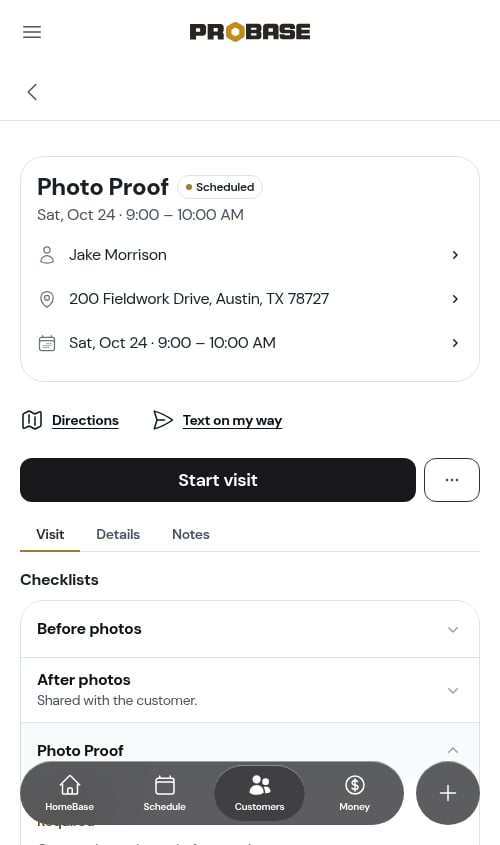
Small pictures — a screenshot, a photo someone already shrank — are sent exactly as they are. There’s no setting for any of this, and nothing to turn on.
Watching an upload go up
While your pictures are on their way, the upload area tells you where it stands rather than just spinning: Uploading 1 of 2 · 45% on a pick of several photos, Uploading… 45% on a single one. The count is the file it’s on, the percentage is how far through that file it is.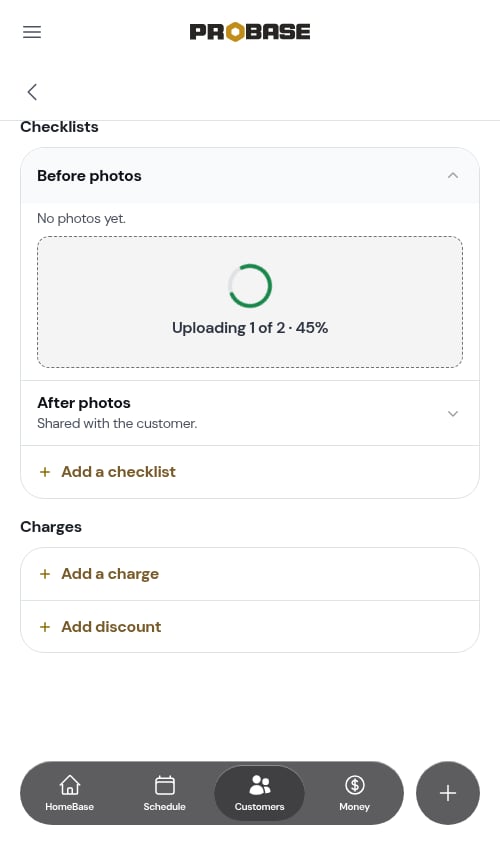
If a photo doesn’t make it
Field signal drops. ProBase handles the ordinary case for you:- A photo that fails is retried automatically — twice more, on a fresh connection each time. When a retry works, all you see is the tile appearing a moment later than usual; there’s nothing to tap.
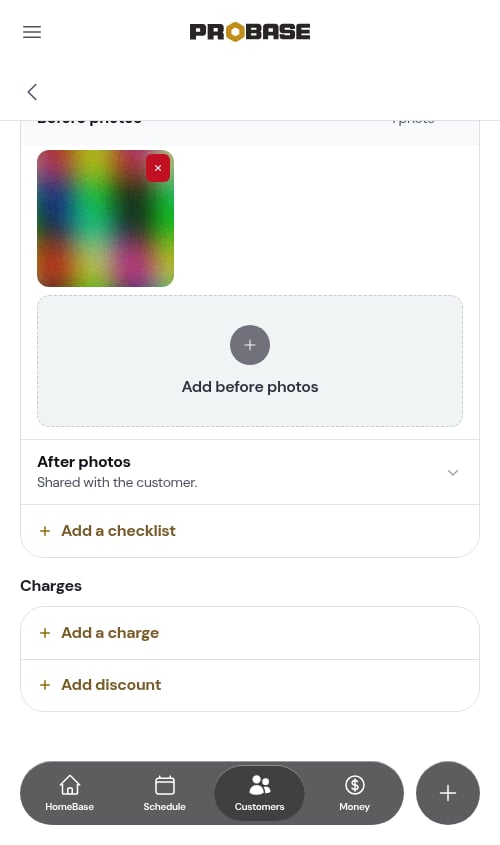
- One bad photo never takes the rest down with it. If the last try still fails, the remaining pictures in your pick carry on uploading.
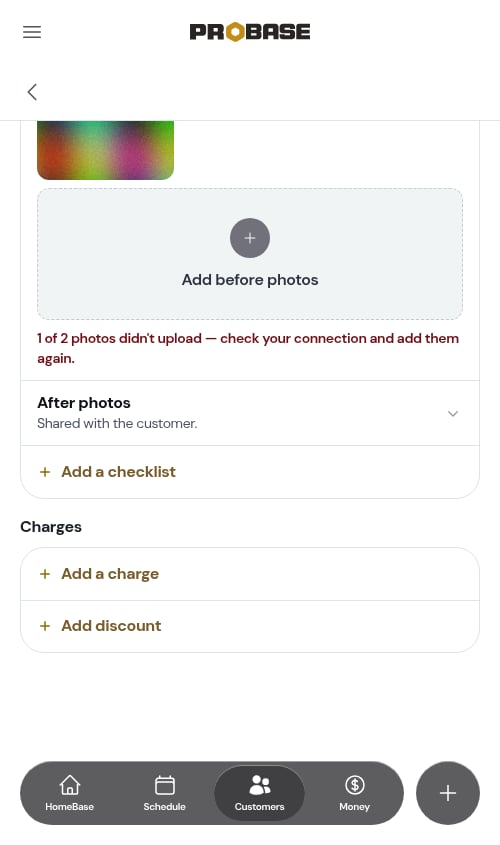
- You’re told exactly what’s missing. A line under the upload area names the count: “1 of 2 photos didn’t upload — check your connection and add them again.” (or “The photo didn’t upload — check your connection and try again.” when it was a single picture).
Viewing and removing photos
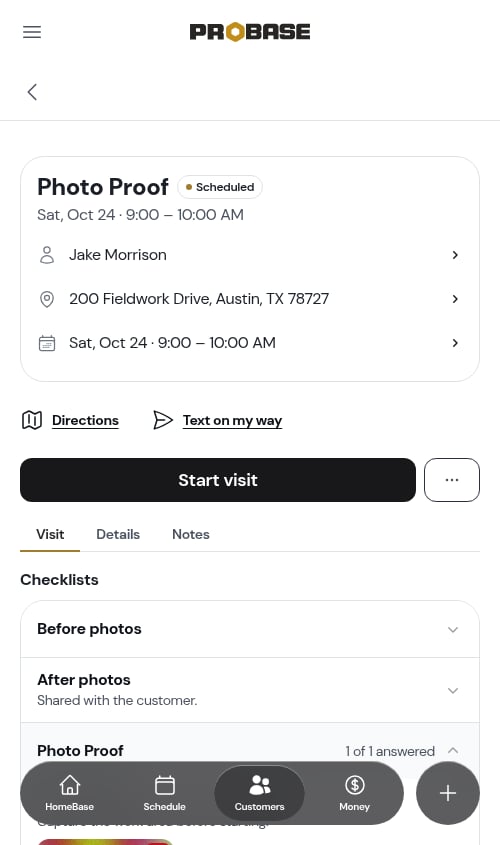
Tiles are small by design, so:- Tap a tile to open the full-size photo in a new tab. Useful for checking a shot is in focus and shows what you meant before you move on.
- Remove a photo with the small ✕ on its tile. On a computer the button appears when you hover over the picture. Tapping ✕ only removes the photo — it won’t open the full-size view.
Once the visit is complete the checklist is locked, so the ✕ disappears — but the tiles still open full size, so you can always go back and look at what was captured.
Photos from an iPhone
An iPhone saves its pictures in Apple’s HEIC format unless you’ve changed the camera setting, and a lot of things can’t open that file — Android phones, most web browsers, printers, and some of the apps your customers use. ProBase turns those into an ordinary JPEG as it saves them, so the picture shows up everywhere it needs to:- The tile on the visit shows the photo instead of a blank or broken box, whoever opens the job
- The After photos you share reach the customer’s service report as a picture they can actually open
- The photo downloads and prints like any other
Very occasionally a phone produces a file ProBase can’t convert. The photo is still saved and still attached to the visit — nothing is lost — it just stays in its original format.
Why photos open quickly
A photo from a modern phone is a big file, so ProBase doesn’t make you download the whole thing just to see a tile:- The tile is a small preview. A scaled-down copy of your picture is what you see in the grid, so a row holding a dozen shots opens in a moment even on a patchy signal out in the field.
- The full picture is only fetched when you ask for it — when you tap the tile to open it full size.
- A row you haven’t opened loads nothing at all. The photos in a closed Before photos or After photos row aren’t downloaded until you tap the row open, so the visit page itself stays quick however many pictures are on the job.
Pictures taken on your jobs before this improvement may take their old, slower moment the first time their row is opened. ProBase makes a preview for them in the background while you look, so the next time you open that row it loads like everything else — there’s nothing for you to do. A photo in a format ProBase can’t shrink is still saved and still shown; it just loads at full size every time.
AI-assisted answers
On some accounts, checklists can be pre-filled with AI suggestions drawn from the notes already on the job (assessment notes, job notes, or the visit notes you’ve been typing). When suggestions are available:- The checklist row shows a small pill with the number of suggested answers.
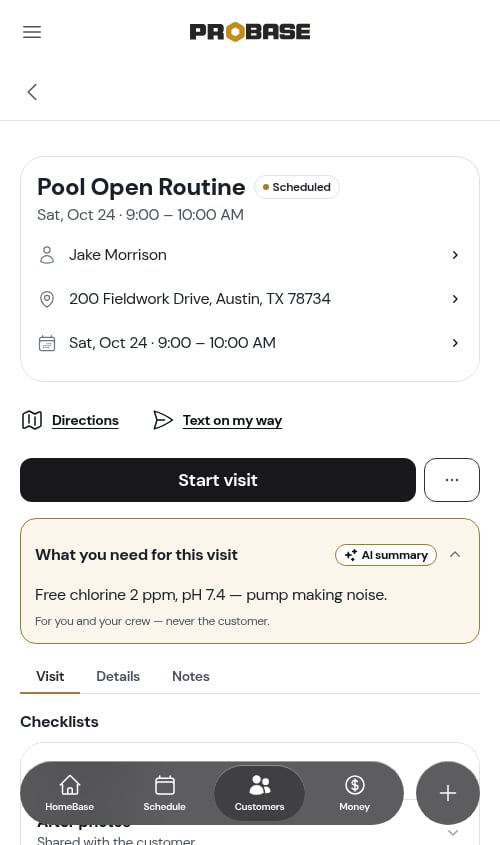
- Opening the row shows a banner like “AI found 1 possible answer”, and each suggested field is marked with an AI suggested indicator plus Accept and Reject controls.
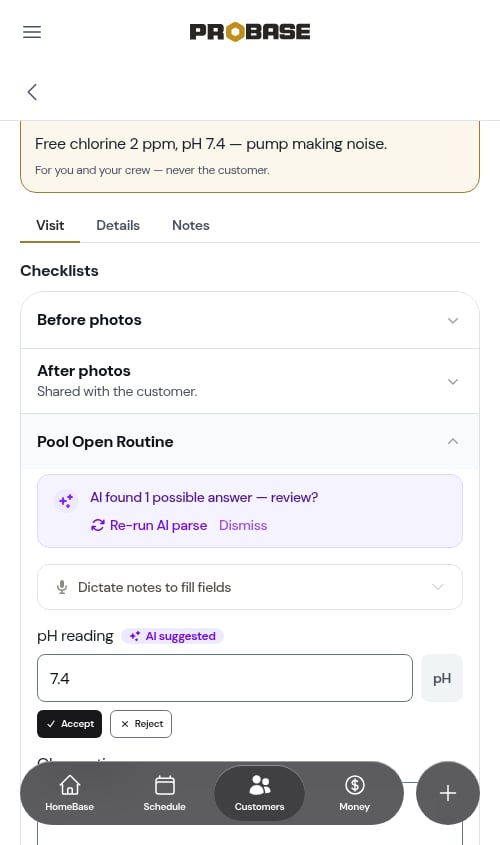
- Tap Accept to keep a suggested value (it’s saved just like any other answer), or Reject to clear it and enter your own. You’re always in control — nothing is committed until you accept it.
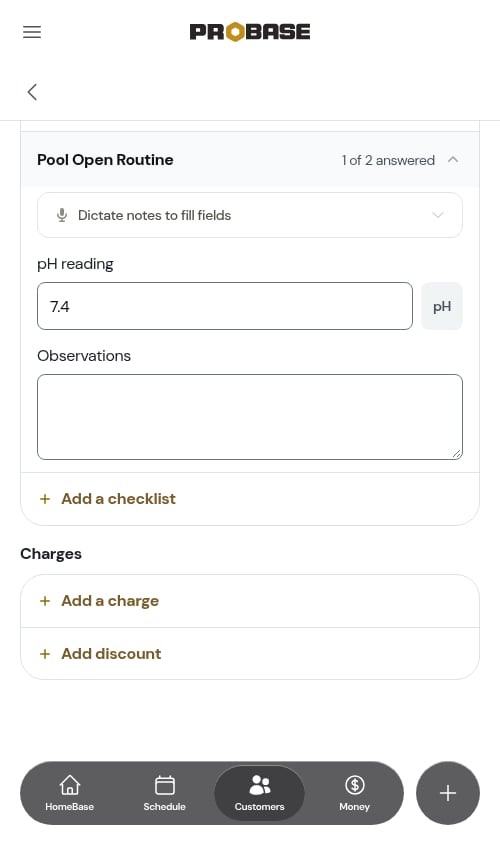
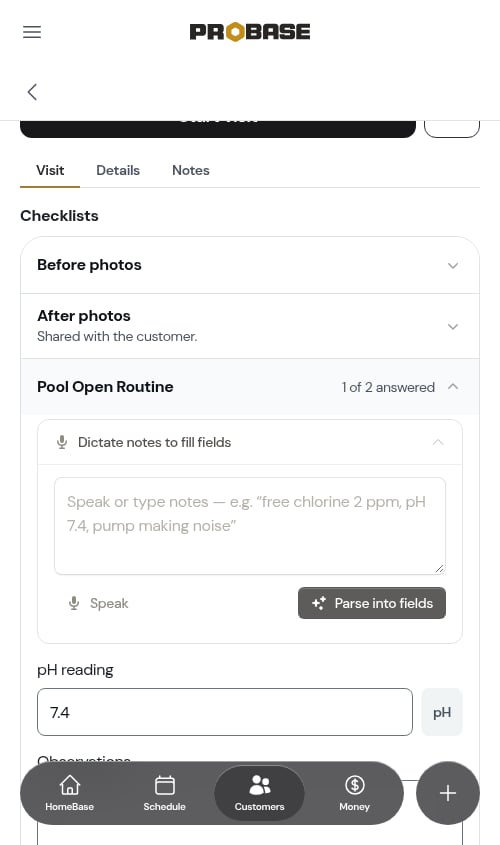
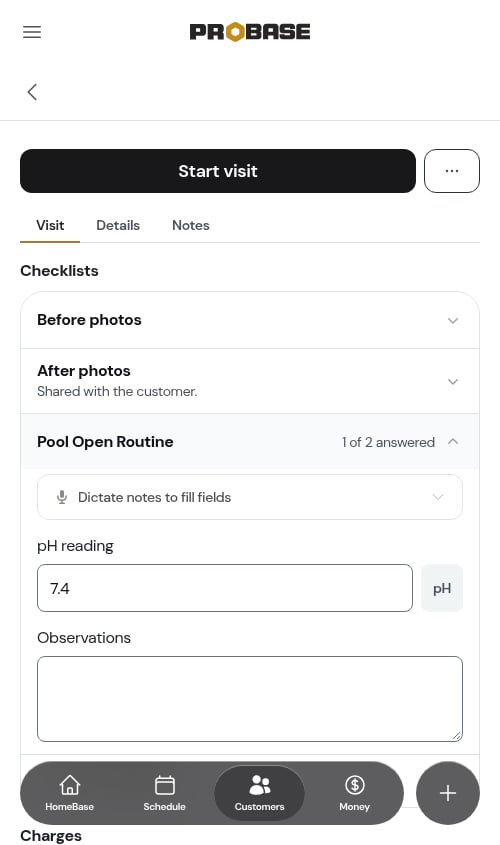
AI-assisted checklist answers are a suggestion only — always review them before accepting. Accepted values persist across reloads and device switches just like anything you type by hand.
Automatic drafting when you finish a checklist
On accounts with AI assistance turned on, ProBase can go one step further: once you’ve filled in a visit’s checklists and move on into the completion form, it can draft your service records from the checklist answers automatically, without you having to press the AI Assist button. While it prepares that first draft, a full-screen “Analyzing your visit…” indicator covers the form so you know the work is in progress. When it finishes, the completion form is pre-filled with the drafted records and a customer-facing summary, ready for you to review and edit — exactly as if you’d tapped AI Assist yourself. This only happens on a clean slate: if you’ve already added records or run AI Assist on the visit, ProBase leaves your work untouched rather than overwriting it. See Letting AI write it up for how to review and adjust the drafted results.It only drafts from what you wrote
The automatic draft is made from written checklist answers — a reading, a measurement, a note you typed or dictated into a question. Photo and signature questions aren’t part of it:- Your photos are never sent to the assistant. A picture on Before photos, After photos or any other photo question stays on the visit; only the words you entered are read.
- A photos-only visit doesn’t wait. If the only things on this visit’s checklists are pictures, there’s nothing to draft from — no “Analyzing your visit…” screen appears and you land straight on the completion form.
Required questions and completing the visit
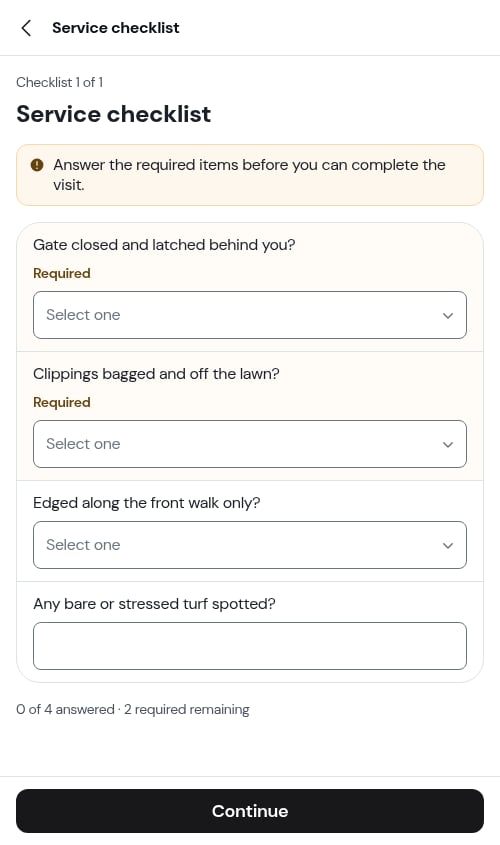
If a checklist has required questions, they must be answered before the visit can be marked complete. When you tap Complete visit, any checklist that still has a required blank opens first — one screen at a time, headed Checklist 1 of 2.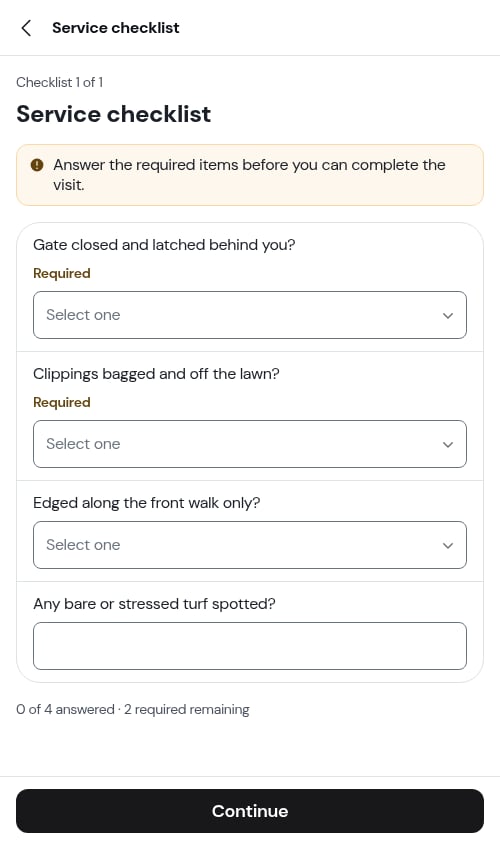
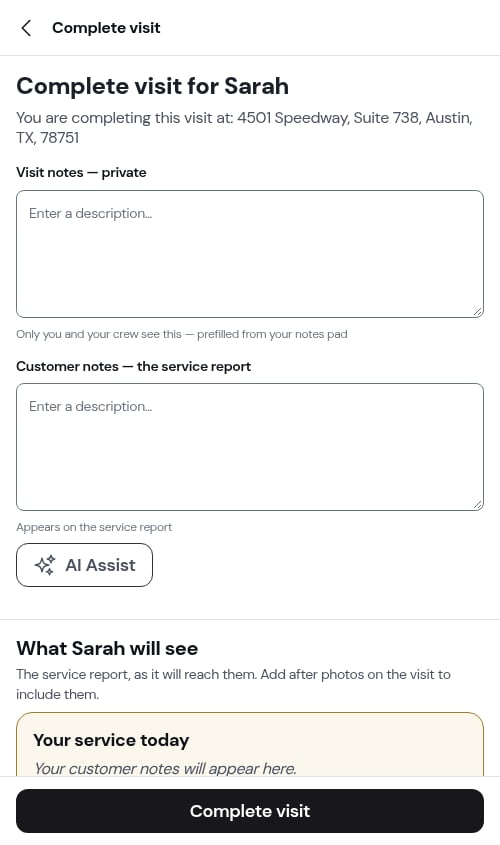
When you complete a visit, the checklist answers are frozen with the visit — they become a permanent record of what was captured on that appointment, even if you later change the checklist template.
Reviewing a completed visit’s checklists
Once a visit is complete, the same card stays on the Visit tab with a Read-only badge next to the Checklists heading. The rows still open in place and show exactly what was captured — answers as they were entered, photo rows as tiles you can tap to open full size — but nothing can be changed.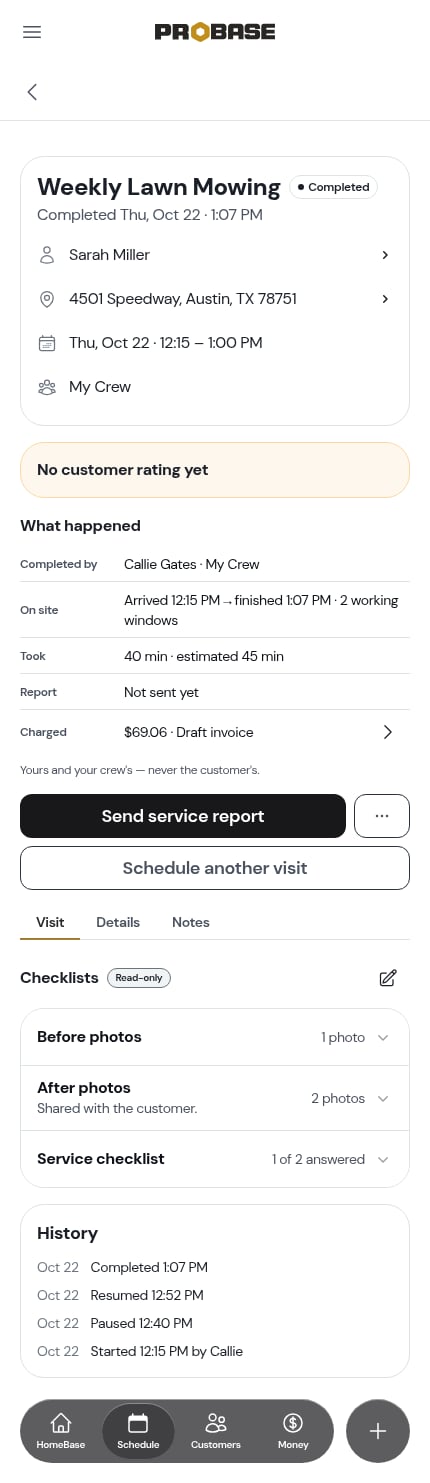
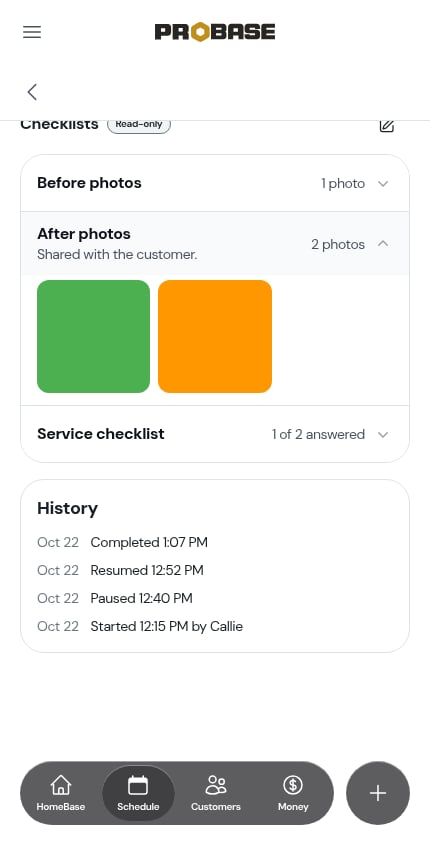
Going back in to fix something
Spotted a wrong reading, or a photo you forgot? As long as the customer’s service report hasn’t been sent yet, a pencil sits at the right of the Checklists heading.1
Tap the pencil
The badge changes from Read-only to Editing and the rows become answerable again.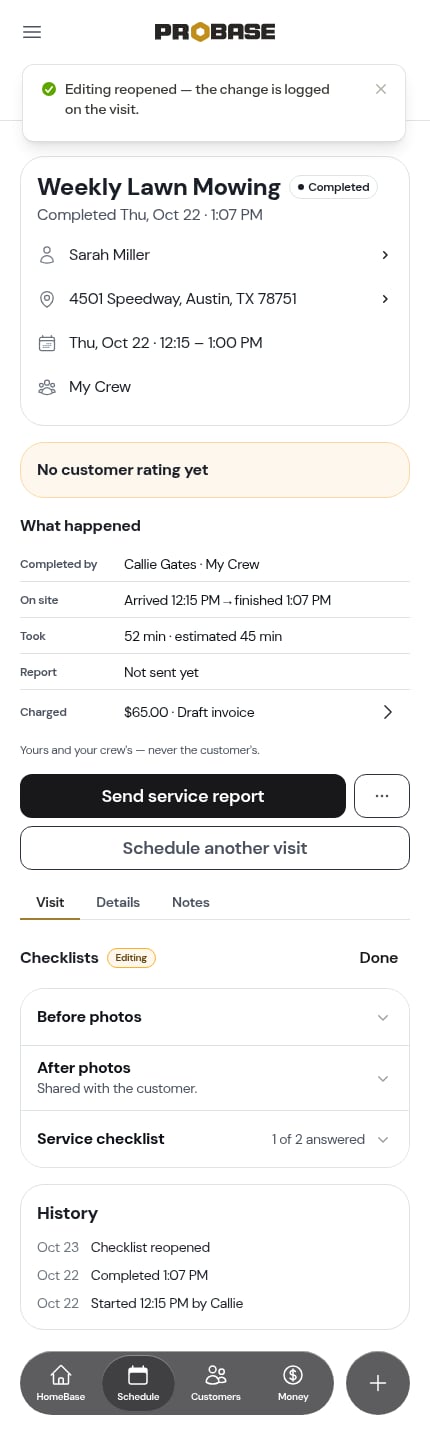
2
Fix what's wrong
Edit answers and add or remove photos exactly as you did during the visit. Everything still saves as you go.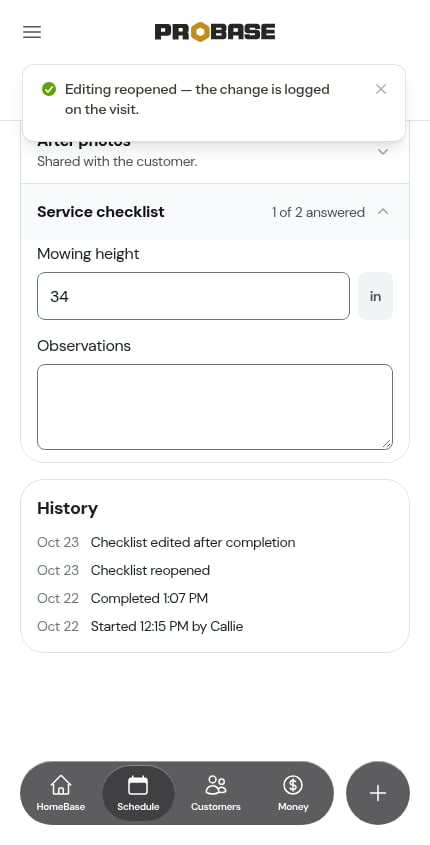
3
Tap Done
The card goes back to Read-only with your corrections saved, and the change is recorded on the visit’s History card.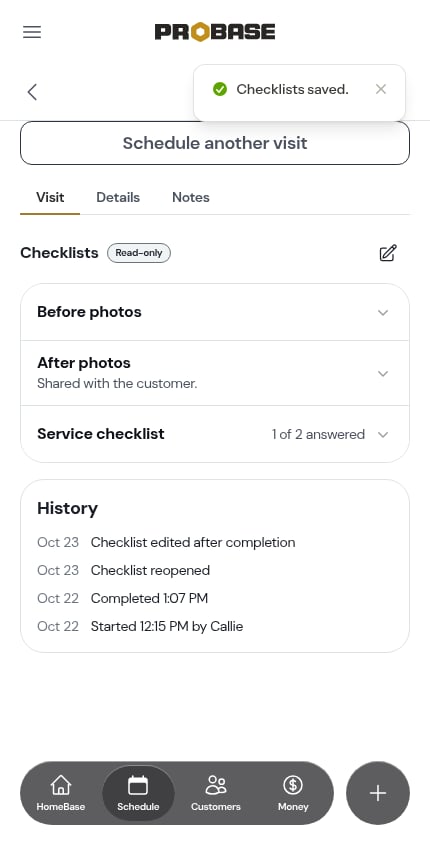
Reopened checklists always show the checklist as it was when the visit was completed. If you later add, rename, or remove questions on the template, past visits keep the wording and answers they were completed with.
Completing an assessment with a checklist
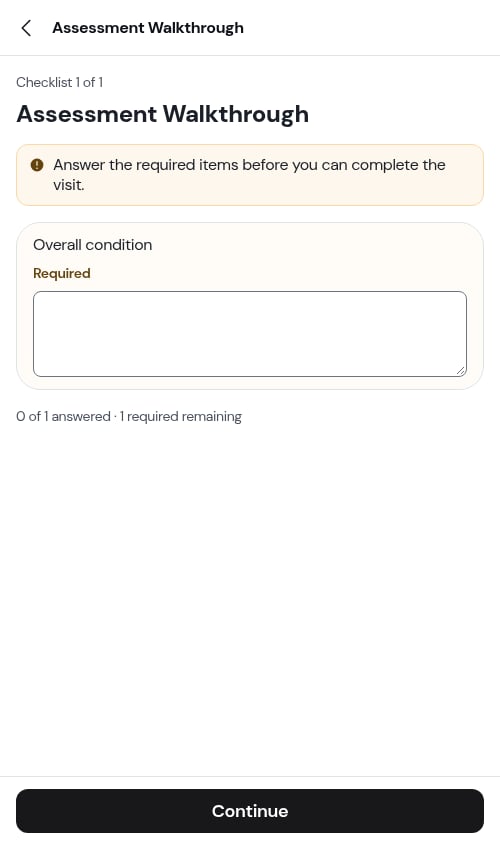
Checklists set to appear on Assessments (see Choosing when the checklist appears) gate the assessment visit the same way. Tap Mark assessment complete and any checklist with required blanks opens first, headed Checklist 1 of 1.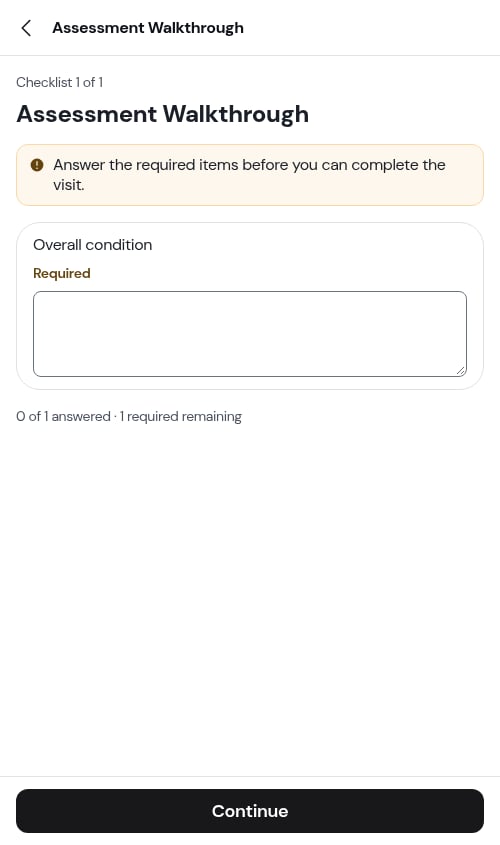
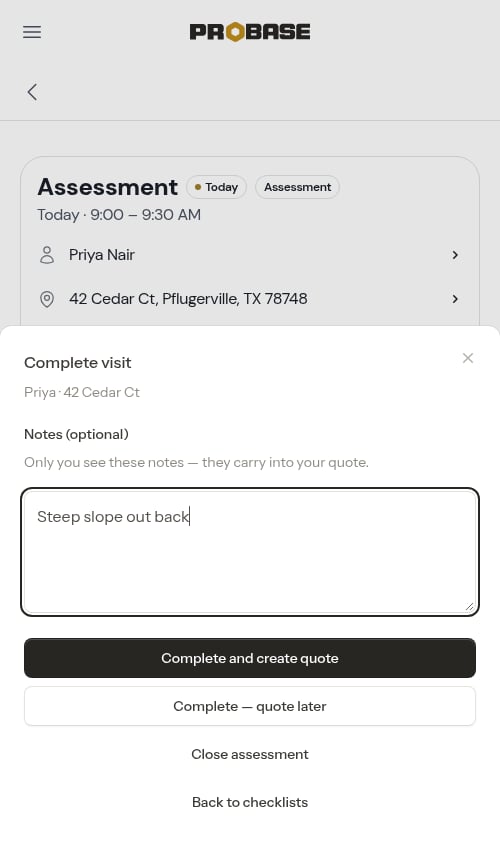
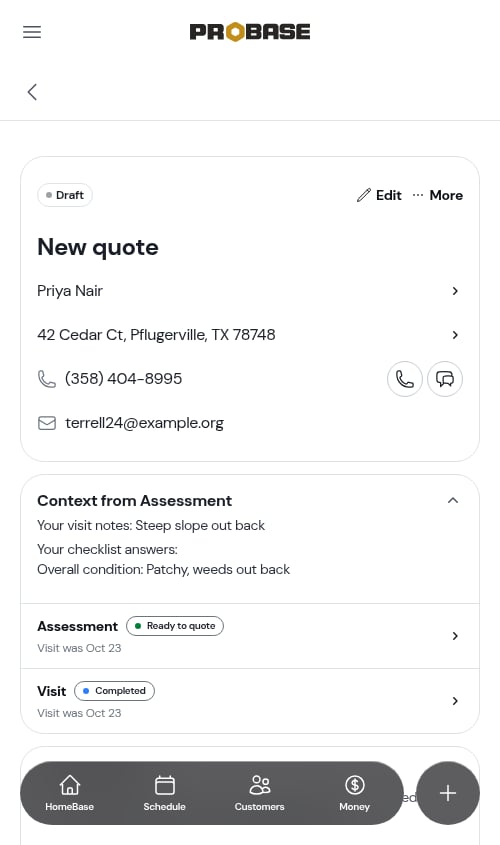
Assessment visits don’t get the Before photos and After photos rows — those belong to jobs. An assessment’s pictures go on the assessment’s own checklist or notes.
Answers that become service records
When building a checklist, you can mark individual questions — or a whole section at once — to be added to the visit’s service records (the Include in service record toggle on each question). When you complete the visit, those answers are saved as service records automatically — for example, a “pH reading” numeric answer becomes a chemical-reading service record. This means the readings your crew captures in a checklist flow straight into the property’s service history without re-entering them. See Service records. Only questions that were actually answered become records — a blank question is skipped — and each answer produces a single record. A chemical reading shows as the reading type with the value and unit beneath it (for example pH reading, then 7.2 pH); a plain observation question shows as the answer text.One record per reading, even with AI Assist
On accounts with AI assistance, the same checklist answer can reach the completion form twice: once because ProBase drafts service records from your checklist for you, and once because the question is marked Include in service record. ProBase reconciles the two for you, so you never end up with the same reading recorded twice:- If a drafted record already covers a checklist question, that question isn’t added again.
- The version you reviewed on the completion form wins. If you corrected a drafted value — the AI read 7.2 but the strip actually said 7.6 — your corrected record is the one that’s saved, and the raw checklist answer doesn’t overwrite it.
- Anything the draft didn’t cover is still committed from the checklist as usual, so nothing gets dropped.
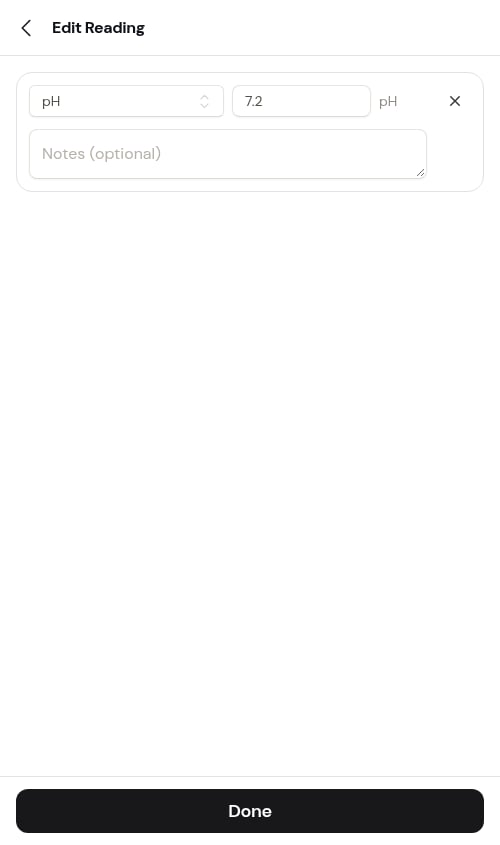
If you want to change a reading, edit it on the completion form before you tap Complete visit — that’s the version that lands in the property’s service history. Once the visit is complete, records are read-only. See Records are fixed once the visit is complete.
Rescheduling with a partially-filled checklist
If a visit is rescheduled before it’s completed, any answers already entered on its checklists carry over to the rescheduled appointment. Your crew doesn’t lose the work they’ve already done in the field.The customer Service Report
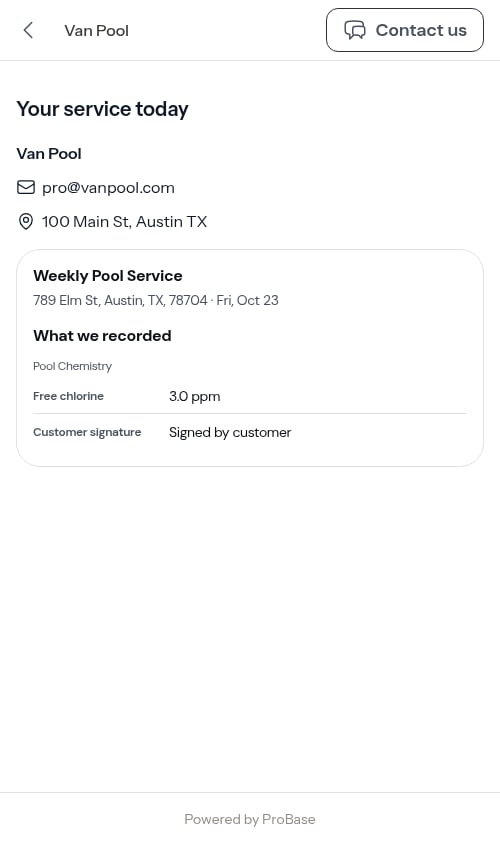
Checklists don’t just help your crew — they can also show the customer exactly what was done. Any question you marked with Include in customer summary when building the checklist (see Showing answers on the customer invoice) appears under a What we recorded heading on the customer’s side: on the visit’s own service report, and on the invoice covering it, where each visit gets a card of its own.