Overview
Some customers still want paper — a copy left in the door, handed over at the end of a visit, or mailed out. Every invoice page in ProBase has a Print button that hands off to your device’s normal print dialog, where you can send it to a printer or choose Save as PDF and attach the file to an email. You don’t need to set anything up. The printed page is laid out for you: your business letterhead at the top, a Bill to block for the customer, the line items and totals, and — when you take online payments — a QR code the customer can scan to pay.Print an invoice
1
Open the invoice
Go to Money in the navigation and tap the invoice you want. See Managing invoices for the full list and its filters.
2
Tap Print
Print sits at the top of the invoice page, next to the status badge.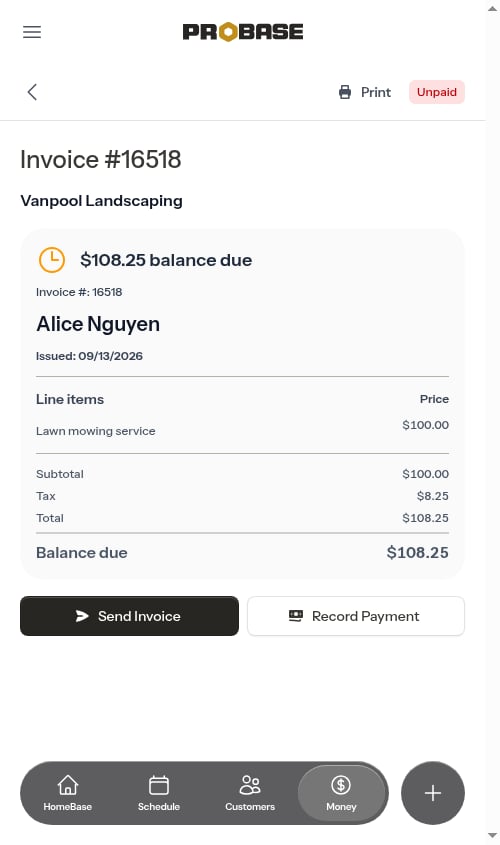
3
Choose a printer — or Save as PDF
Your browser’s print dialog opens. Pick your printer and print, or choose Save as PDF (called Print to PDF on some devices) to get a file you can email or keep.
The print dialog belongs to your browser or phone, not to ProBase, so it looks a little different on every device. Paper size, margins, and the number of copies are all set there.
What the printout looks like
The printed page is not a screenshot of the app. Everything that’s only useful on screen — the navigation, the back arrow, the status badge, the Send Invoice and Record Payment buttons — is left off, and a proper invoice letterhead is added in its place.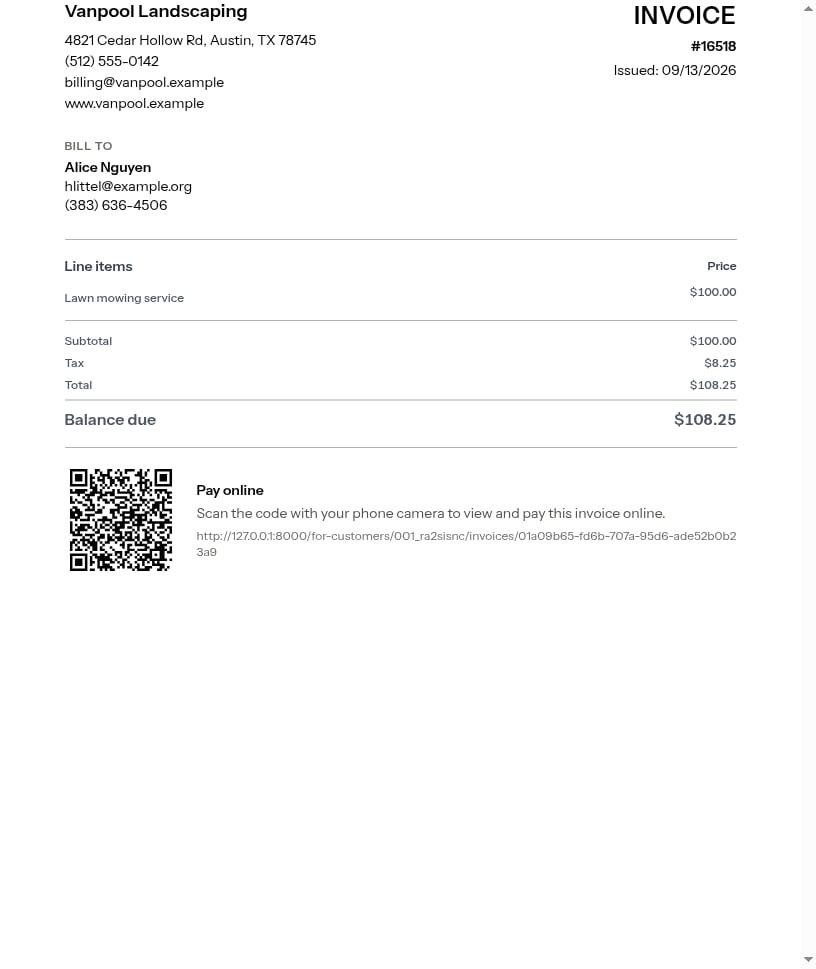
Missing branding fills itself in. An invoice stores a snapshot of your business details at the moment you sent it. If you’d left your address or logo blank back then and have since added them, the printout uses what’s on your Business Profile today — so old invoices reprint with your current branding rather than a half-empty letterhead.
The Due date follows your setting. If Show overdue status to customers is off — which is the default — the printed invoice shows only the Issued date and never mentions a deadline, exactly as the on-screen version does. Turn it on in Payment terms and due dates and the Due date prints too. A paid invoice always prints its Paid date instead.
The Pay online QR code
When a customer can pay you online, the printout carries a Pay online block under the totals: a QR code, and the same payment link spelled out underneath it. The customer points their phone camera at the code, and their payment portal opens on that exact invoice, ready to pay. The block appears when all three of these are true:- You accept online payments — either Stripe is connected or Venmo is turned on
- The invoice still has a balance owed
- The invoice belongs to a customer with a payment portal link
The QR code points at the same link you’d share by text from Send Invoice. Printing one doesn’t send anything to the customer; it just gives them a way to pay off a piece of paper. See Sending payment links.
Customers can print too
The same Print button sits on the customer’s own invoice page in their payment portal, next to the Pay invoice heading — so a customer can keep a copy or print one for their records without asking you for it.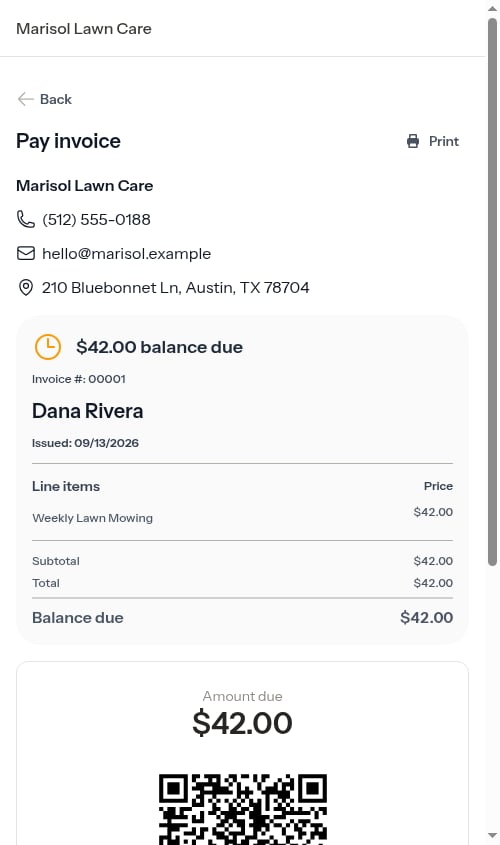
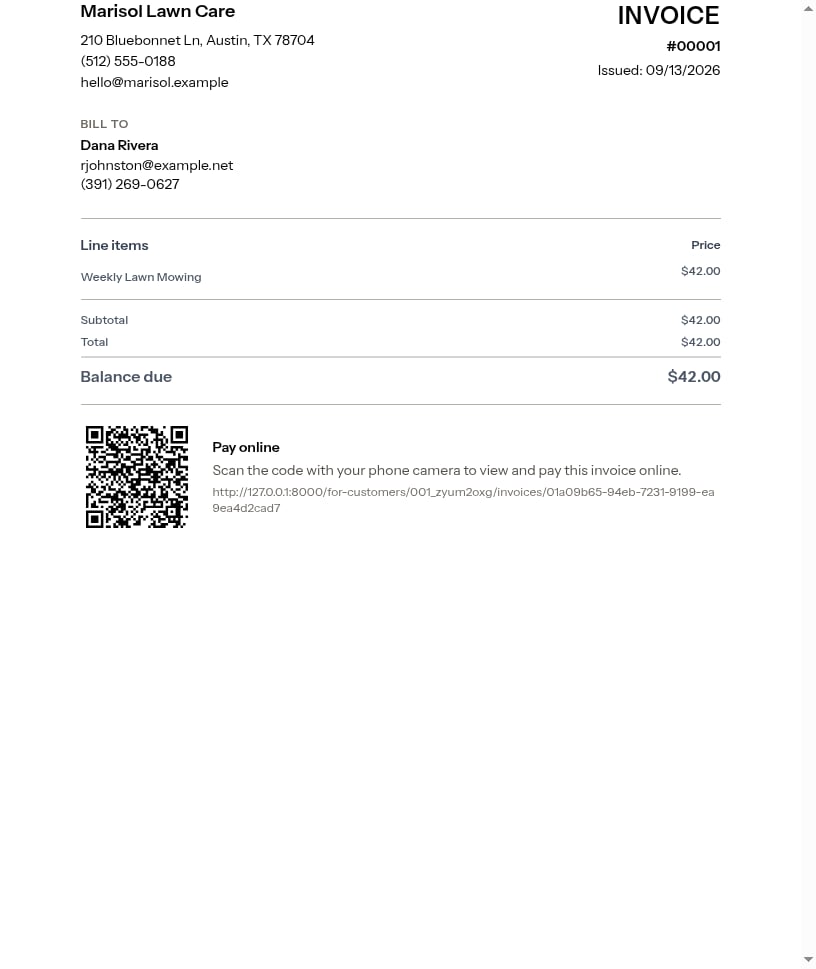
Saving an invoice as a PDF
There’s no separate Download PDF button — your device’s print dialog does the job:- iPhone or iPad — tap Print, then pinch outward on the preview, or use the share icon and choose Save to Files.
- Android — tap Print, then pick Save as PDF from the printer list.
- Computer — choose Save as PDF (Chrome, Edge) or PDF → Save as PDF (Safari) in the destination list.
Next steps
- Managing invoices — sending, re-sharing, and recording payments
- Payment terms and due dates — what the Due line says, and whether it prints at all
- Customer payment portal — where the QR code takes your customer
- Business Profile — the logo and contact details on the letterhead