Overview
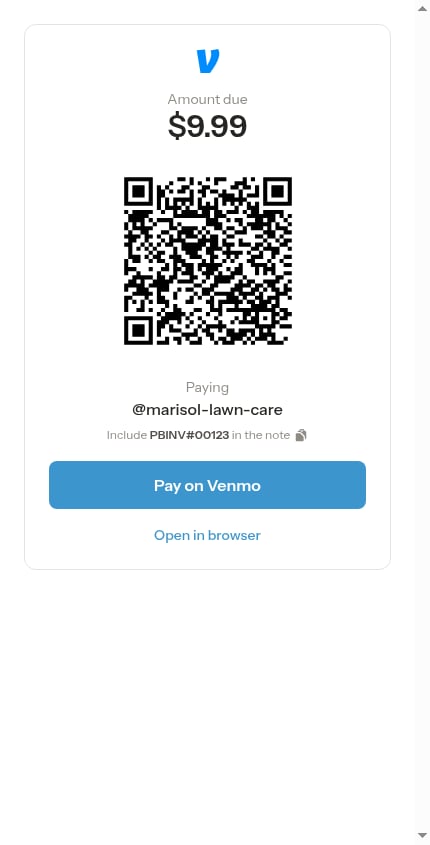
Venmo, Cash App and PayPal give your customers more ways to pay their invoice — without you needing to set up card processing. Turn on any of them (one, two, or all three), enter your handle, and every unpaid invoice shows a pay block for each app you take: the amount due, a QR code the customer can scan, and a Pay on Venmo, Pay on Cash App or Pay on PayPal button.Venmo
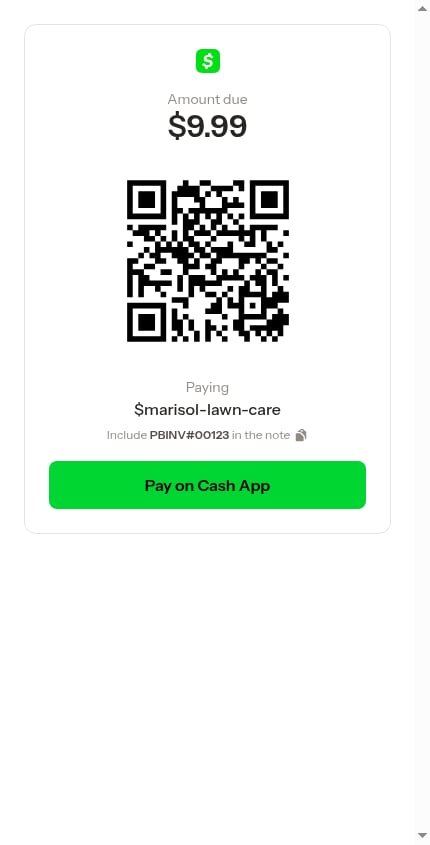
Cash App
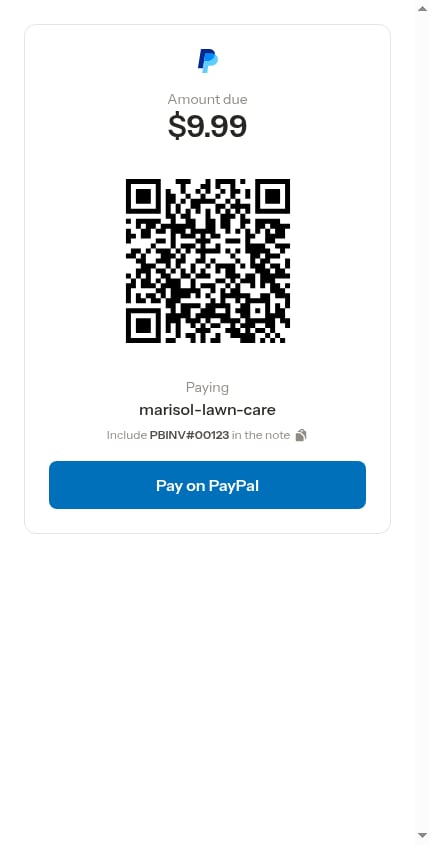
PayPal
Payments through these apps are handled entirely inside the app. ProBase doesn’t connect to your Venmo, Cash App or PayPal account or track the money automatically — once a payment arrives, you record it in ProBase yourself using Record payment (see Recording payments). This is different from Stripe, where card payments are recorded for you.
Turn on a payment app
Each app has its own section on the Payments page, in this order: Venmo, Cash App, then PayPal. They sit in the Payment settings group, below Credit Card Processing via Stripe and above Invoice settings.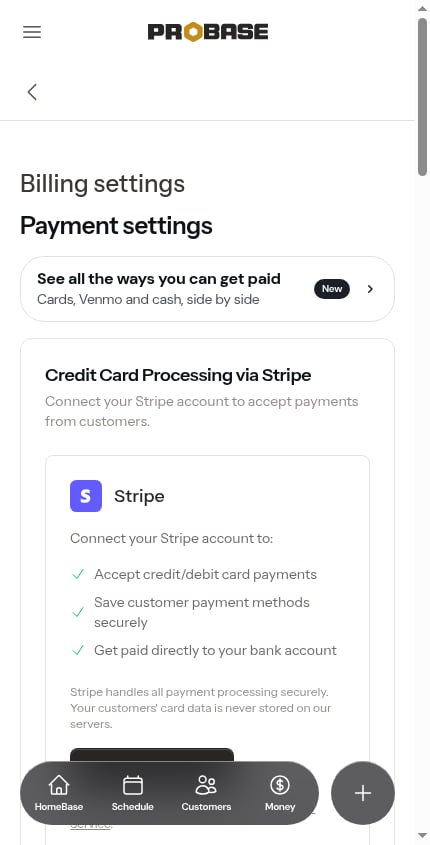
1
Open Payment Settings
Click Payments in the sidebar under Business and scroll to the app you want. (The Getting paid guide’s Edit Venmo Settings, Edit Cash App Settings and Edit PayPal Settings buttons bring you straight to the matching section.)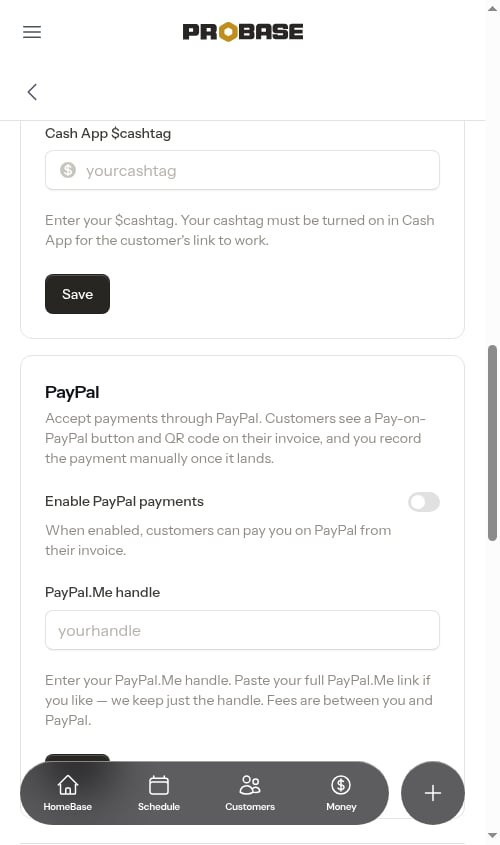
2
Turn on the switch
Turn on Enable Venmo payments, Enable Cash App payments or Enable PayPal payments.
3
Enter your handle
Type the name customers pay you at: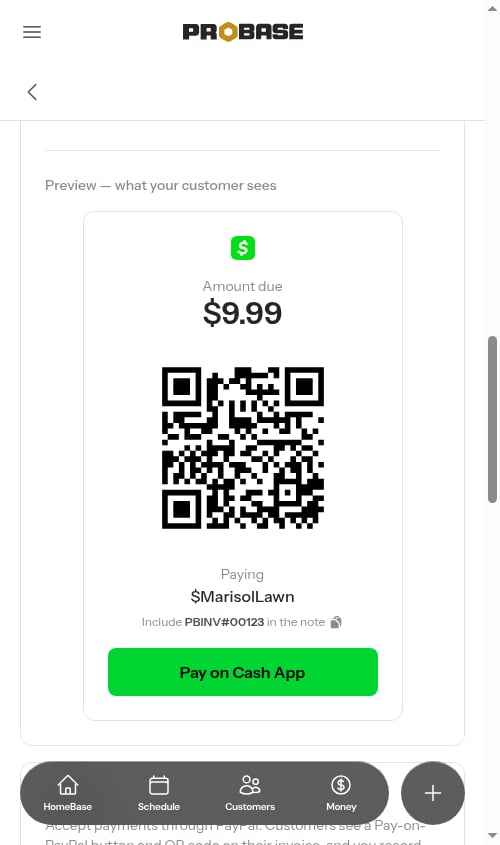
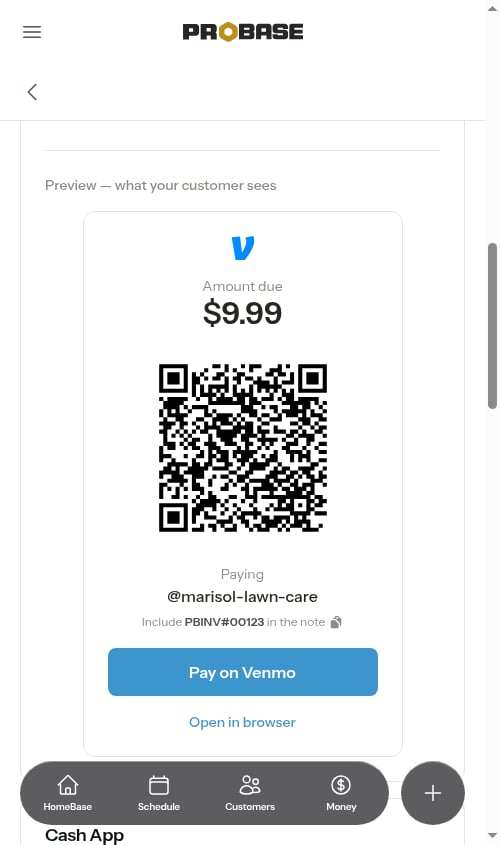
As soon as you enter a handle, a live Preview — what your customer sees appears below the form, showing the exact pay block your customers will get.
4
Save
Click Save. A confirmation such as “Cash App settings updated.” appears and the app is now active on your invoices.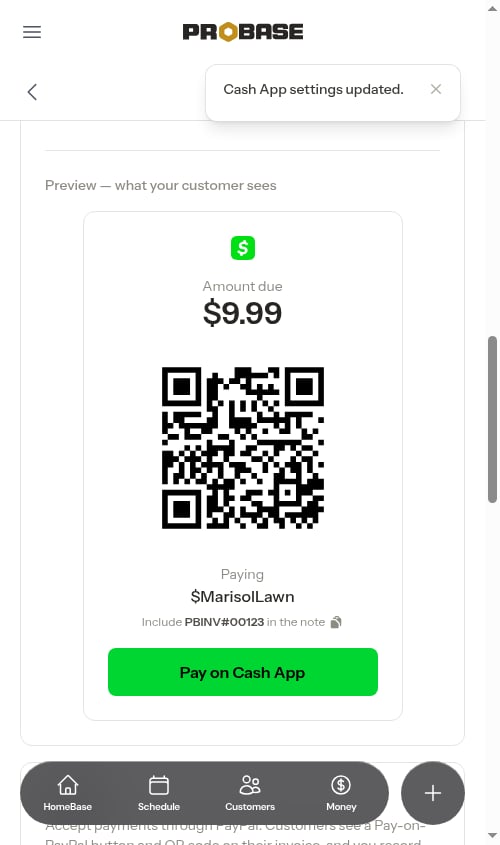
- Venmo
- PayPal
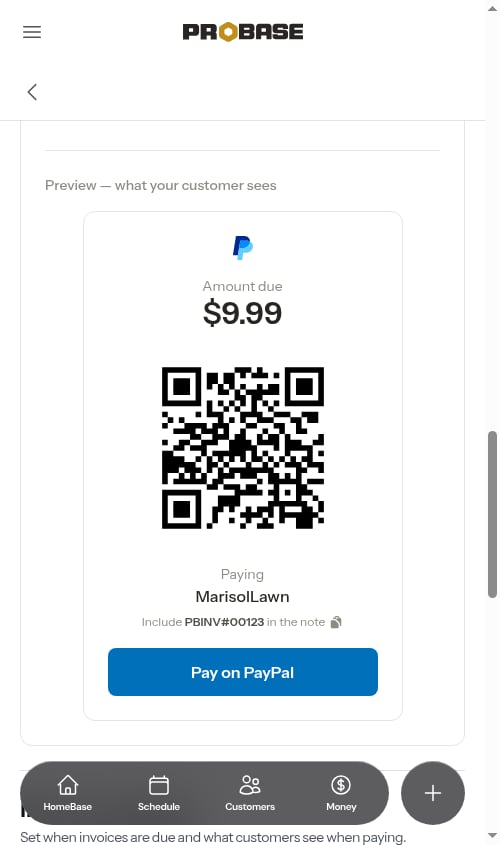
Switching on any of the three apps also ticks off the Choose how customers pay you setup in Make it yours on HomeBase — you don’t need Stripe as well for that setup to complete.
What customers see
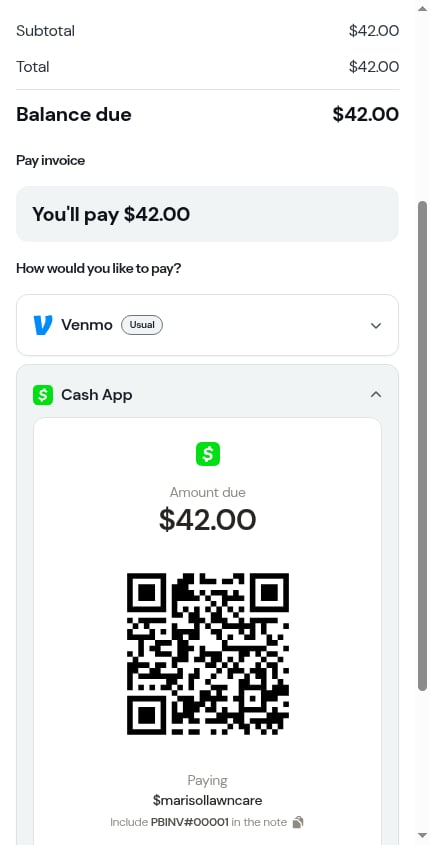
For each app you take, an unpaid invoice shows a pay block with:- The app’s logo
- The amount due — matches the invoice’s remaining balance
- A QR code — customers scan it with their phone camera to open the payment
- Your handle — shown after Paying (for example
@yournameor$yourcashtag) so they can confirm who they’re paying - The note to include — a line like Include PBINV#00001 in the note. Tapping the line copies the invoice number so the customer can paste it into the app; a Copied message confirms it
- A Pay button in the app’s colours — Pay on Venmo, Pay on Cash App or Pay on PayPal
- An Open in browser link — Venmo only, a fallback for customers paying from a desktop
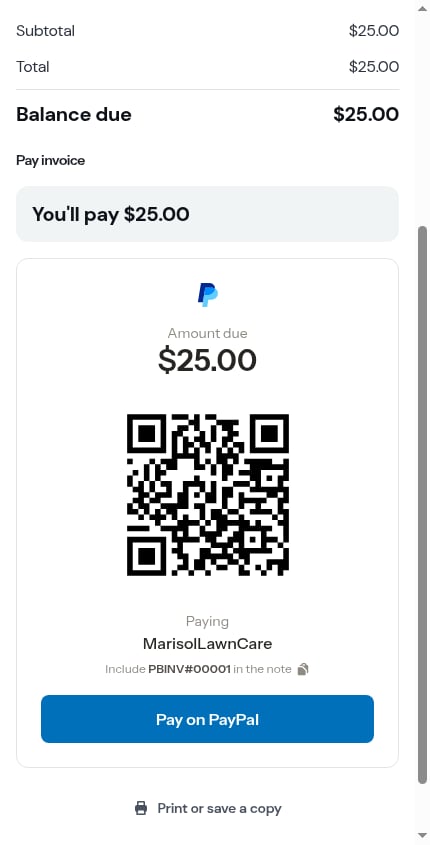
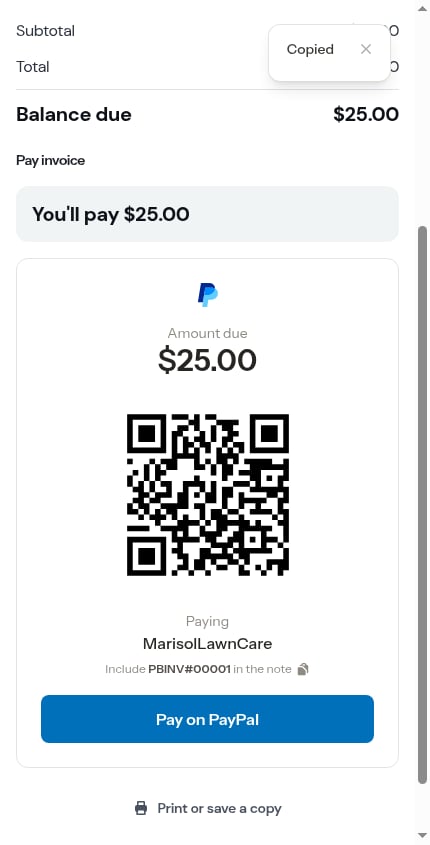
The amount comes pre-filled in all three apps. Venmo also fills in the invoice note for the customer; Cash App and PayPal don’t carry a note, which is why the note line is there to copy. Cash App’s button opens its web page first, where the customer taps Pay to finish in the app.Pay on Cash App, Pay on PayPal and Venmo’s Open in browser link open in a new browser tab, so the invoice stays open behind them — handy for copying the invoice number into the app. Pay on Venmo opens the Venmo app directly.
When you offer more than one way to pay
If you take more than one method — cards plus any app, or two or more apps — customers see How would you like to pay? with a row for each one, in a fixed order: Card first, then Venmo, Cash App and PayPal. Each app row shows its logo. The method they used last time — or the one you set under Pays by on their customer page — opens first and is tagged Usual. If neither applies, the first row opens: Card when you take cards, otherwise the first app.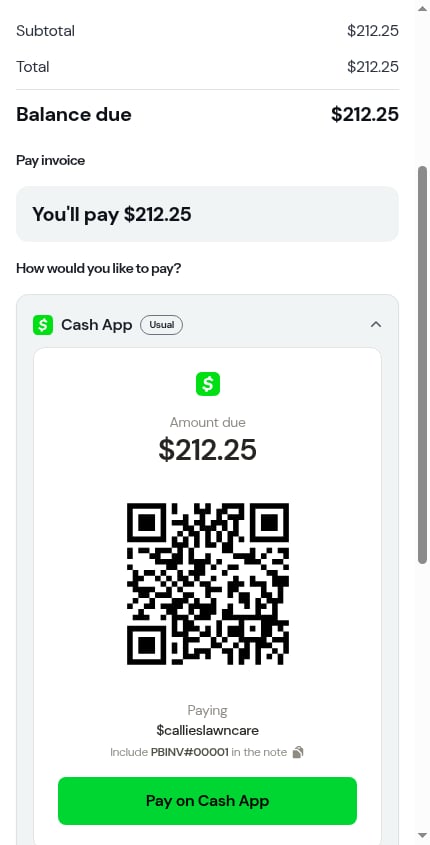
Recording an app payment
Because these apps run outside ProBase, marking an invoice paid is a manual step:1
Confirm the payment in the app
Check your Venmo, Cash App or PayPal account for the incoming payment. The note on the payment (for example
PBINV#00001) tells you which invoice it’s for — when the customer included it.2
Record it in ProBase
Open the matching invoice and tap Record payment (or use Record payment on the Money page and pick the customer and invoice). Enter the amount, choose Venmo, Cash App or PayPal as the method, and tap Record payment. The invoice and the customer’s balance update immediately.See Recording payments for the full walkthrough.